
Take Better Brewery Photos, On Your Phone, Even If You Aren’t Creative
Snapping eye-catching pics doesn’t mean that you need a high-end camera. You actually don’t need to be that creative. You just need to know a little about what makes a photo look great and a bit of practice.
Note: We periodically update this article with new examples and information. Bookmark this page for future reference.
Part 1: Set Up Better Photo Opportunities
Use The Rule of Thirds
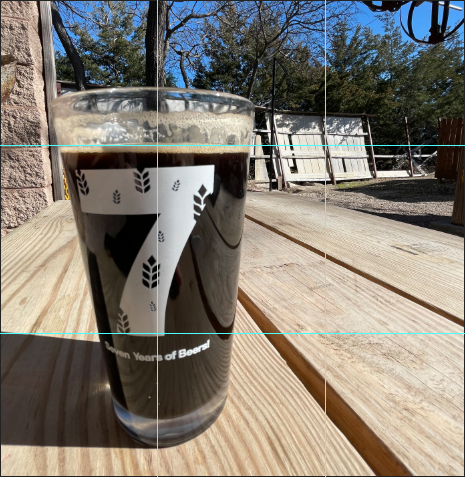
If the only trick you picked up from this guide was the rule of thirds, you’d be miles ahead. This is one of the best ways to add professionalism and artistic flare to your photos
The rule of thirds divides a photo into a 3x3 grid with 9 equal sections
The goal should be to palace the subject of your photo at the intersection points within the grid
Doing so results in a more natural-looking photo
It also makes adding text overlay a lot easier
Use Better Lighting
Lighting makes an enormous difference to your photos. If you ever notice that photos are grainy or tinted an off-color, chances are that they were taken in poor lighting environments
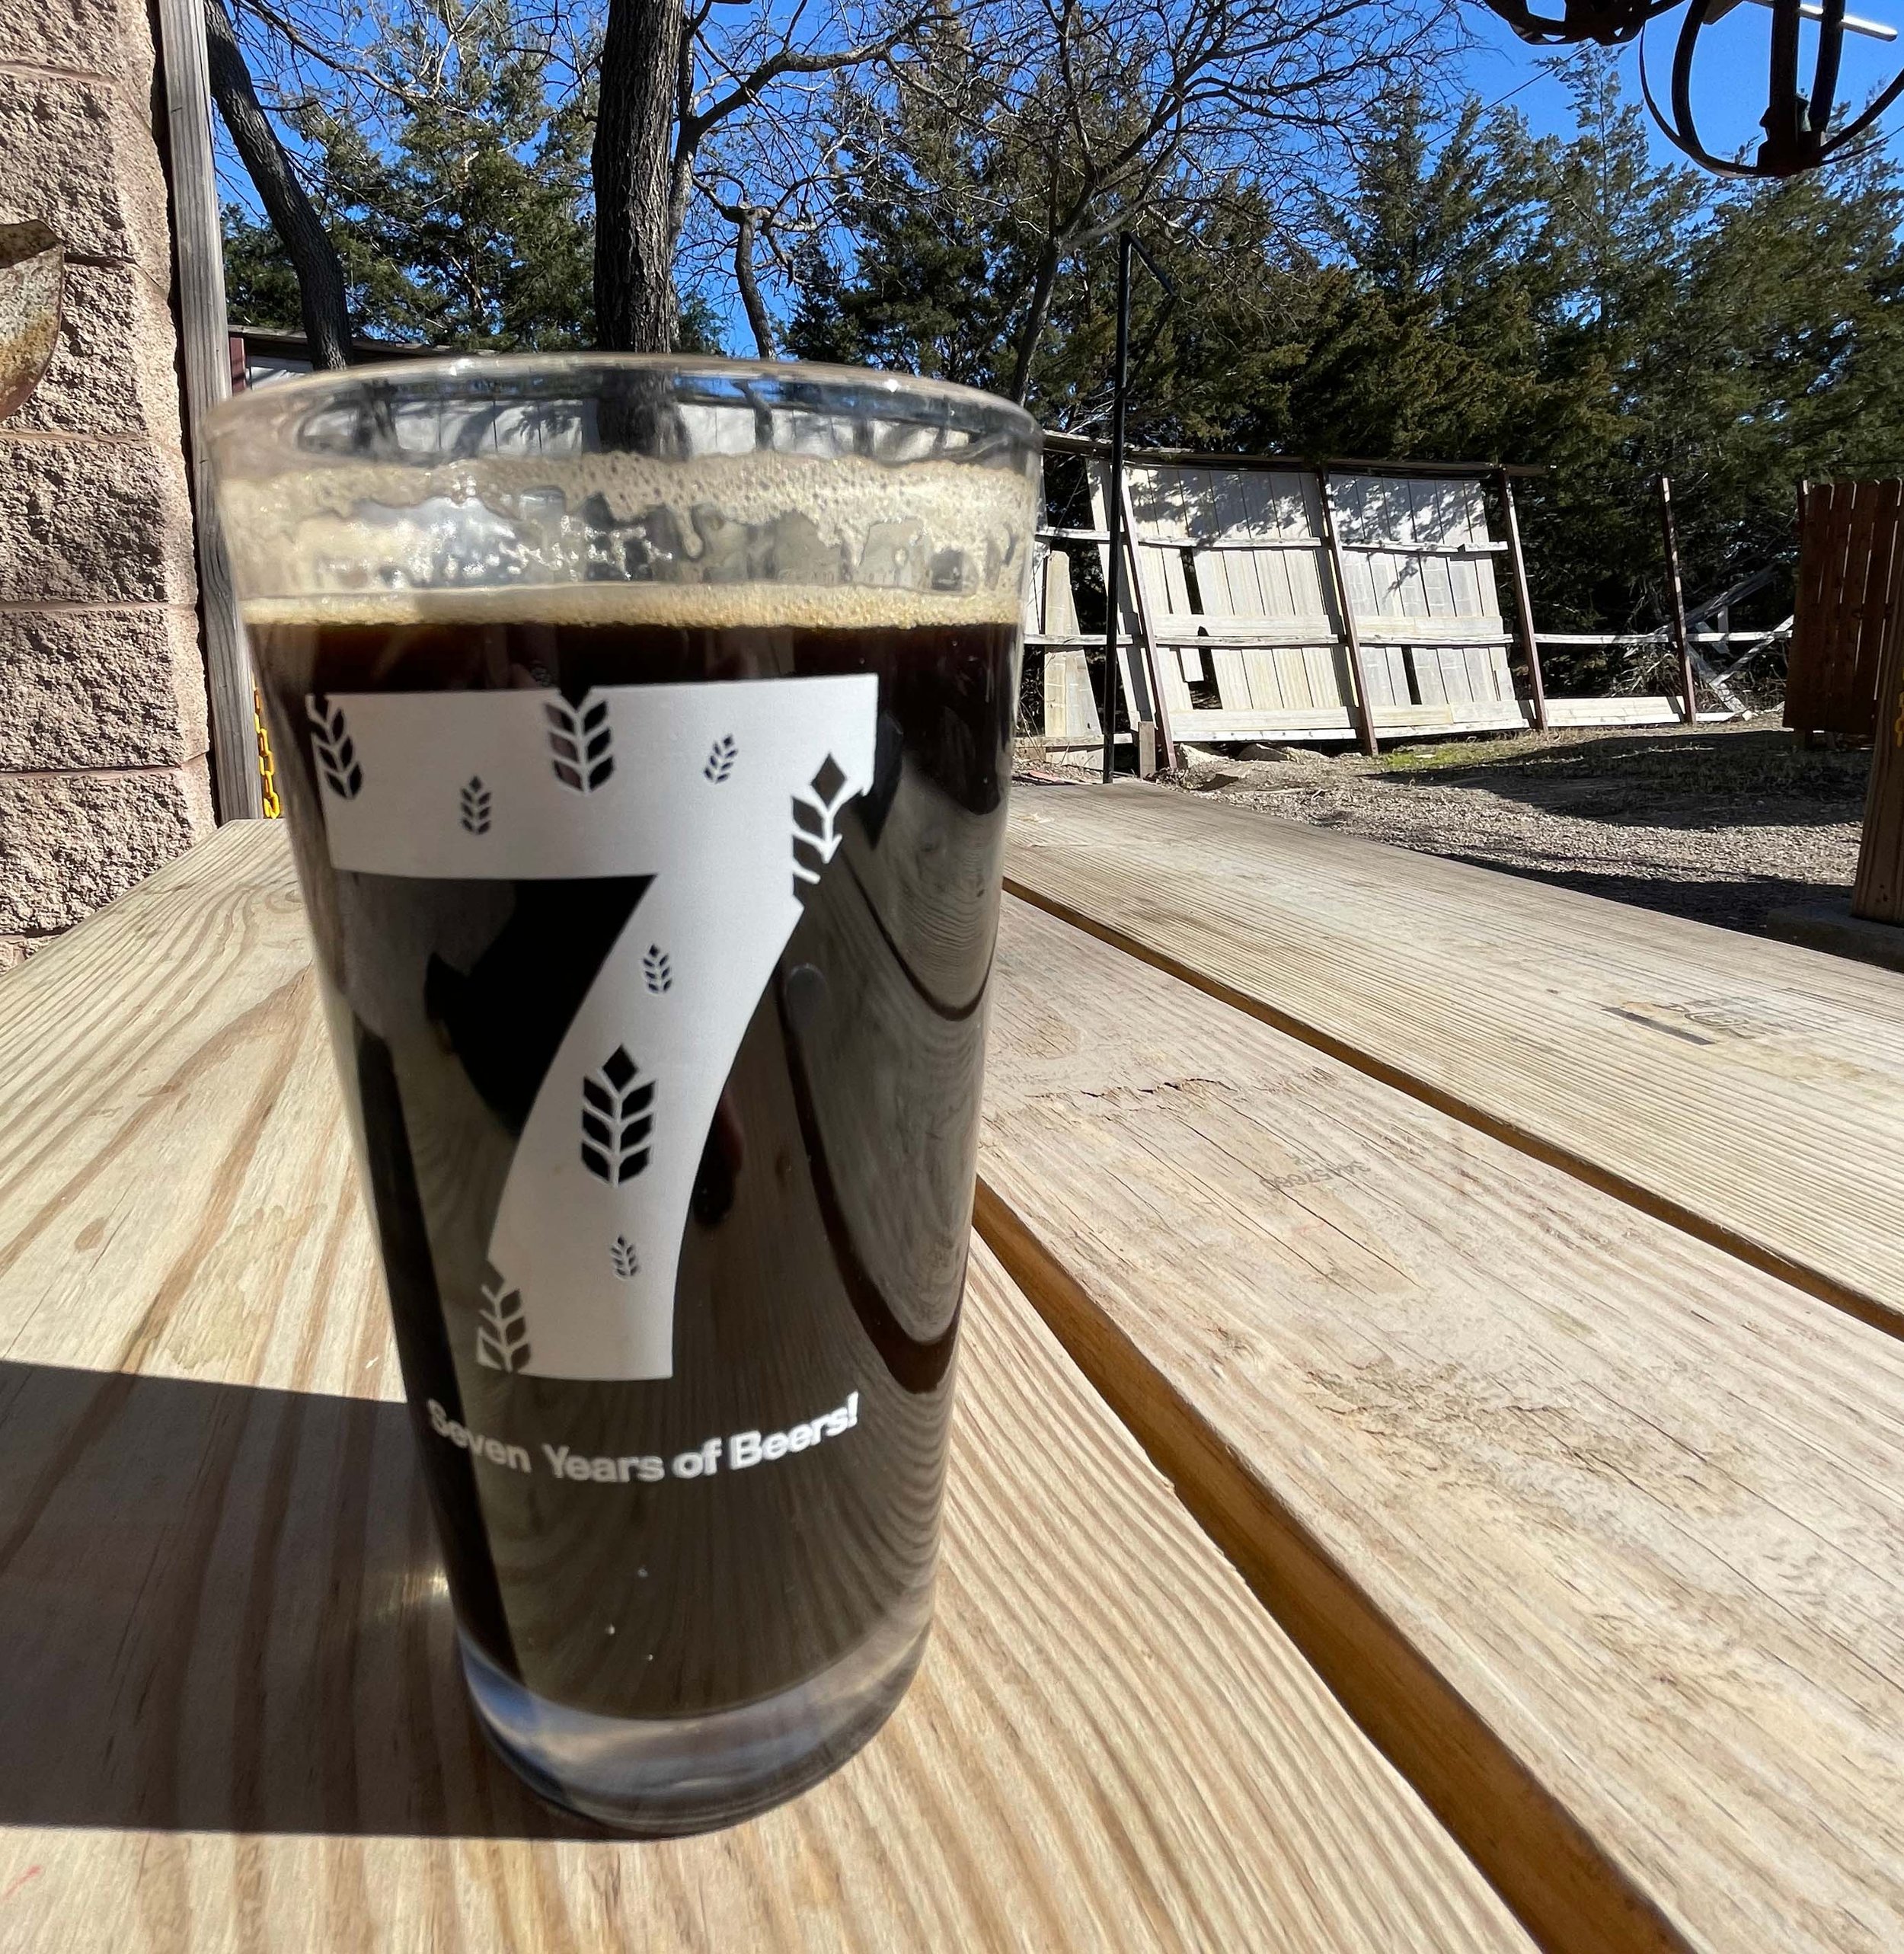
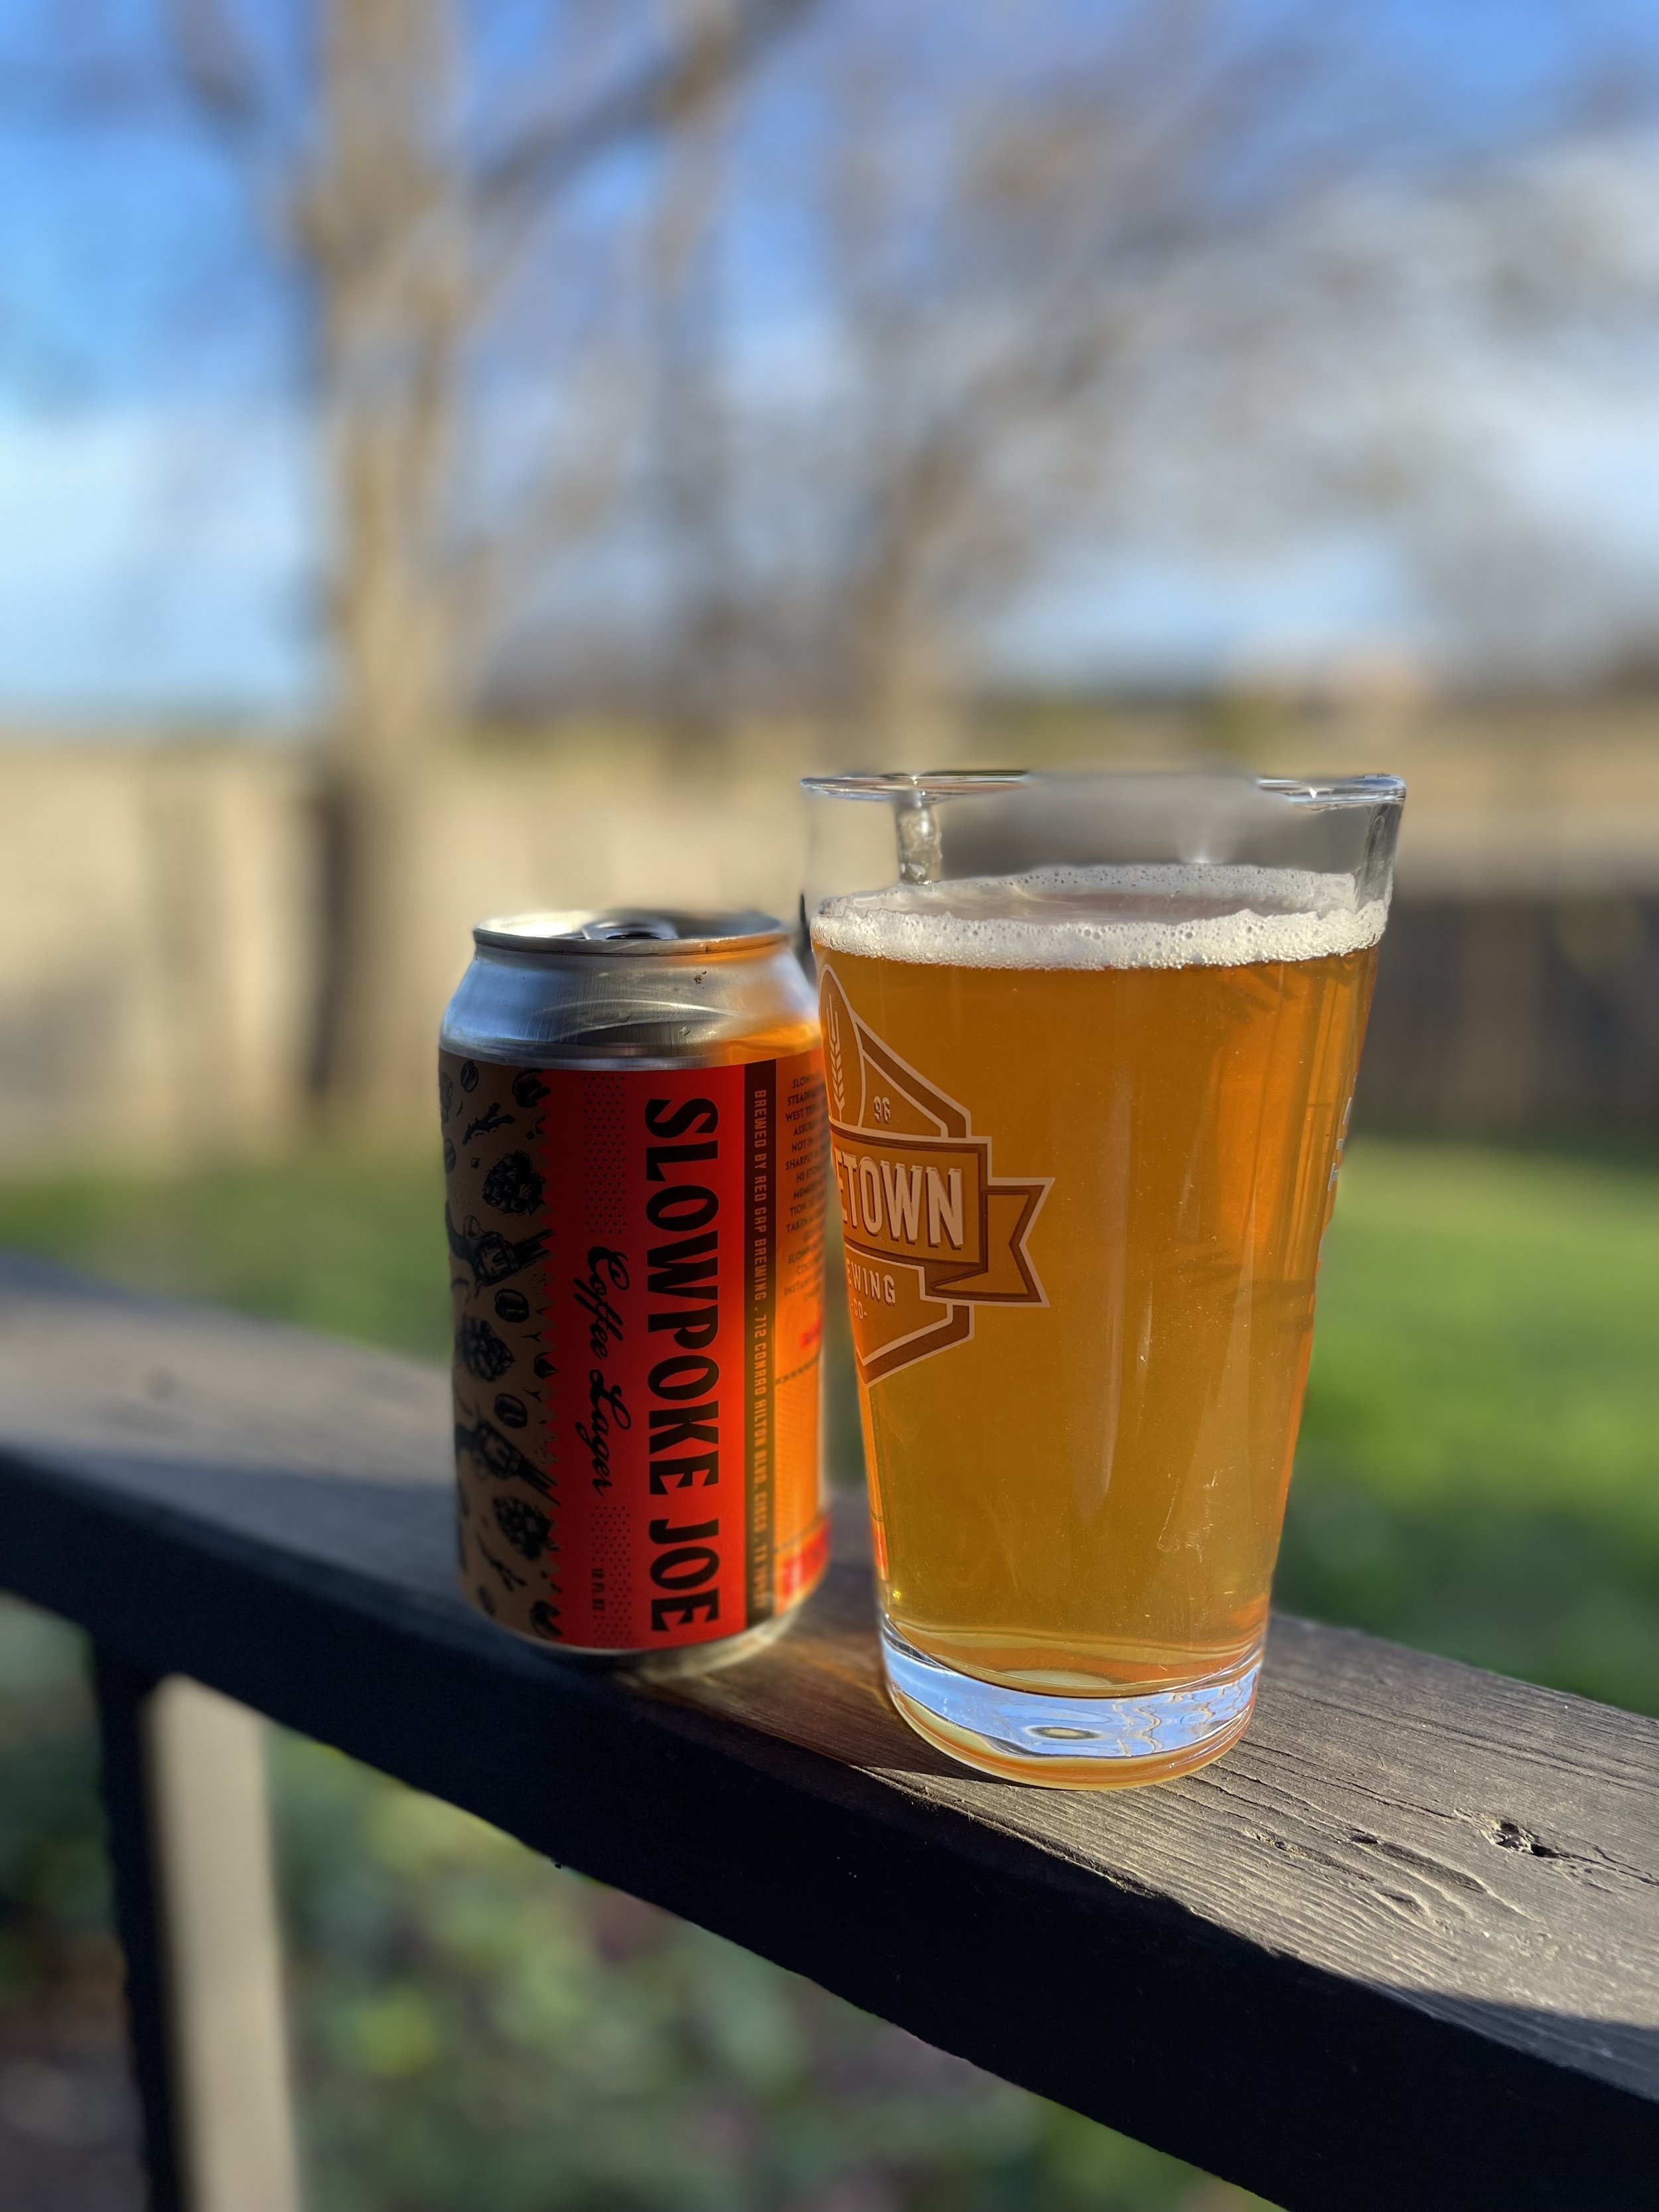
Use natural lighting whenever possible
Light from windows works great
Outdoor shots are a great idea too
Avoid yellow and fluorescent indoor lighting
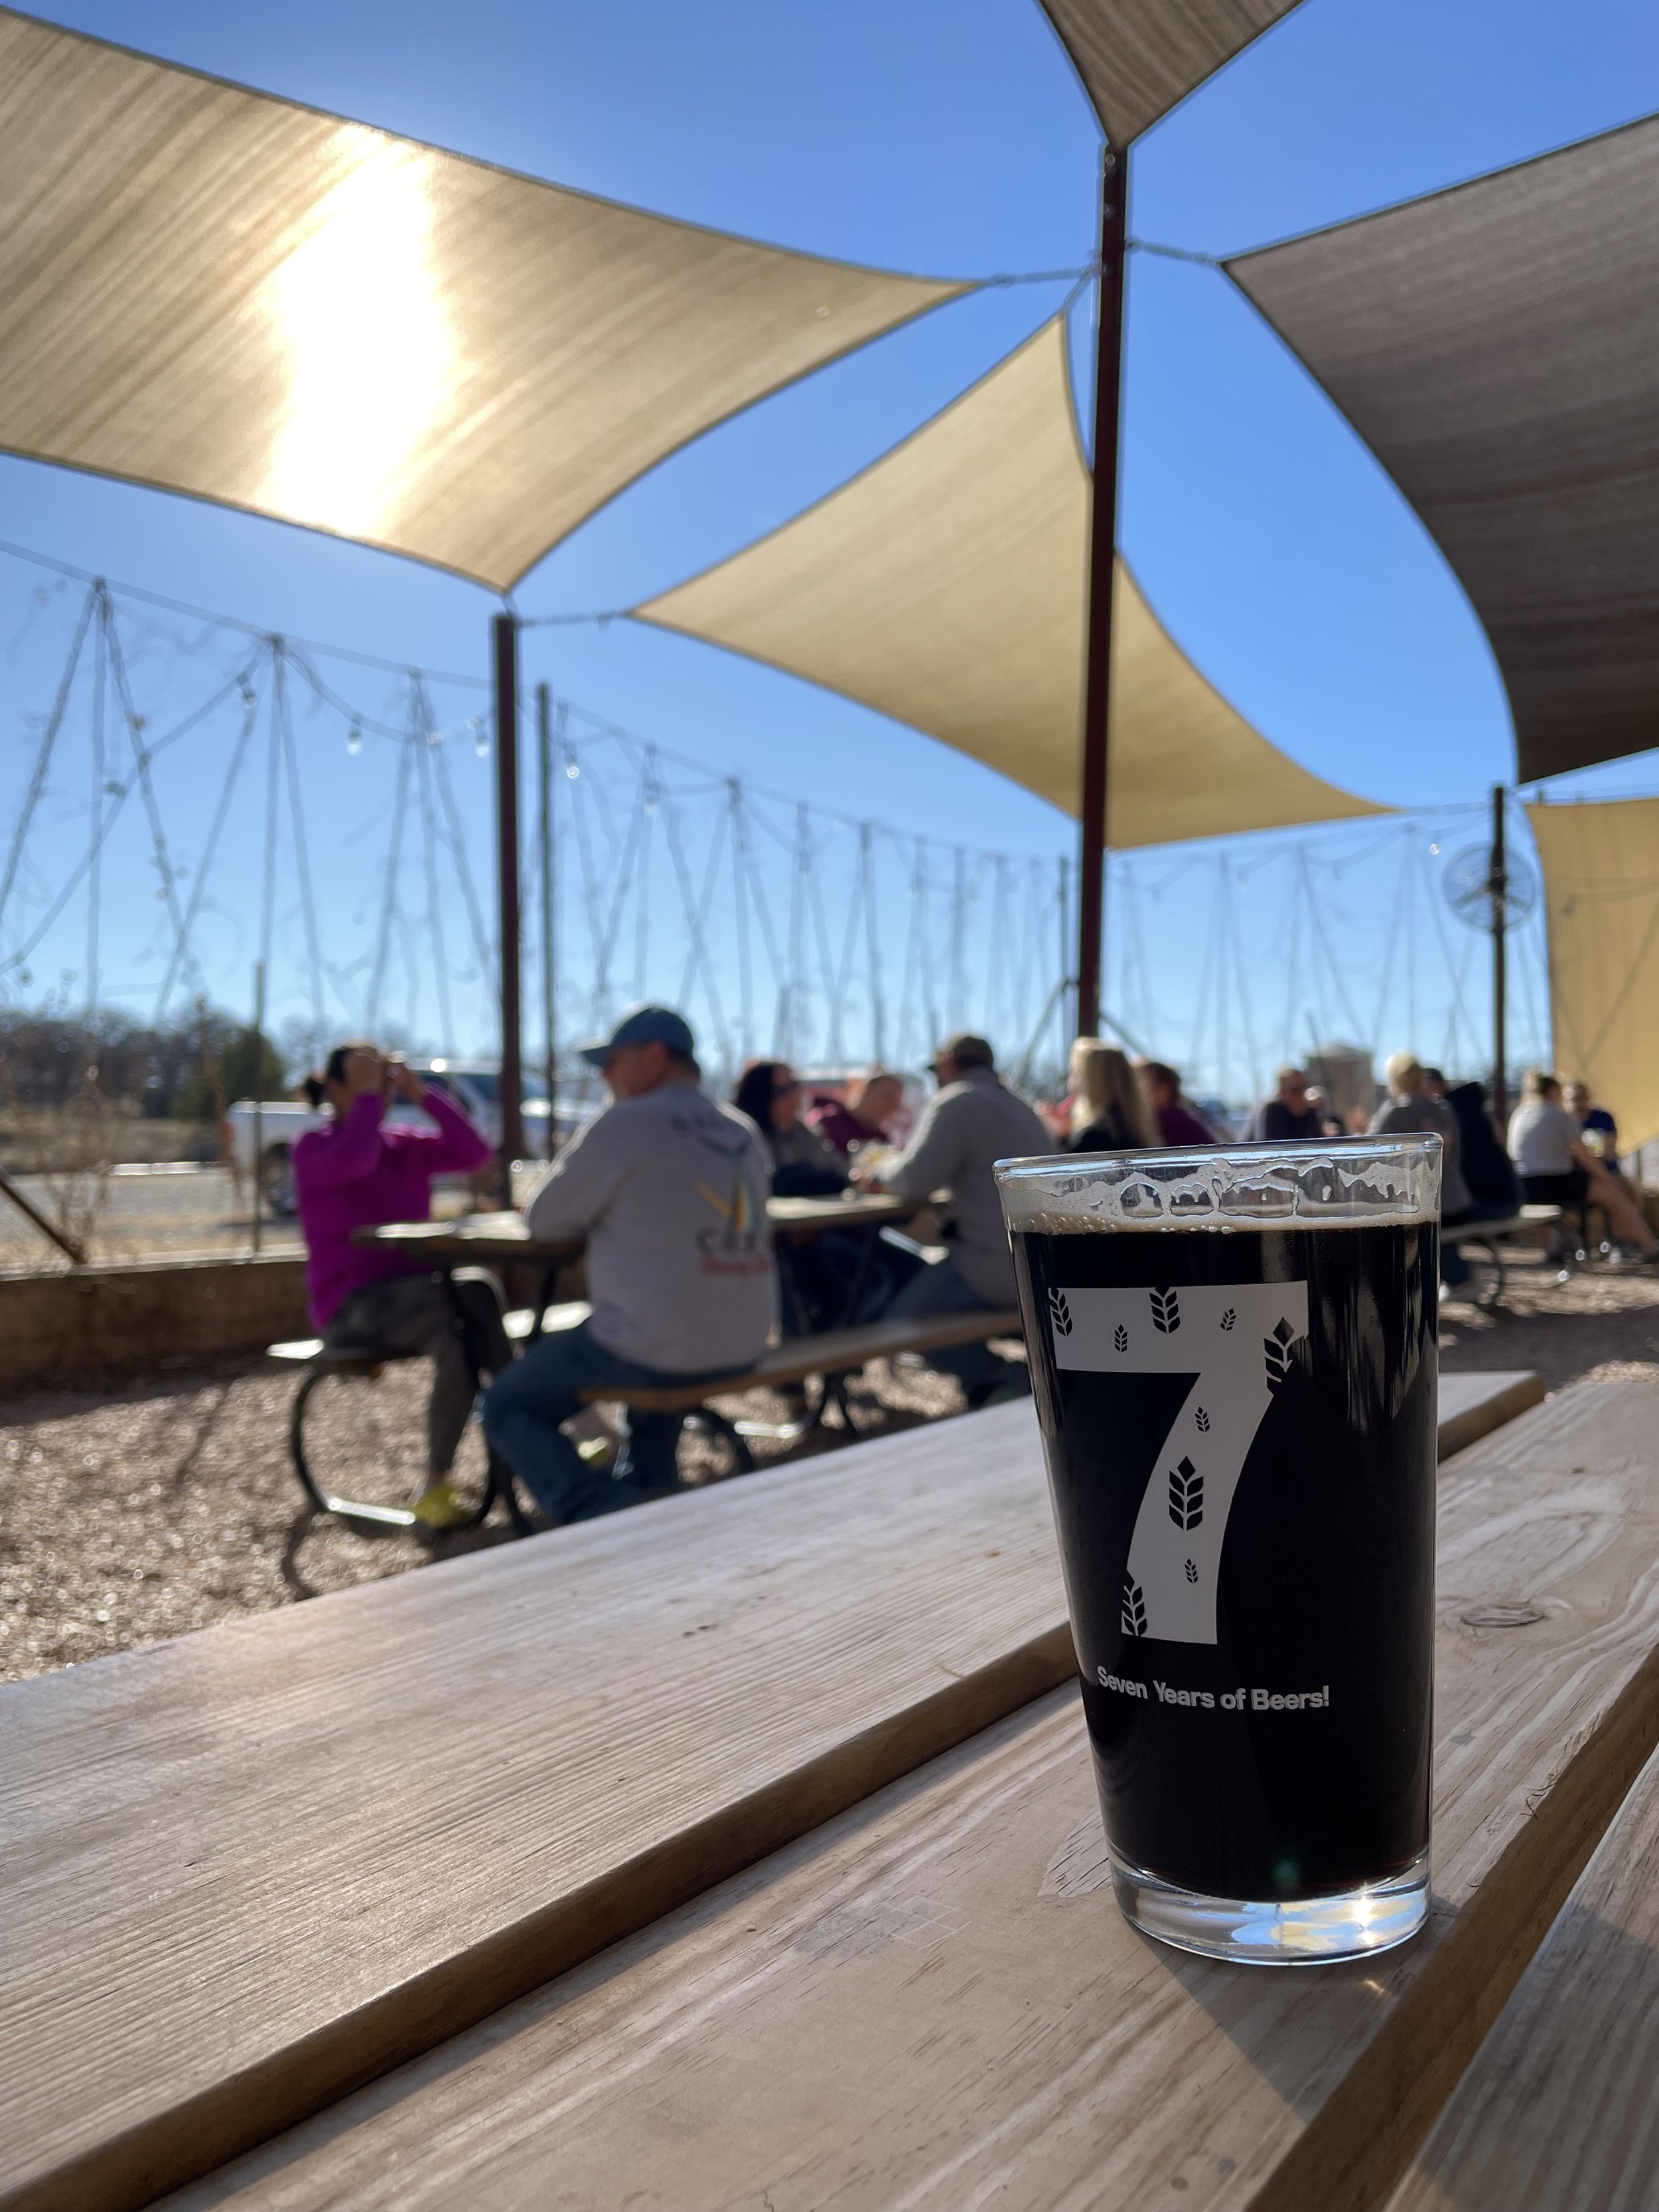
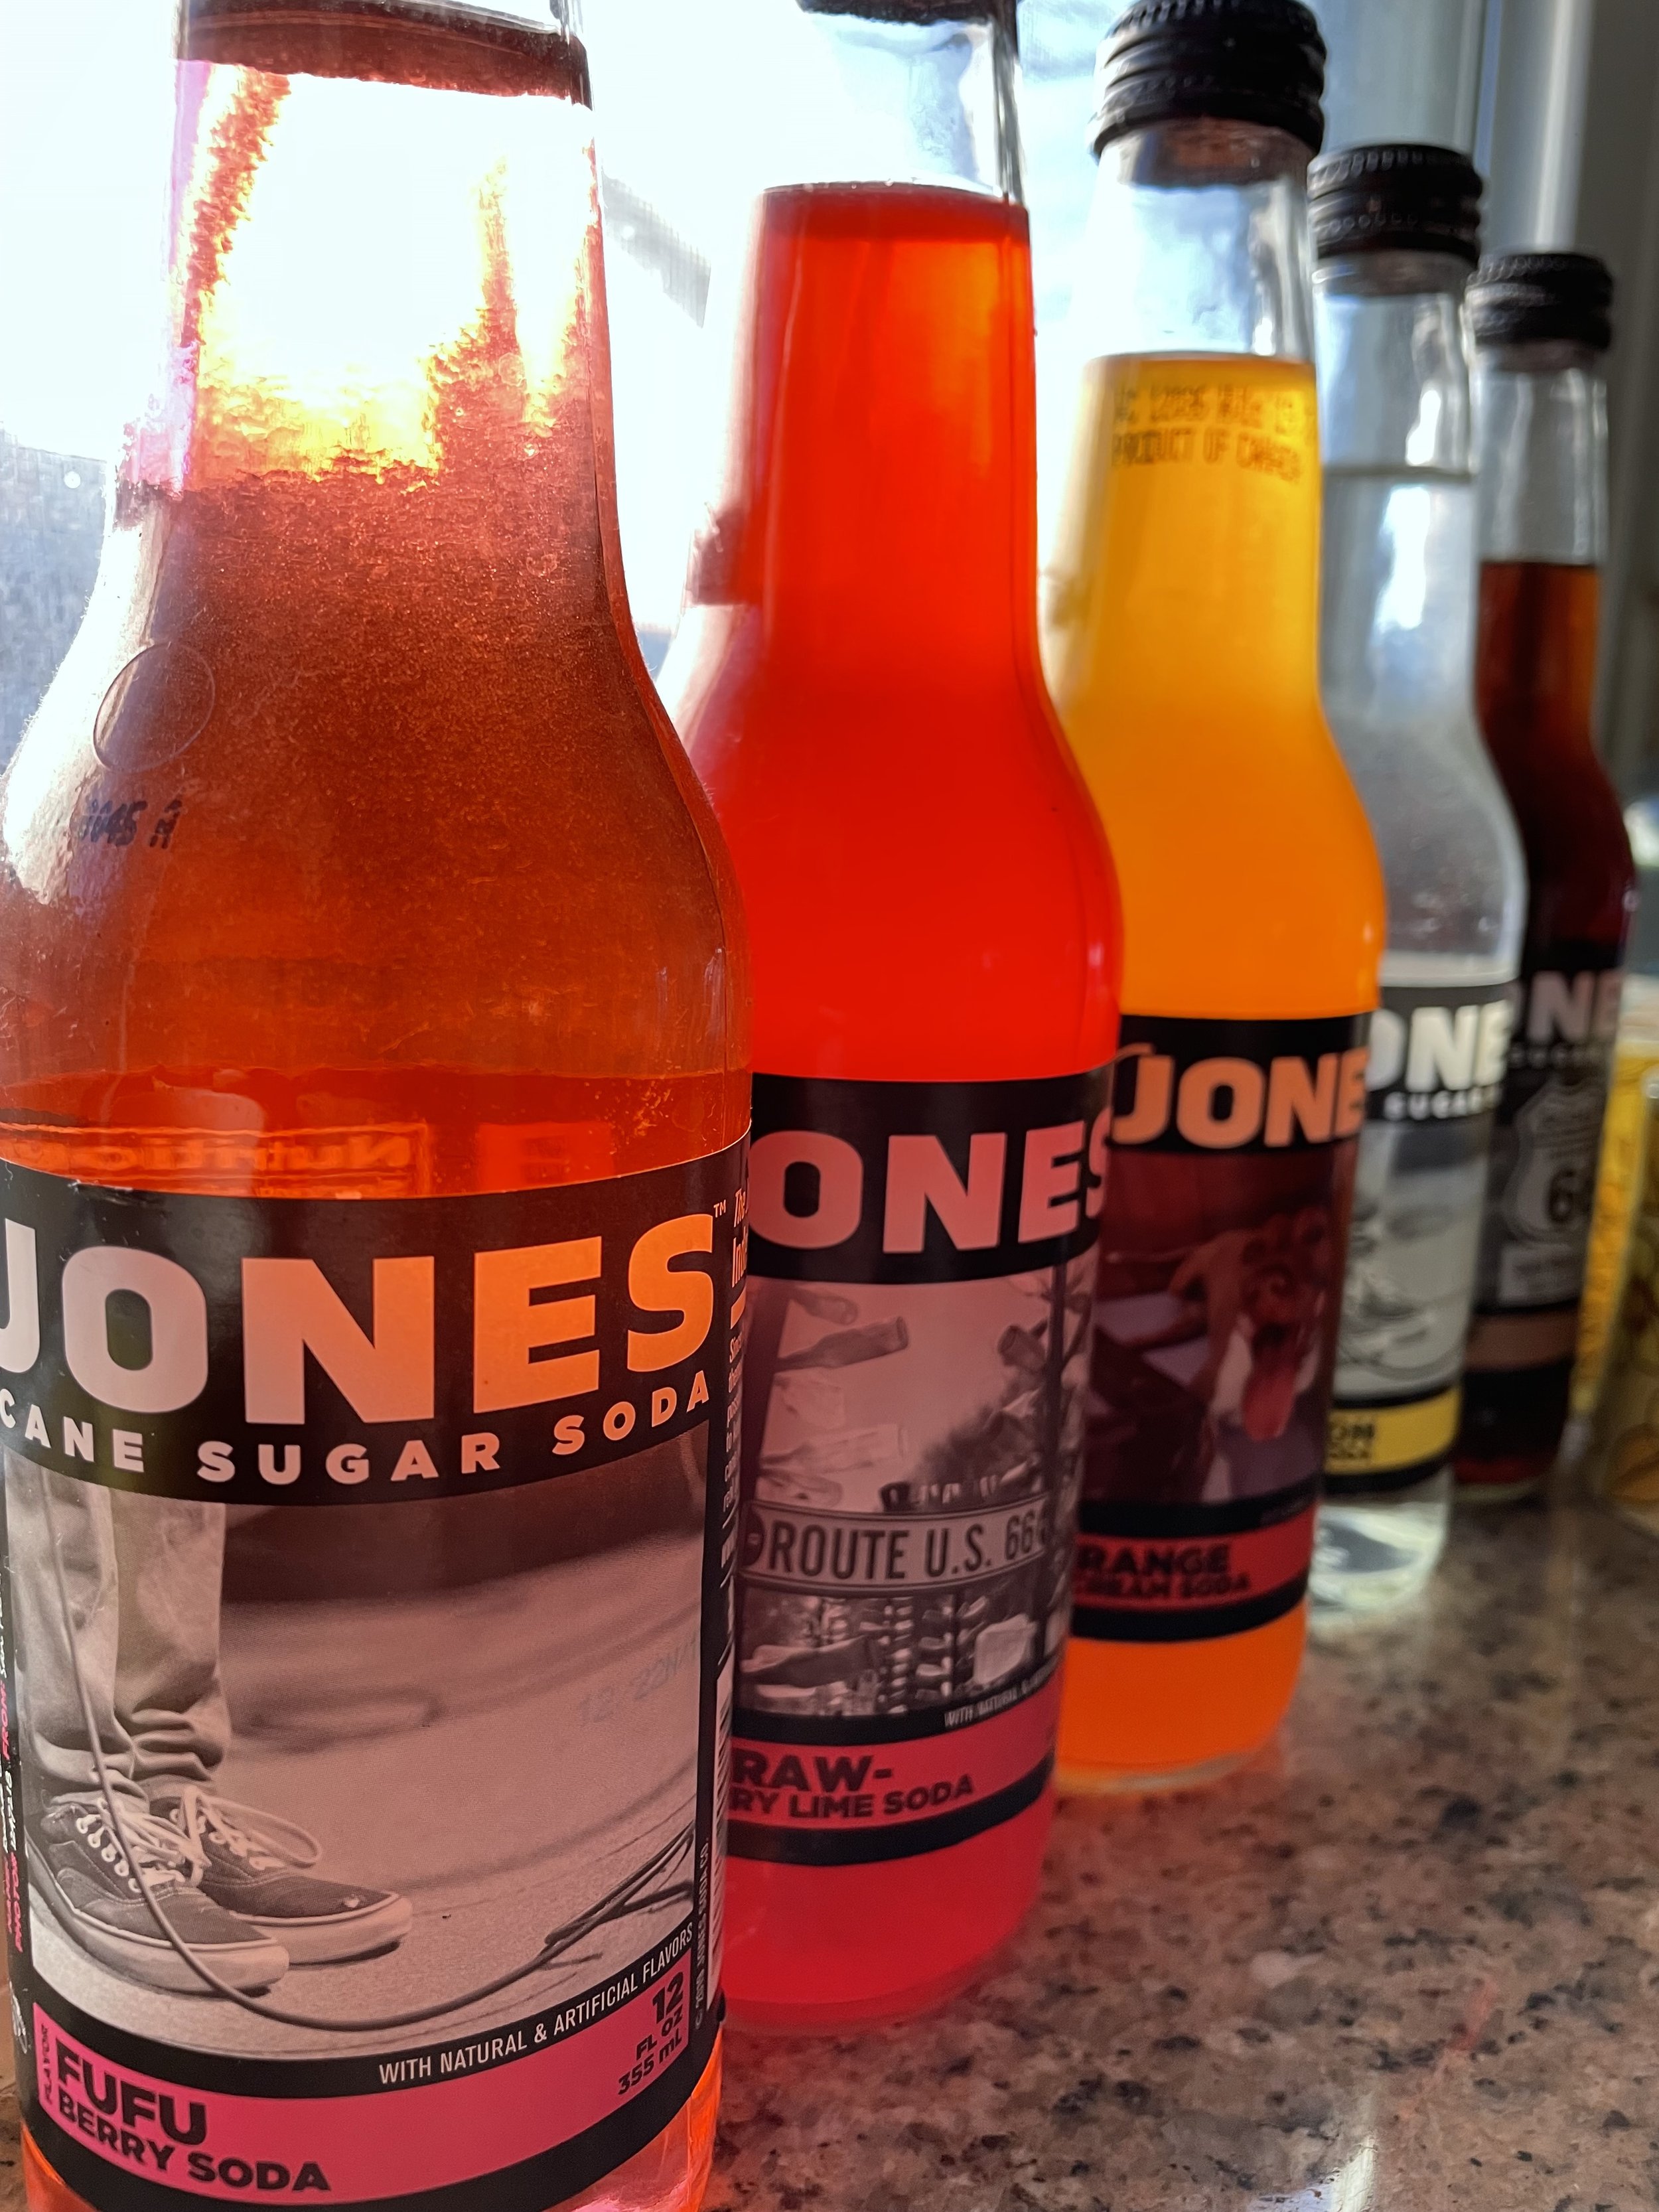
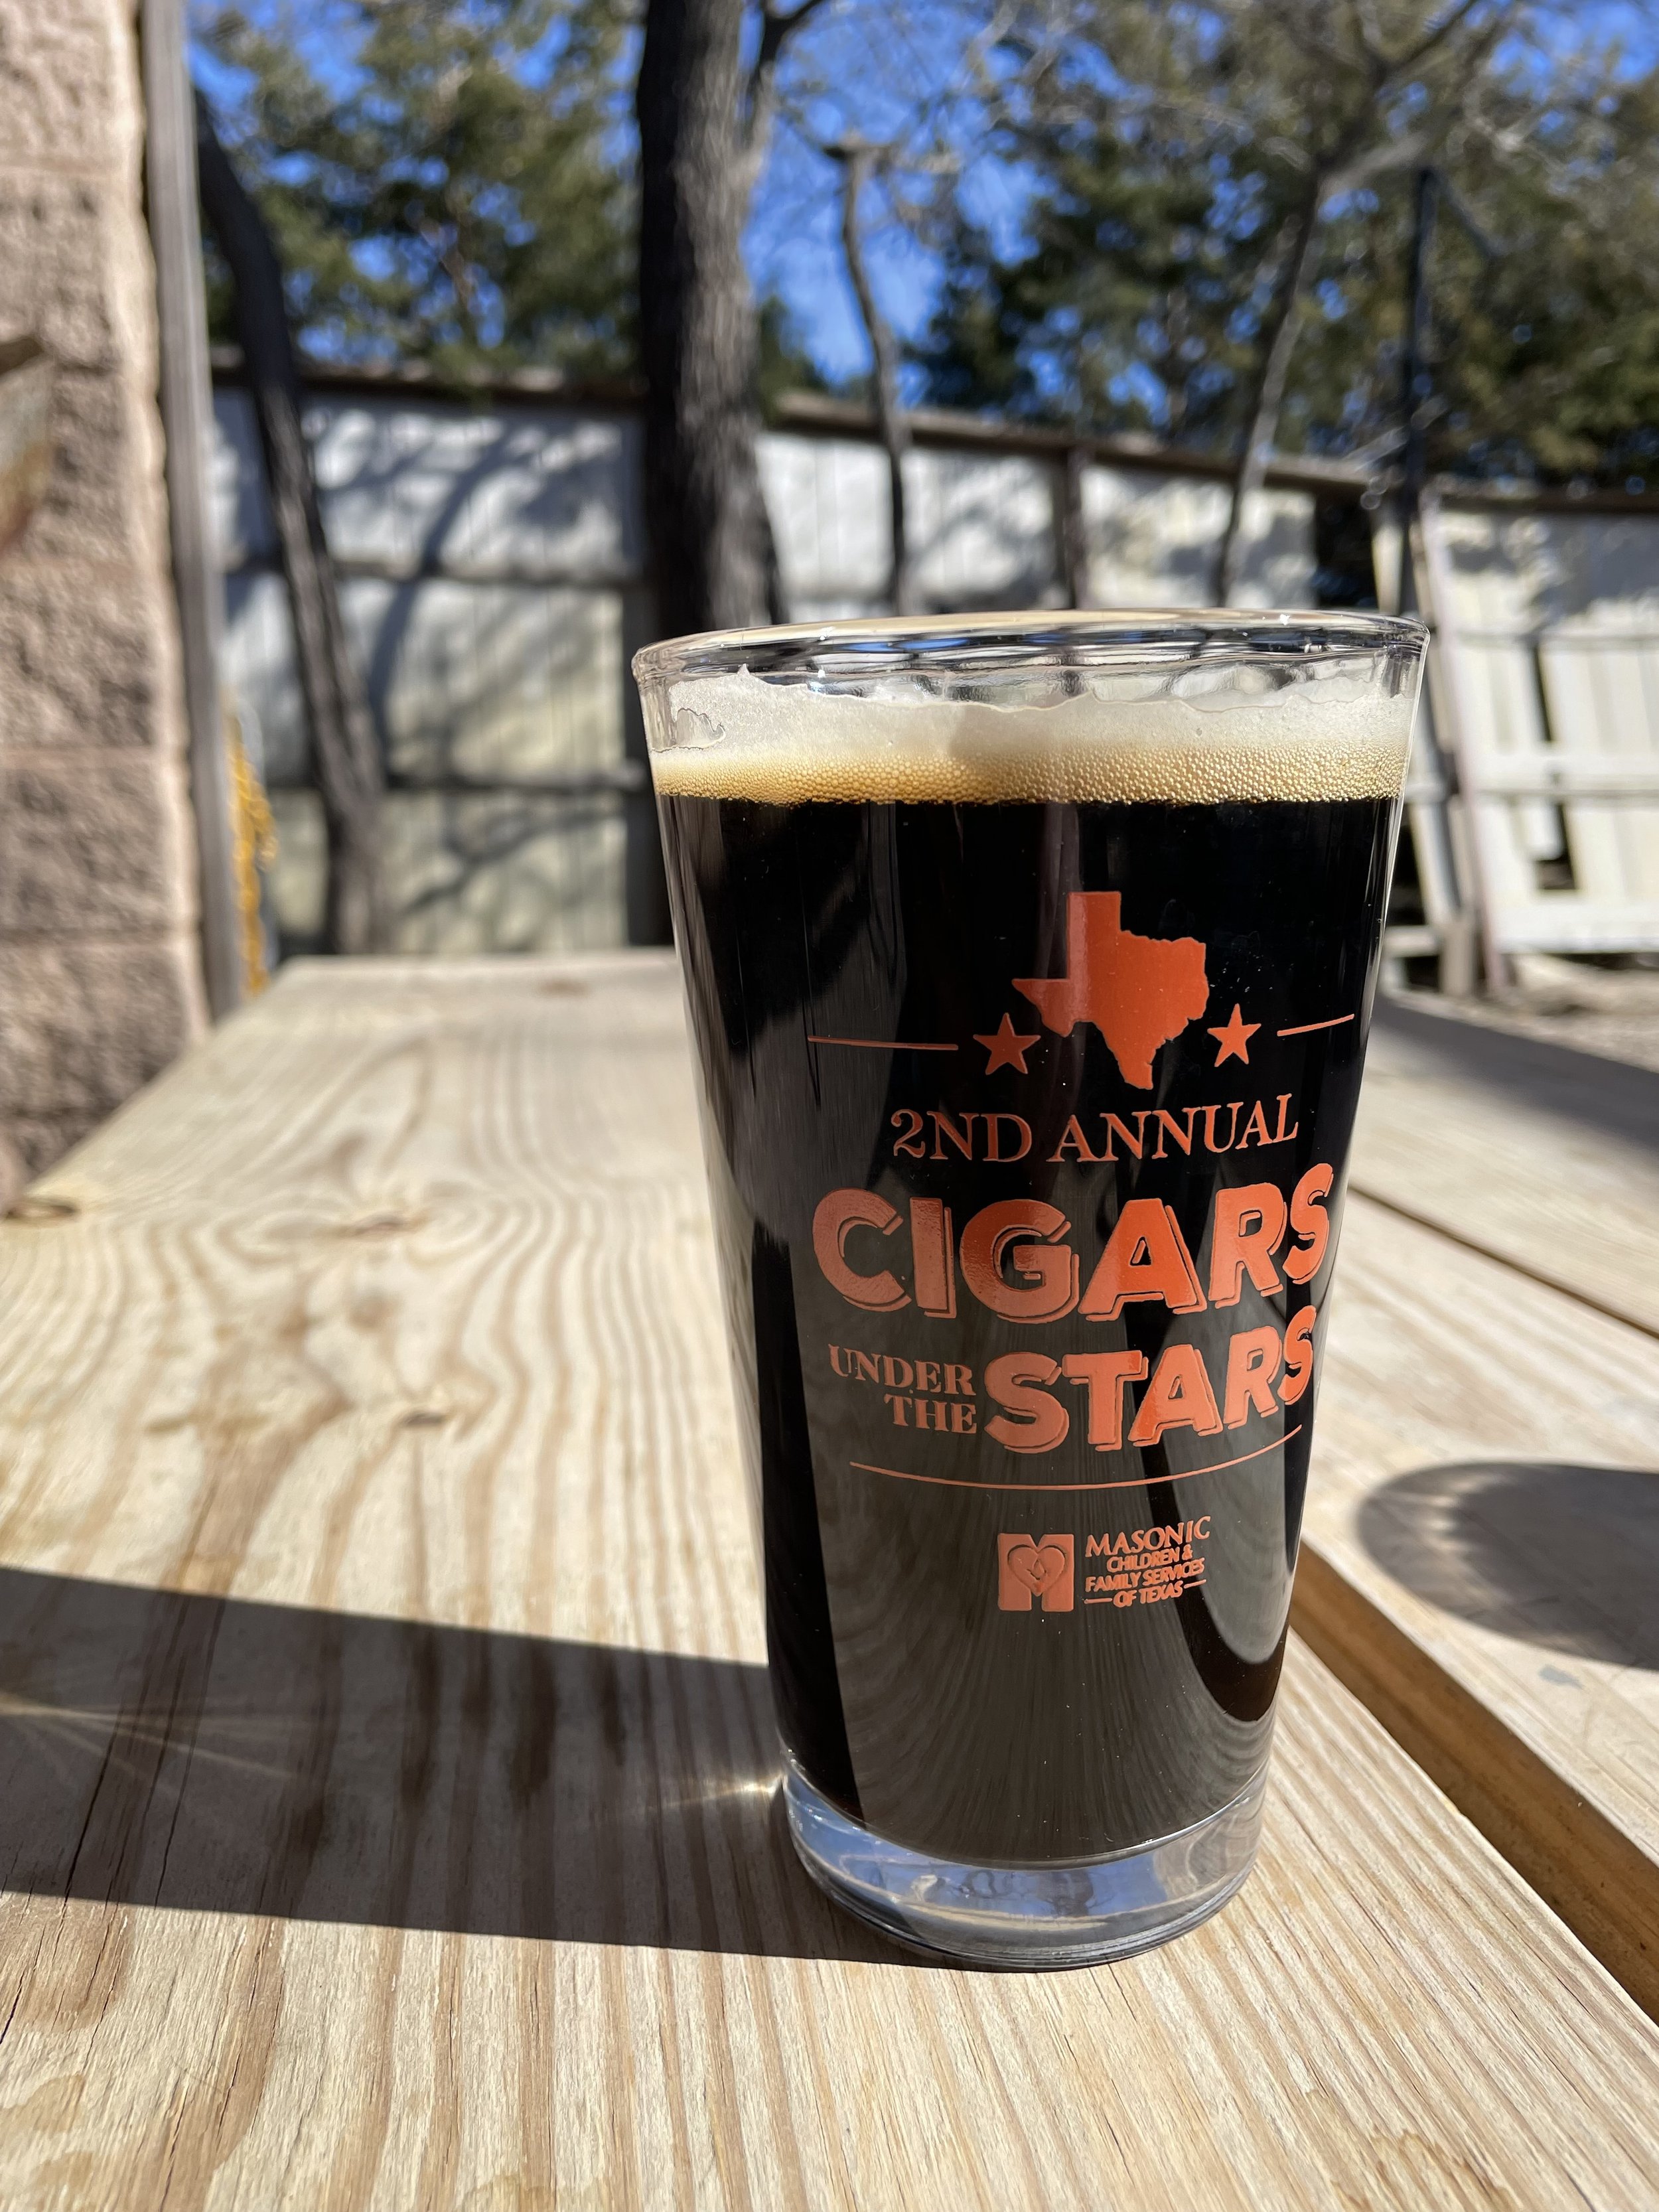
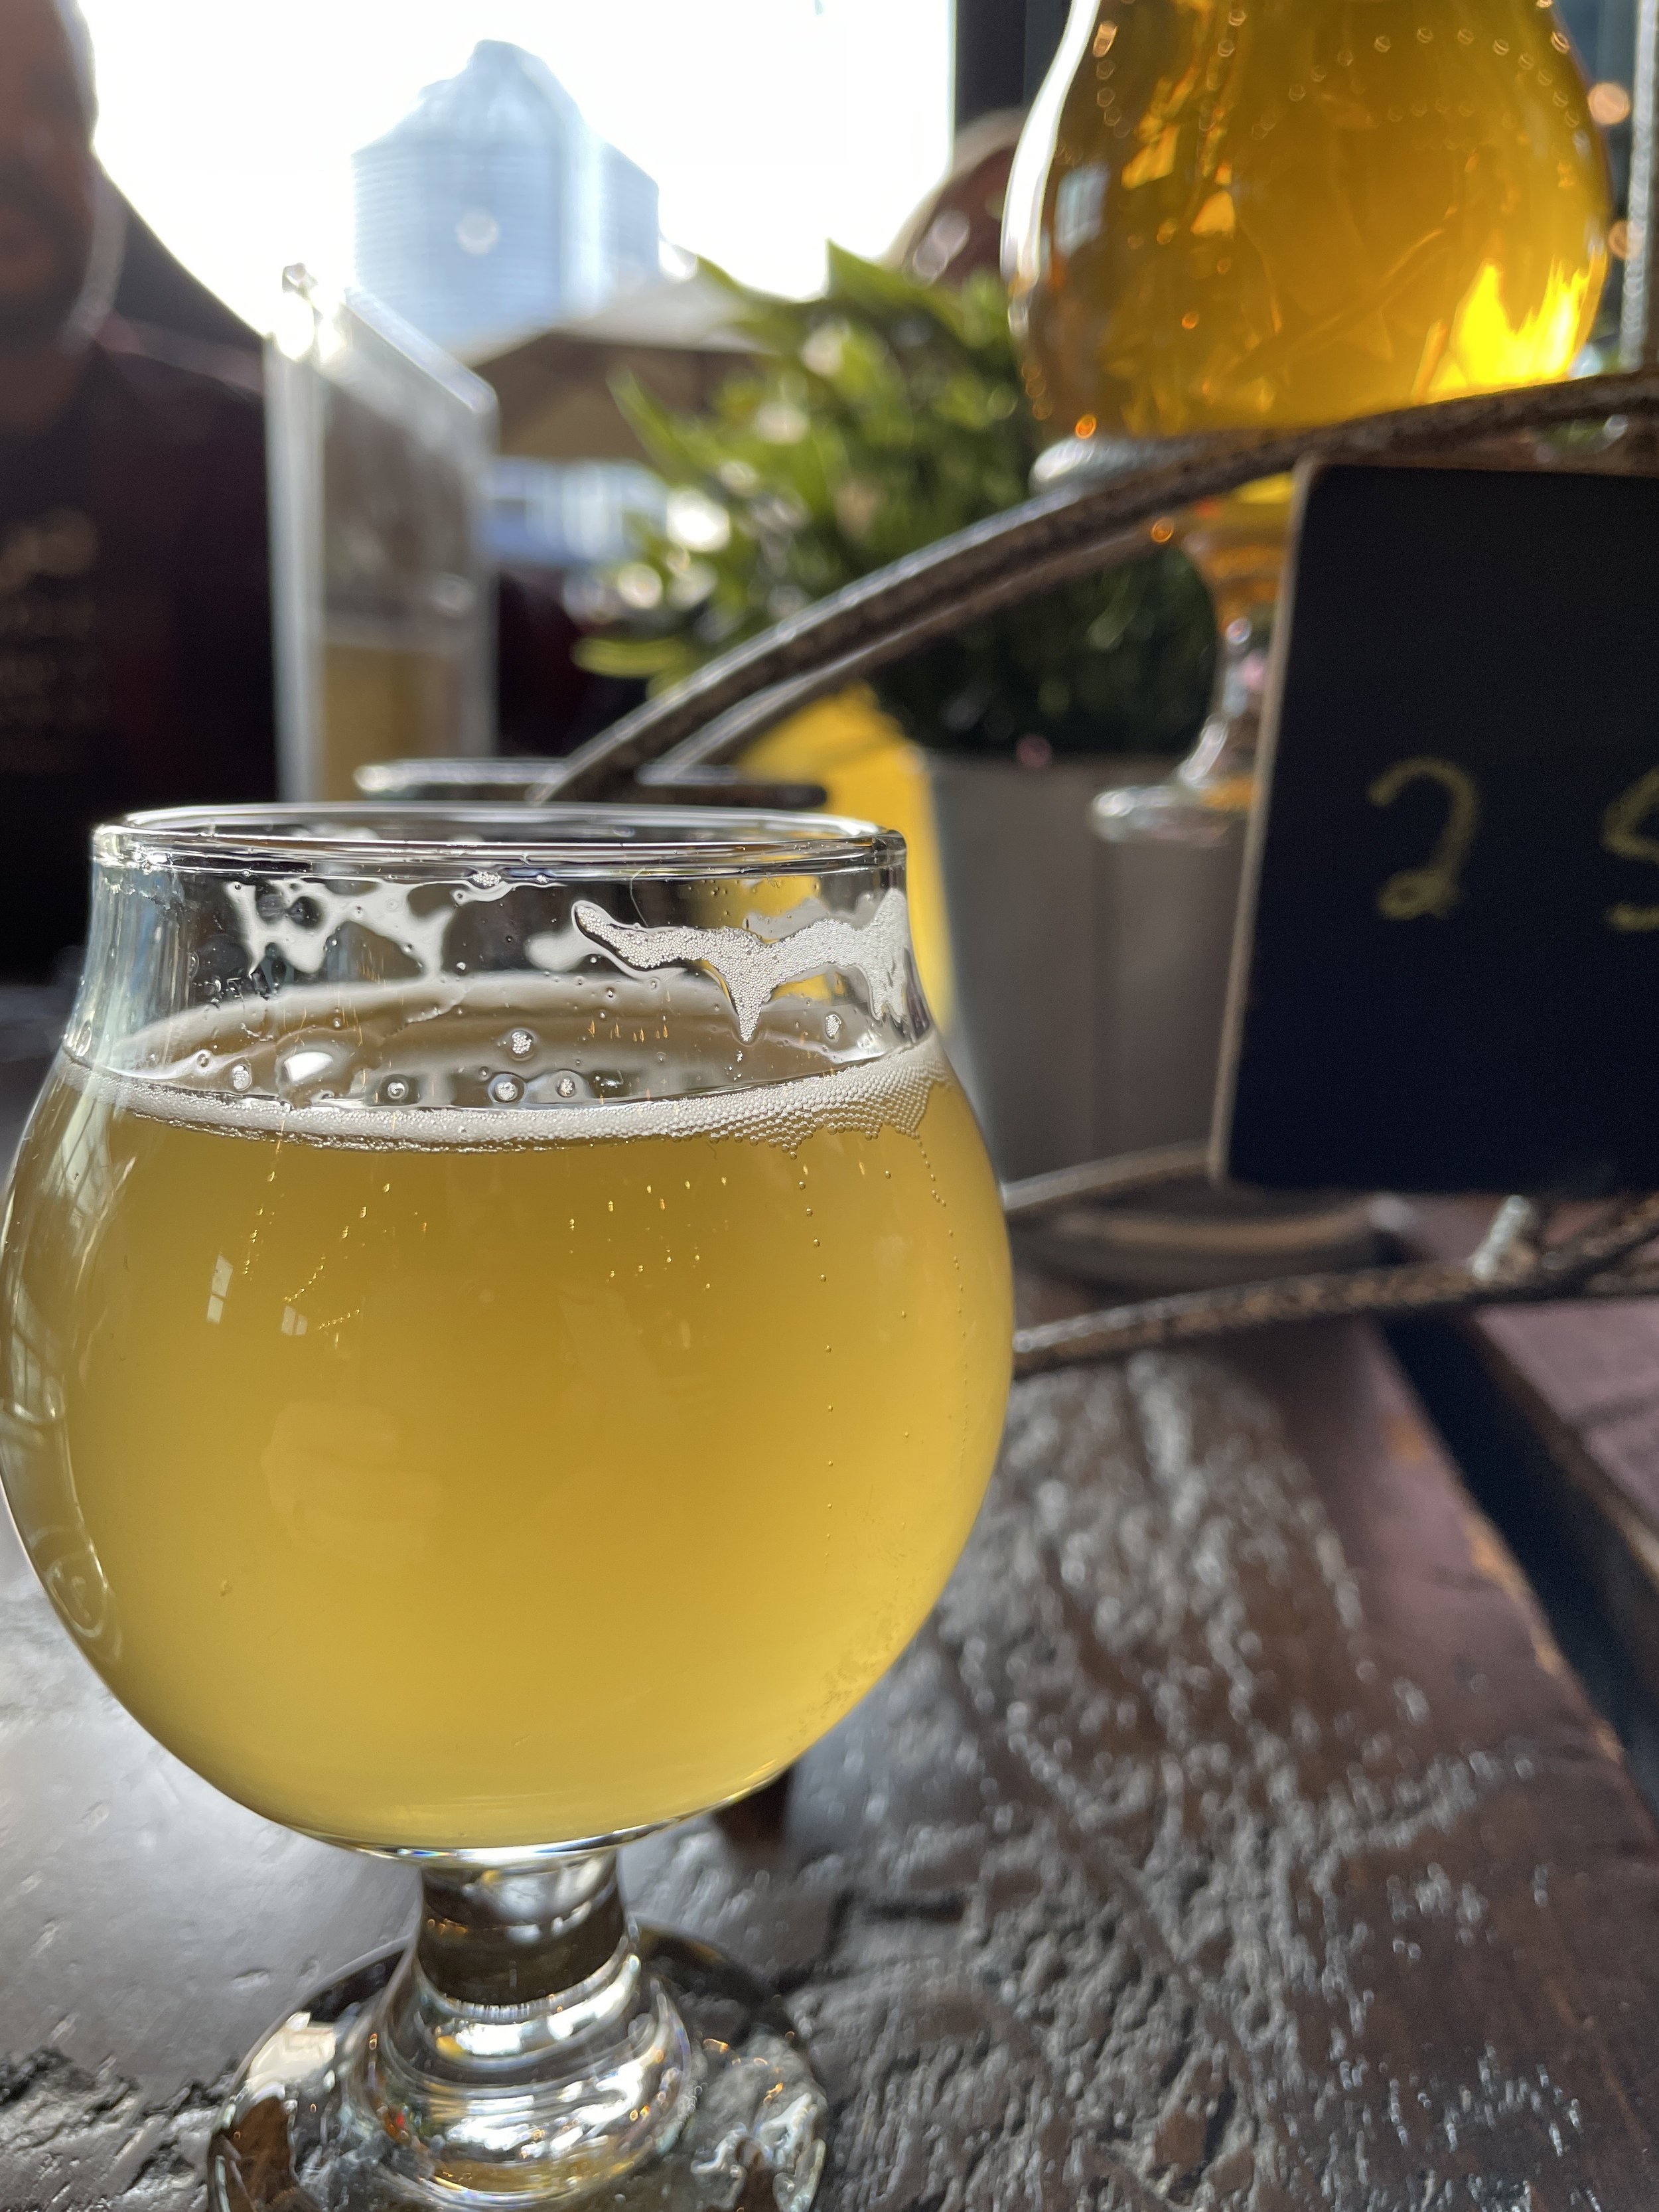
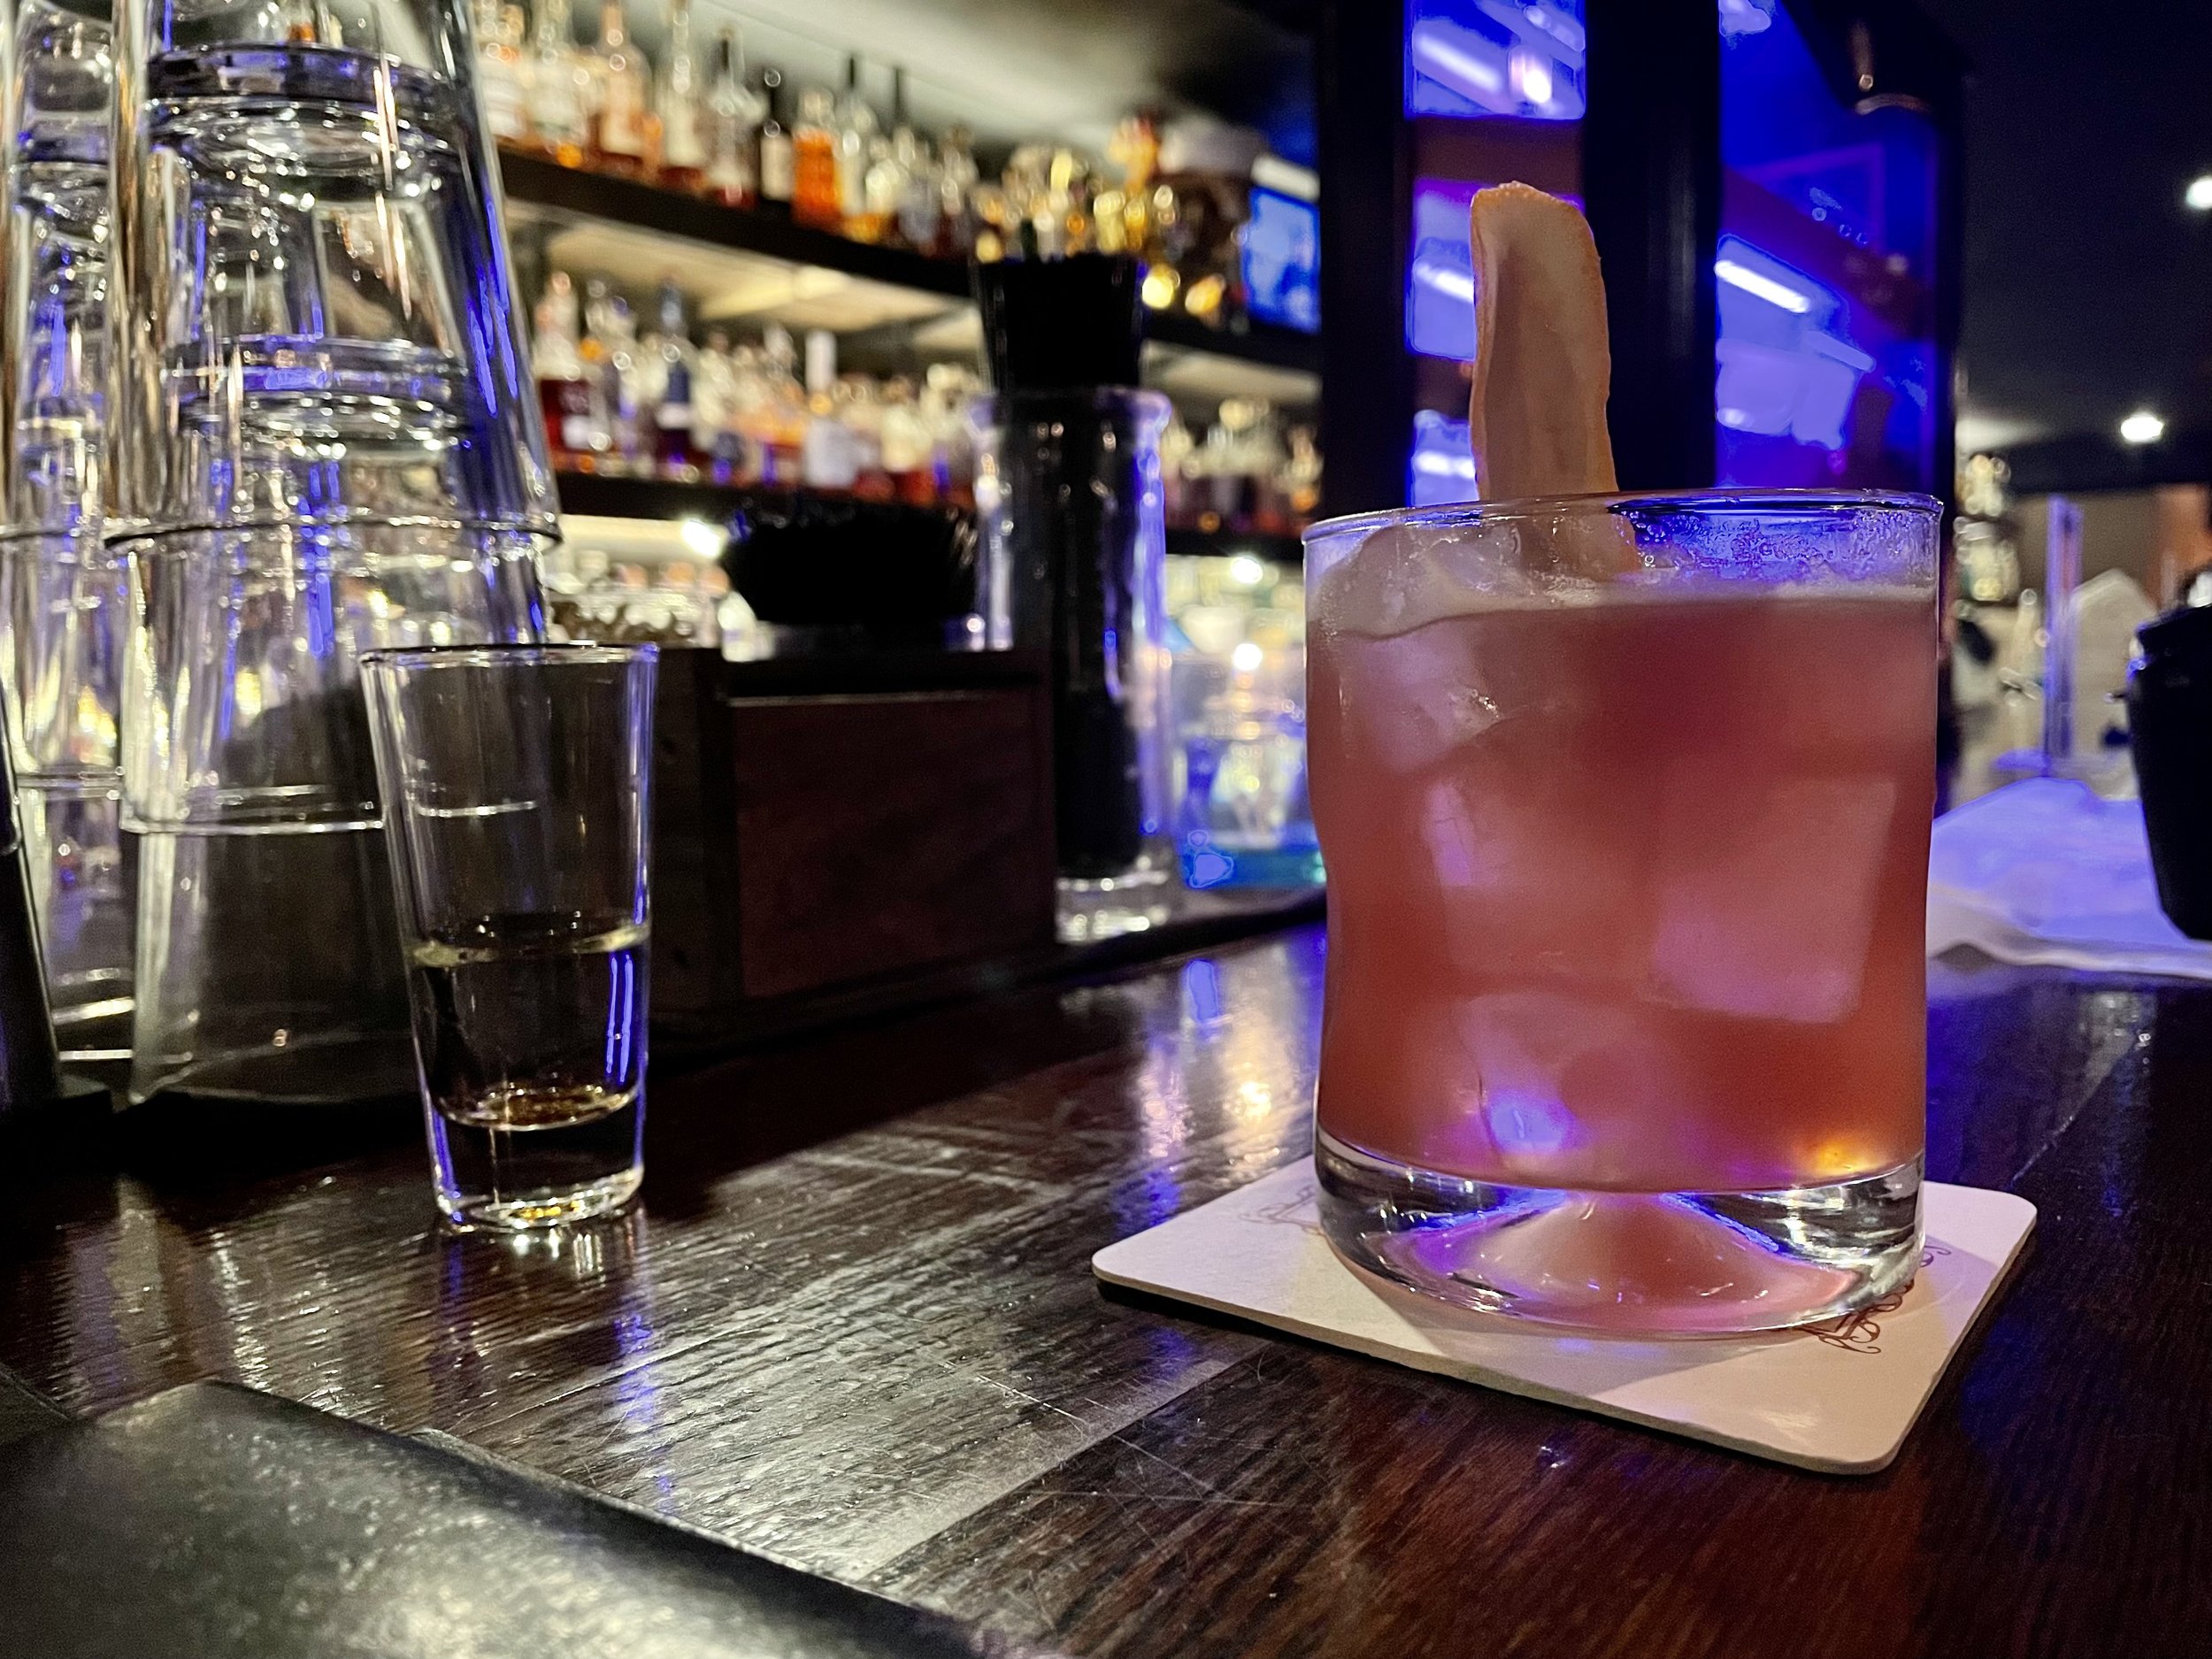
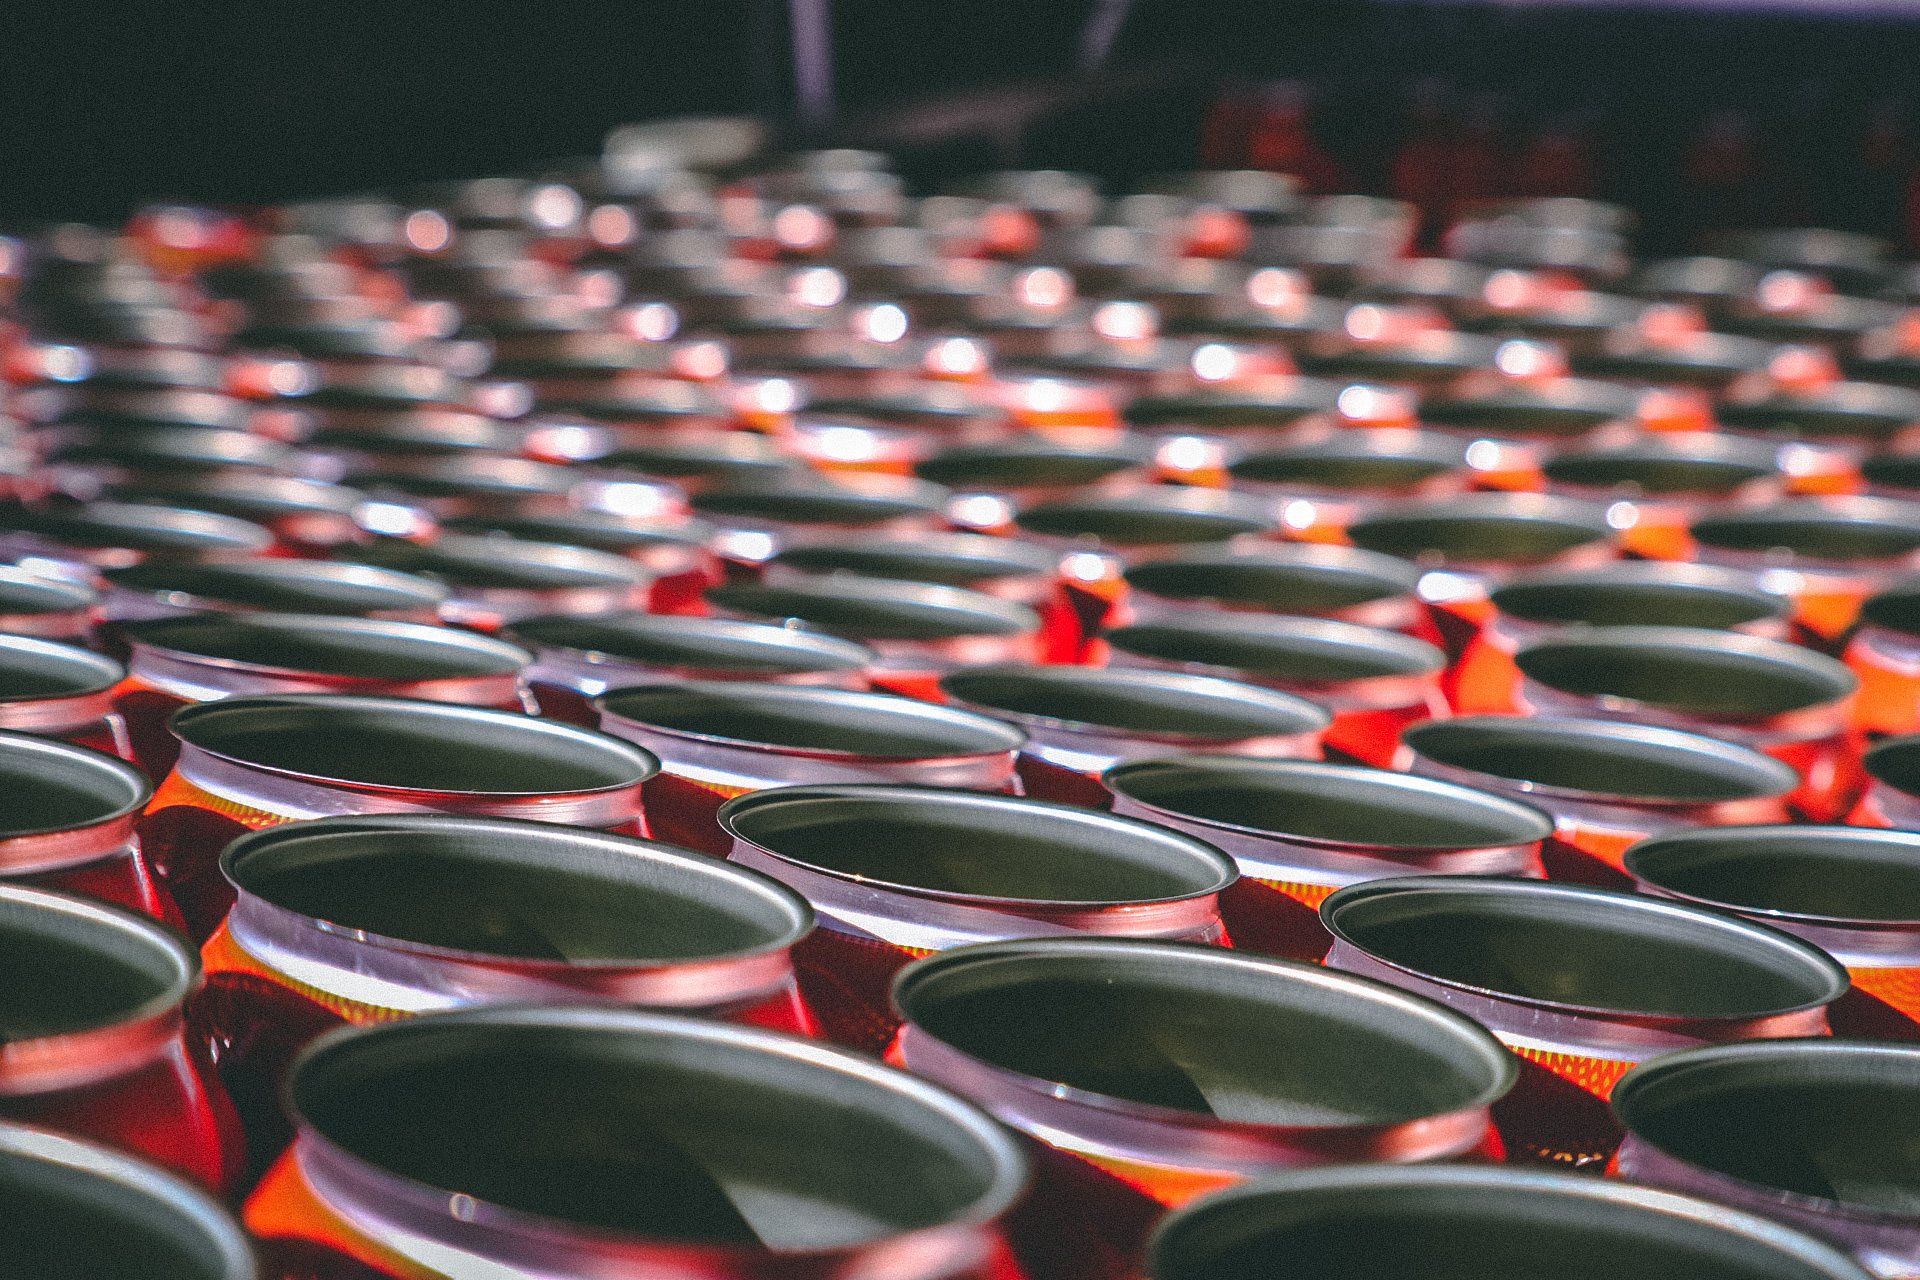
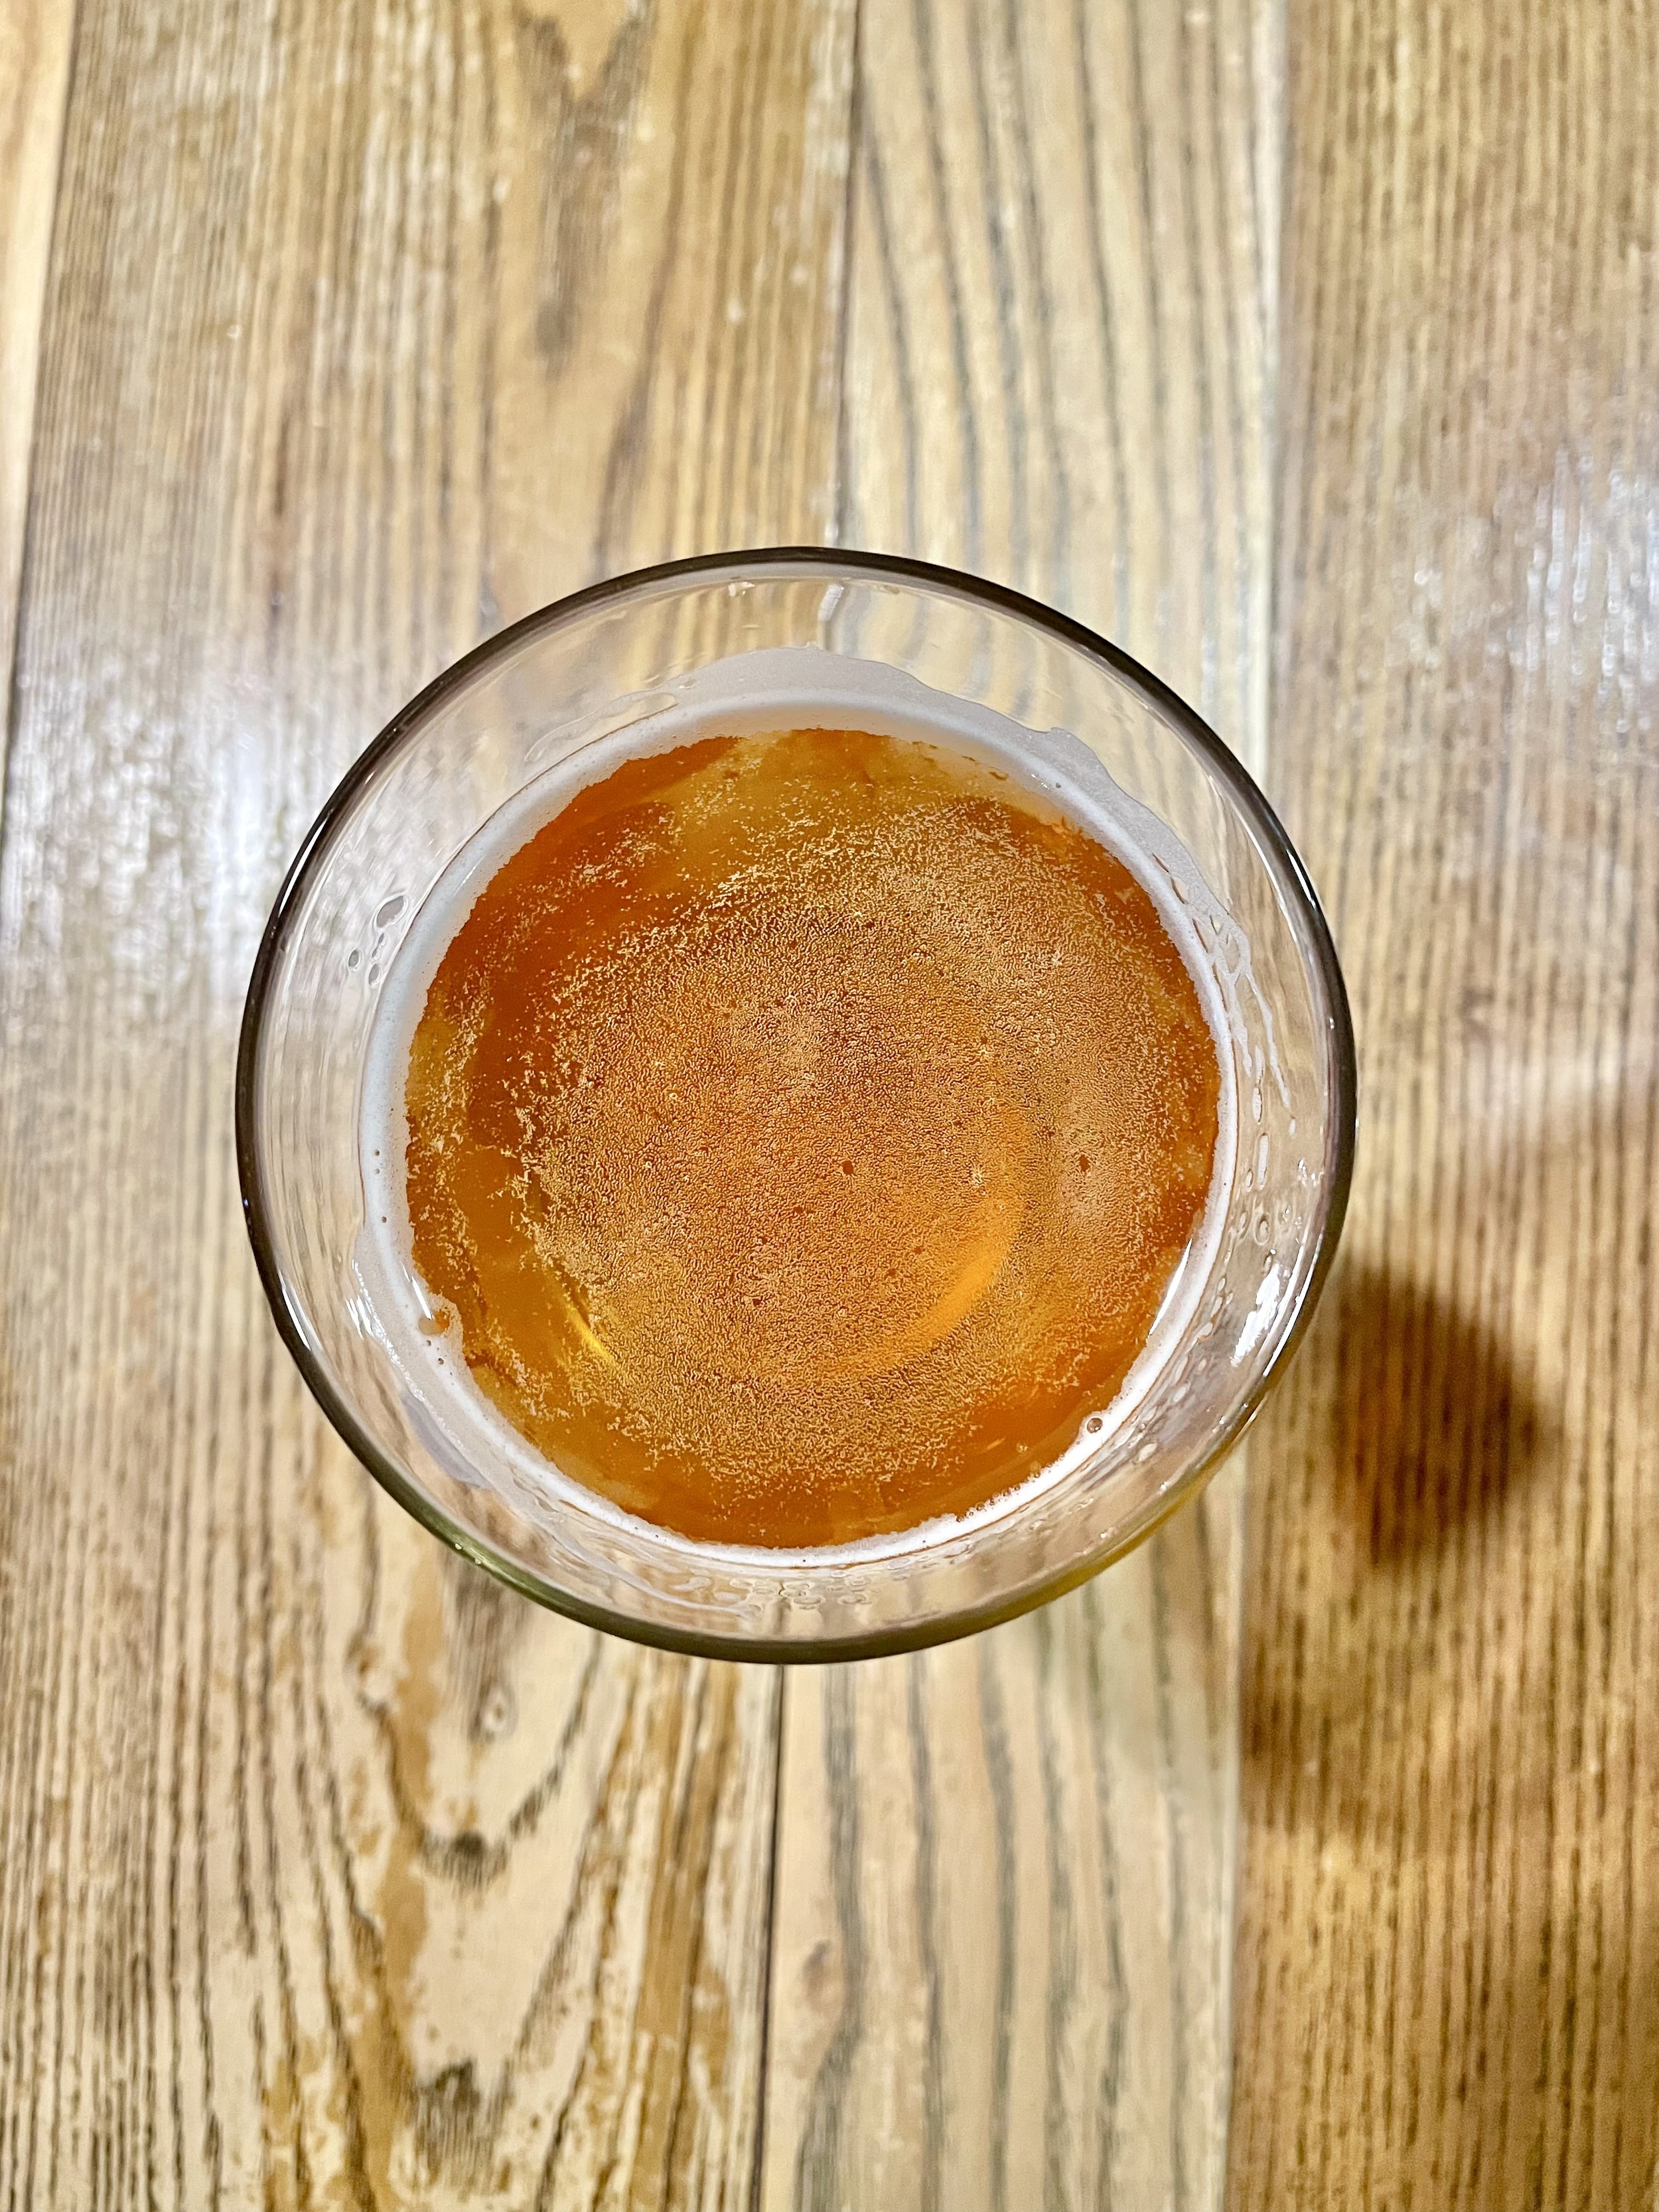
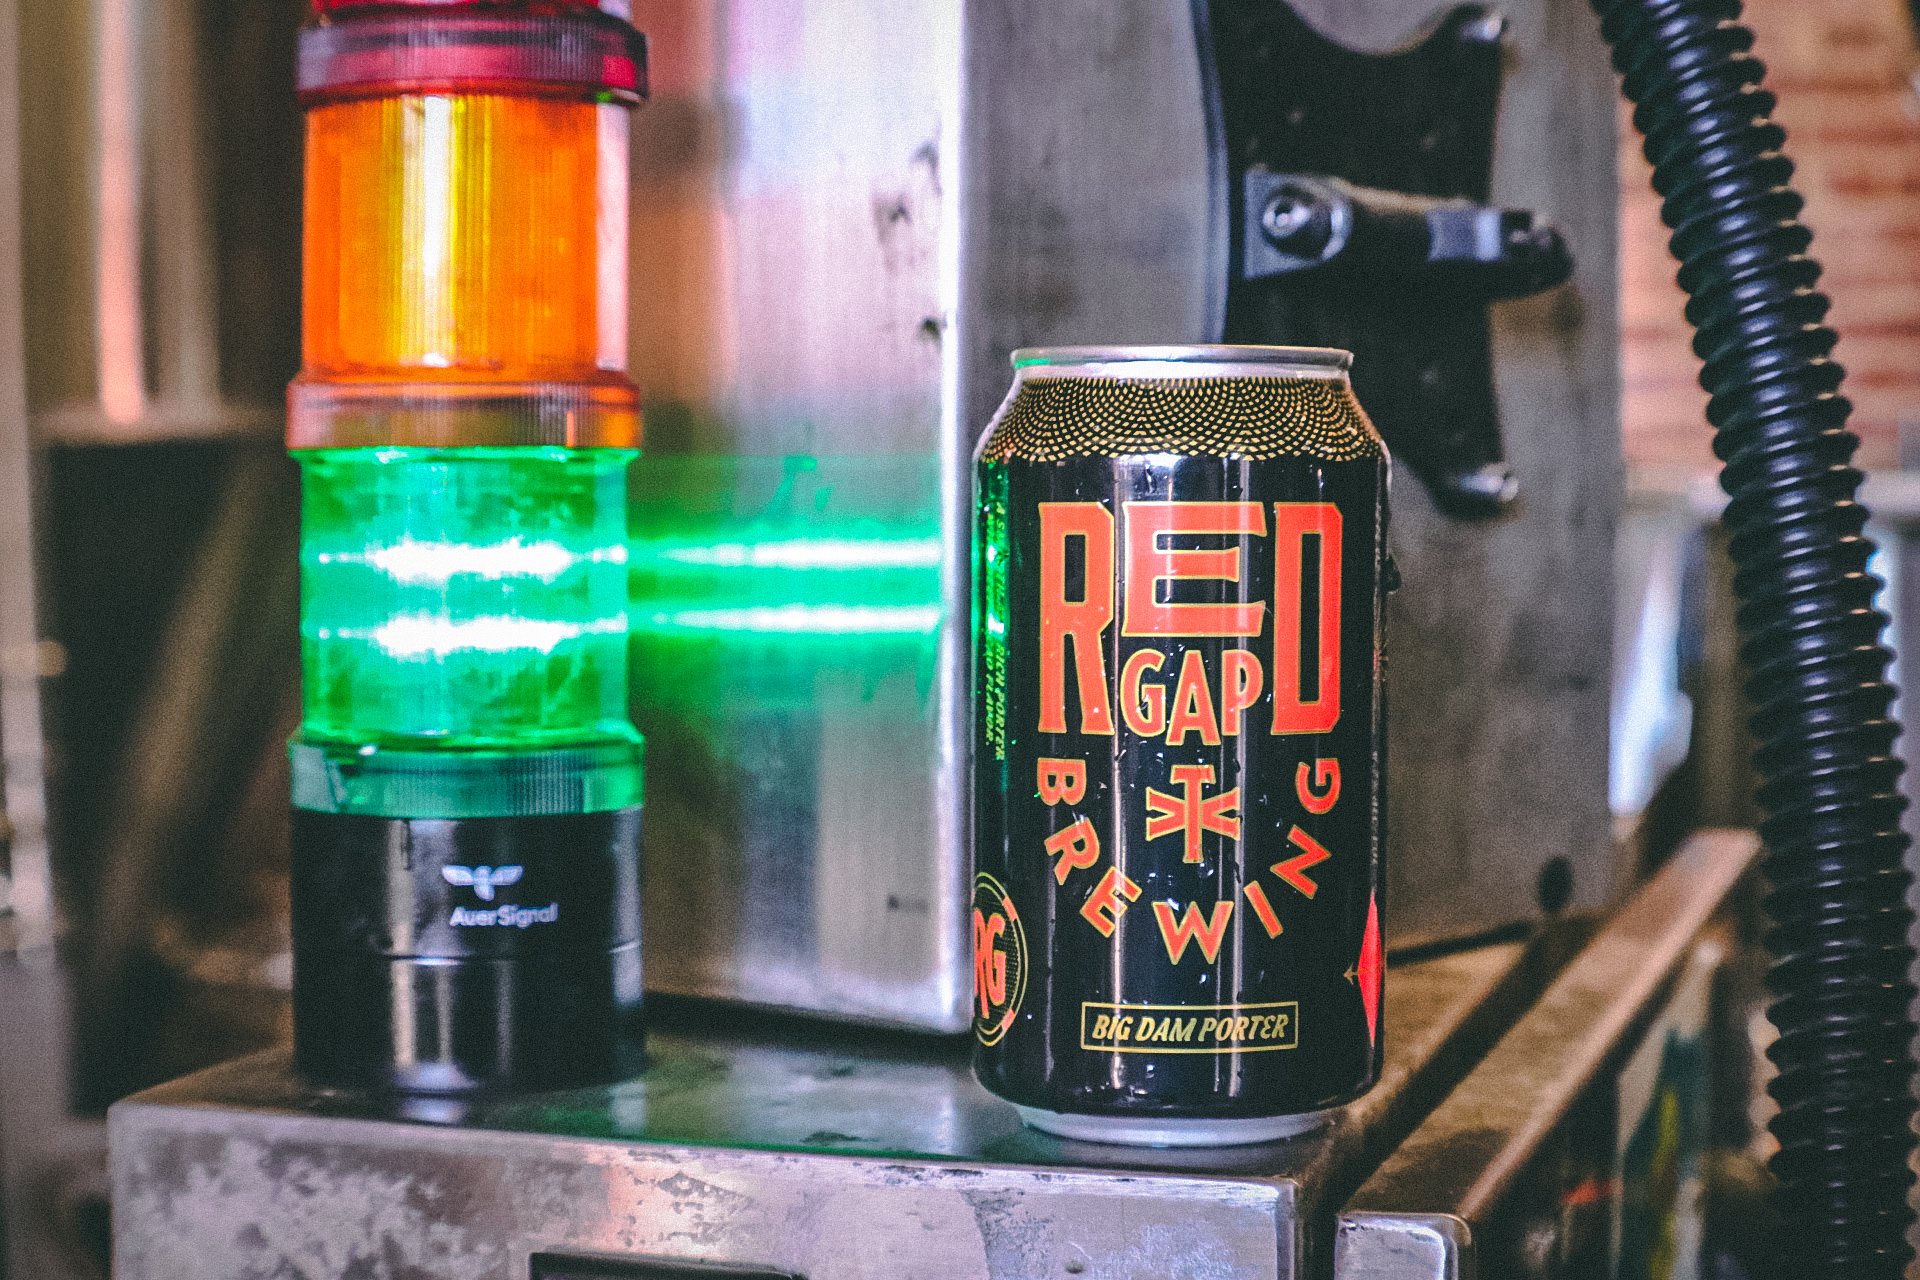
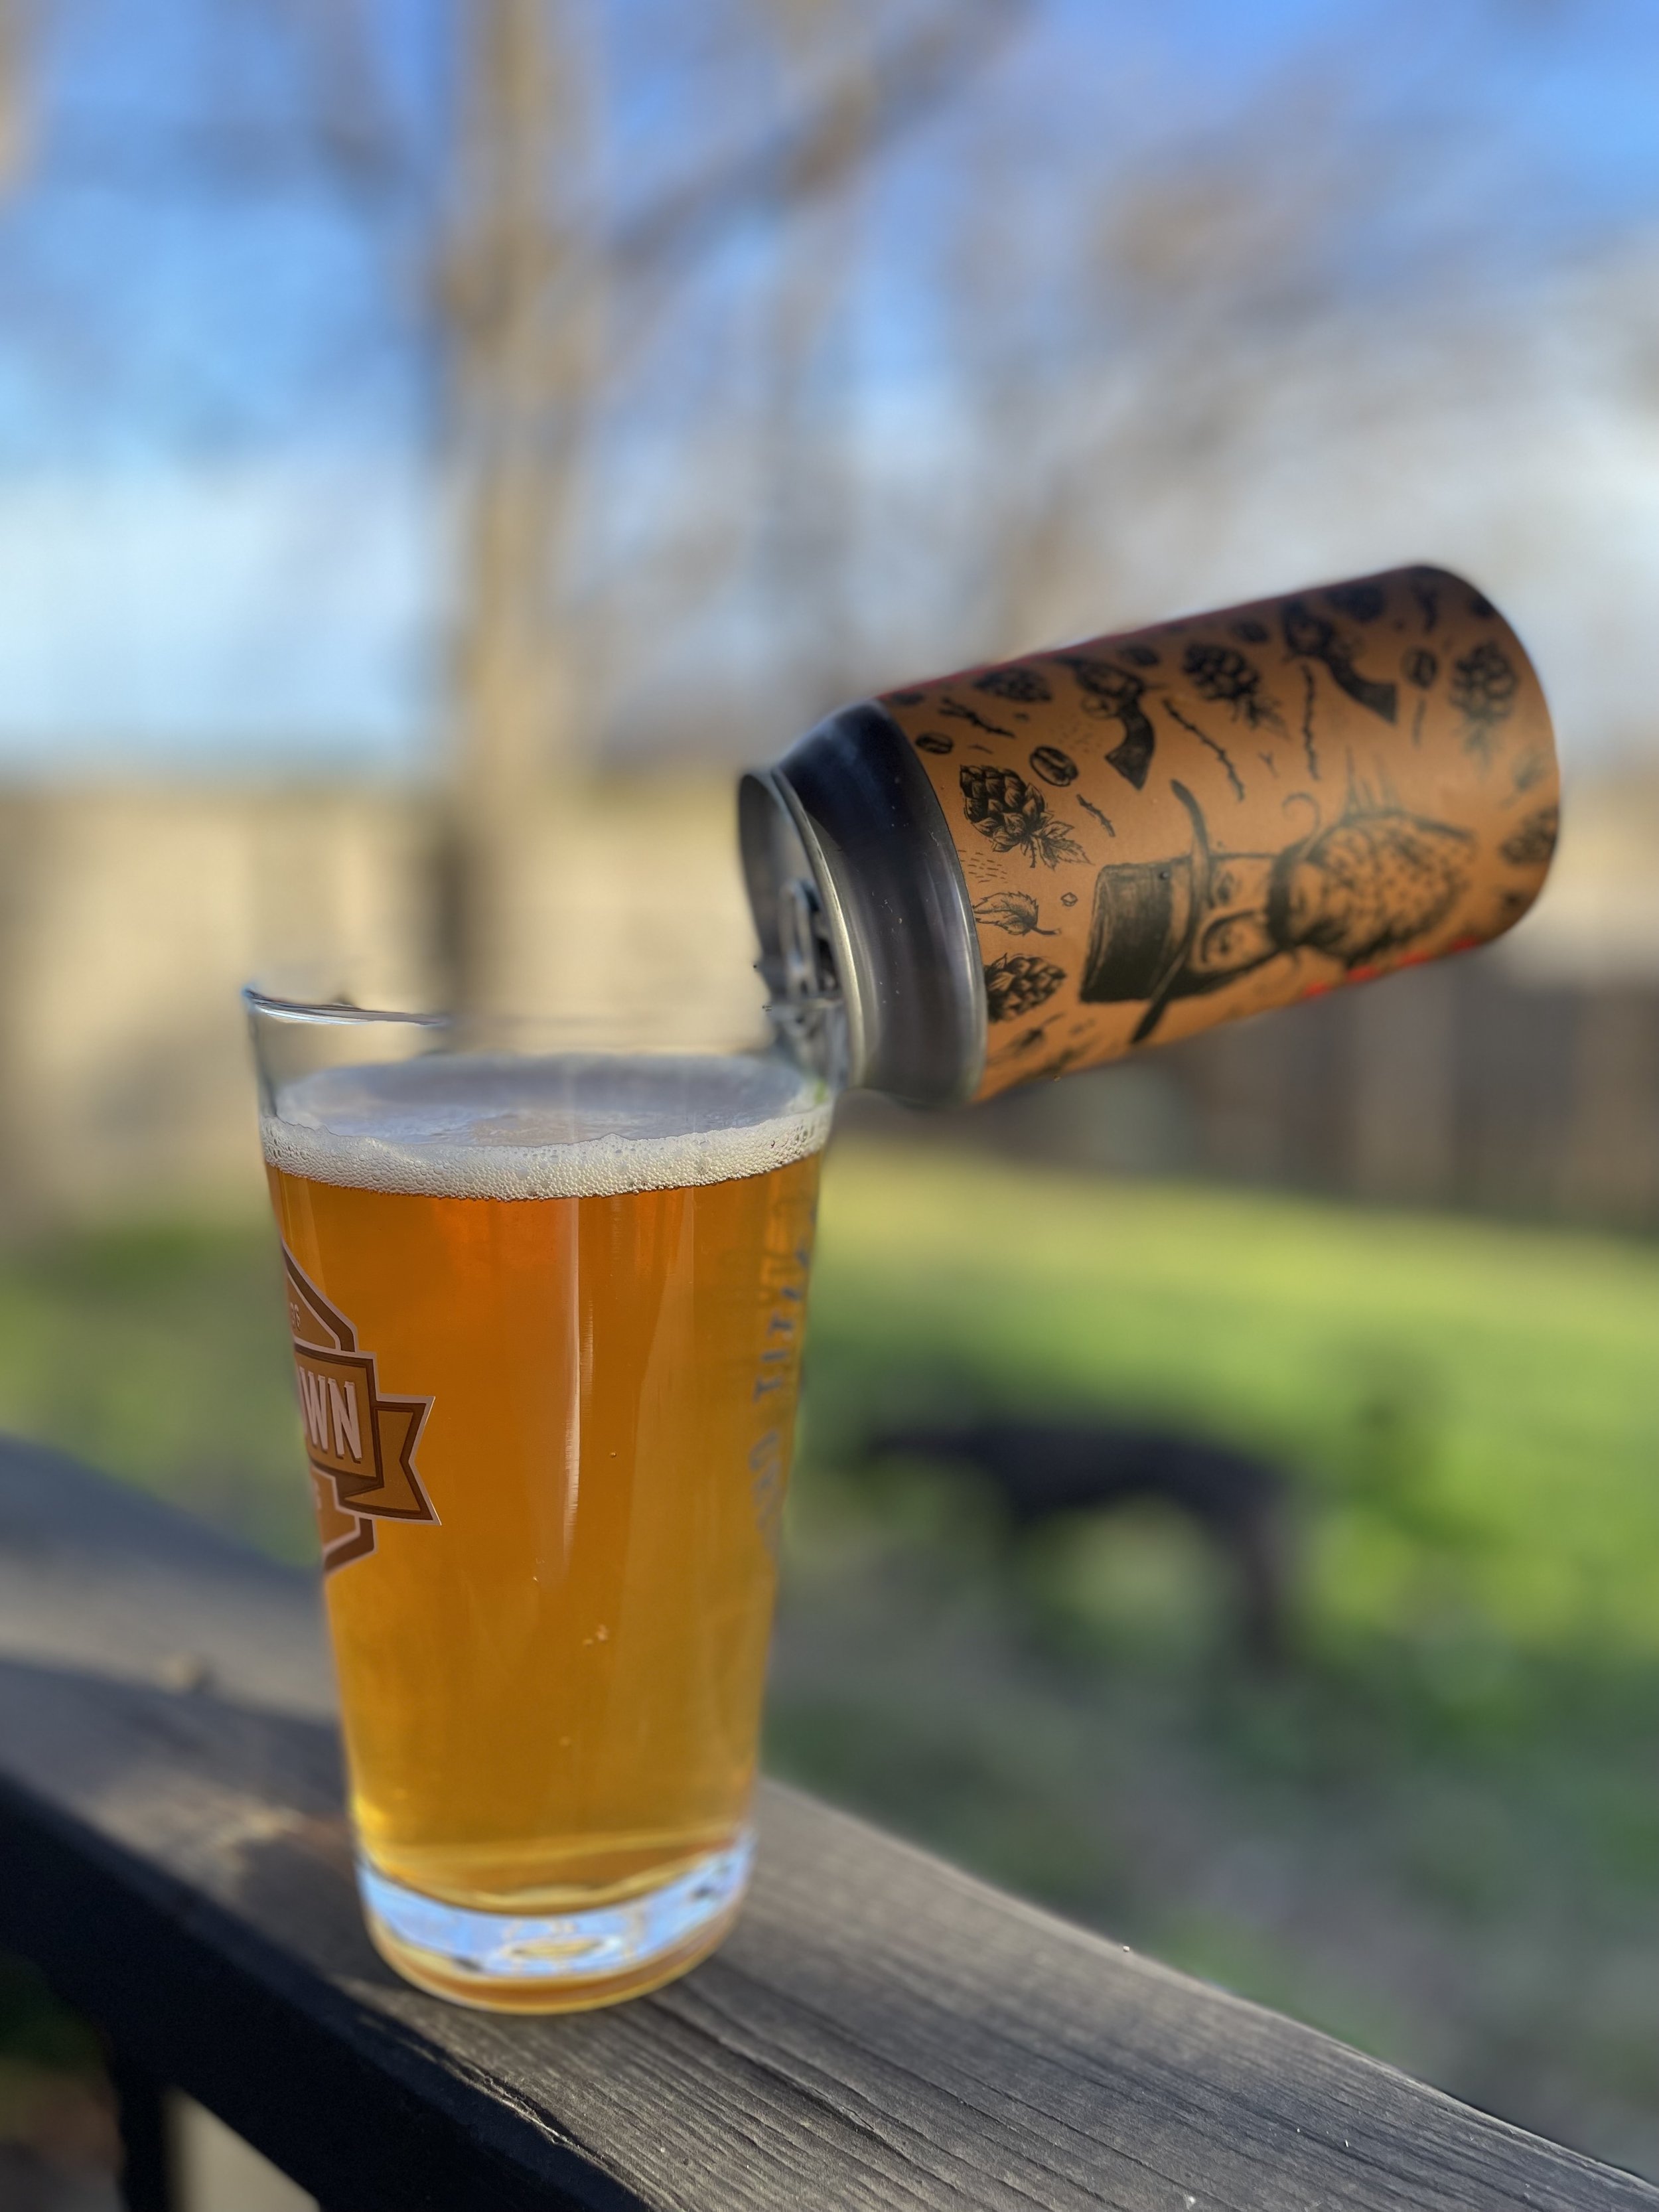
Try Fresh Perspectives
Experiment with creative angles
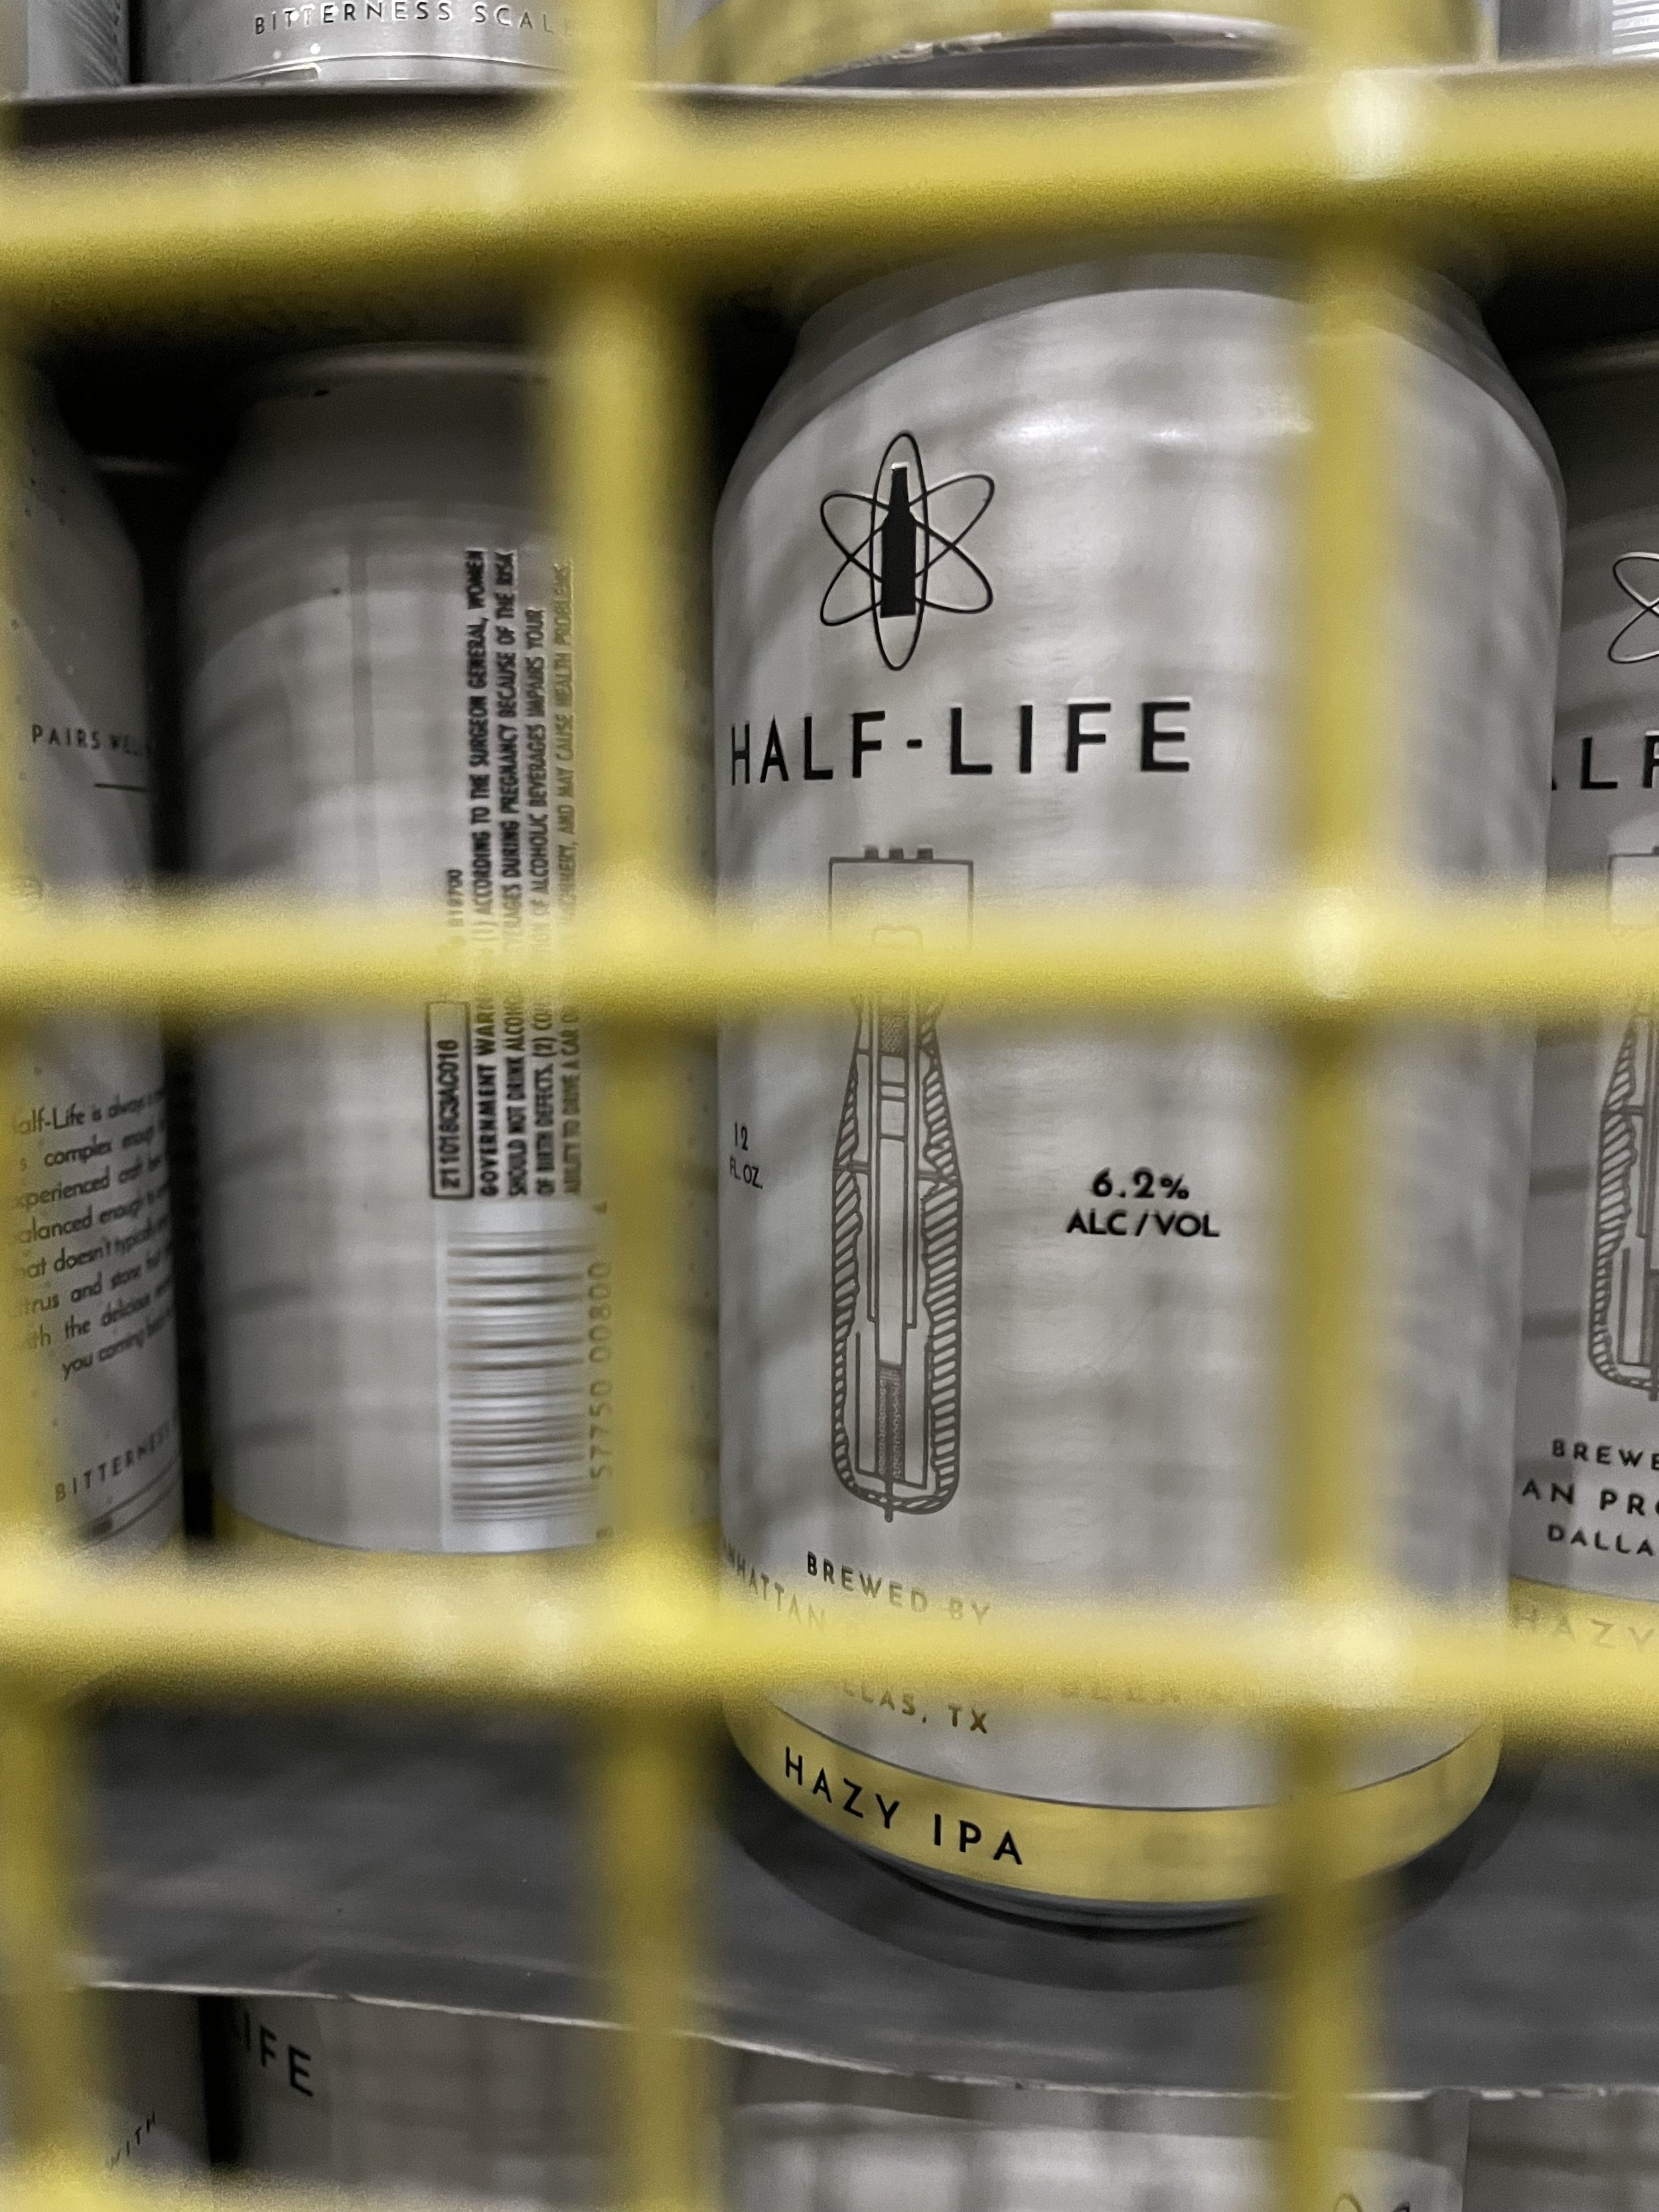
Try to find reflection opportunities
Mirrors, water, glass
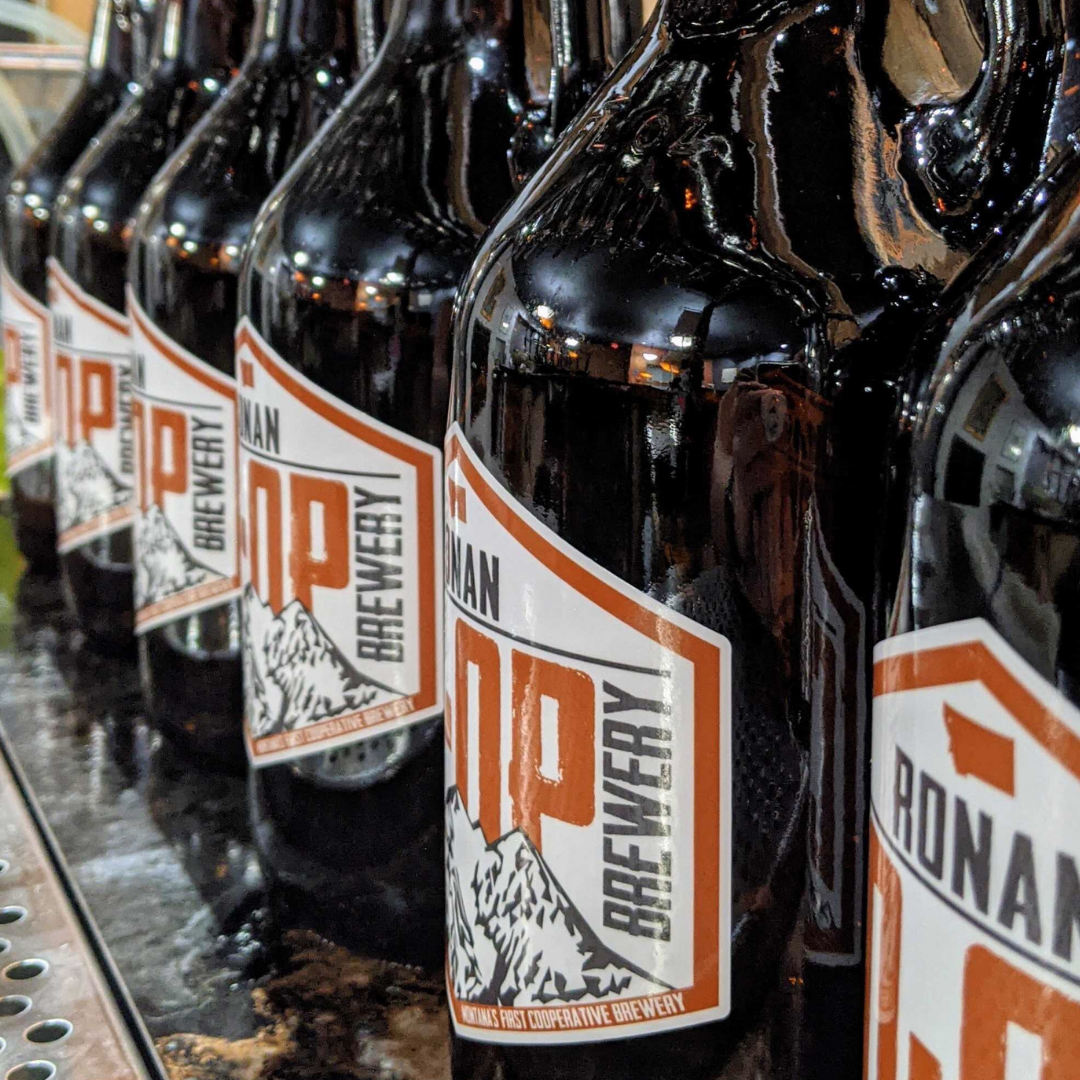
Look for repeated patterns
Find frames within frames
Find leading lines
Look for symmetry
Find small details that can have a big impact
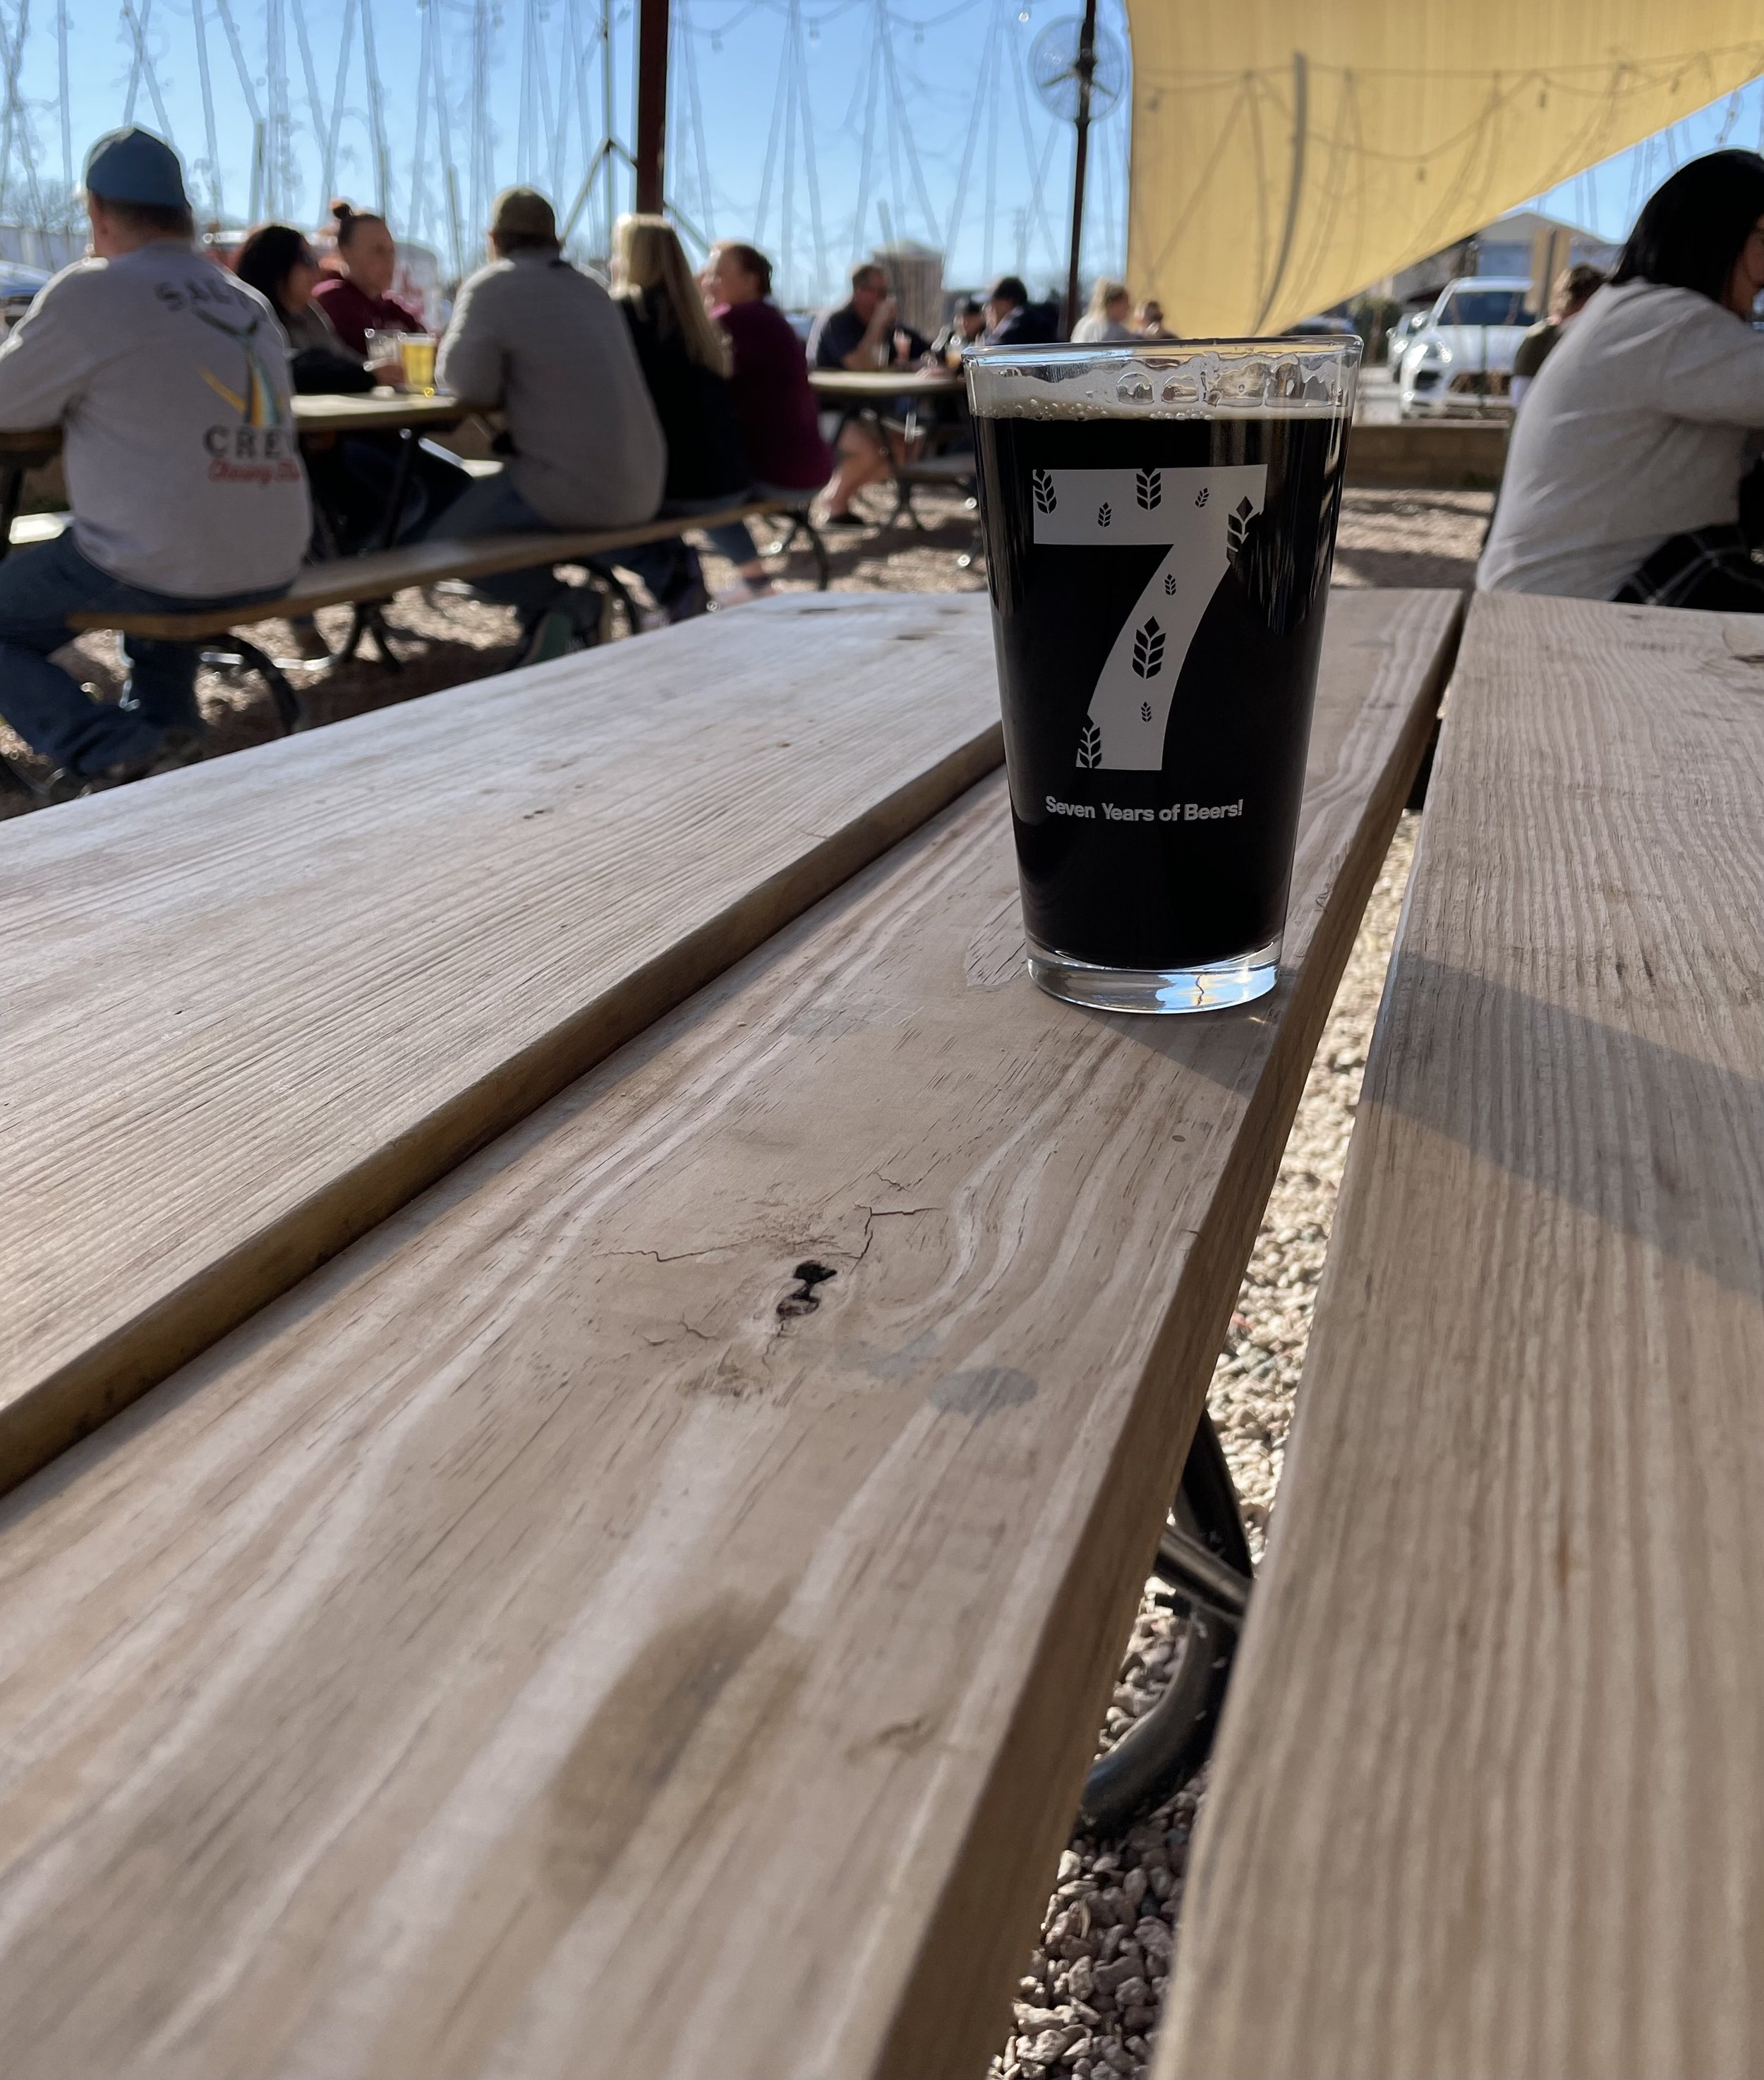
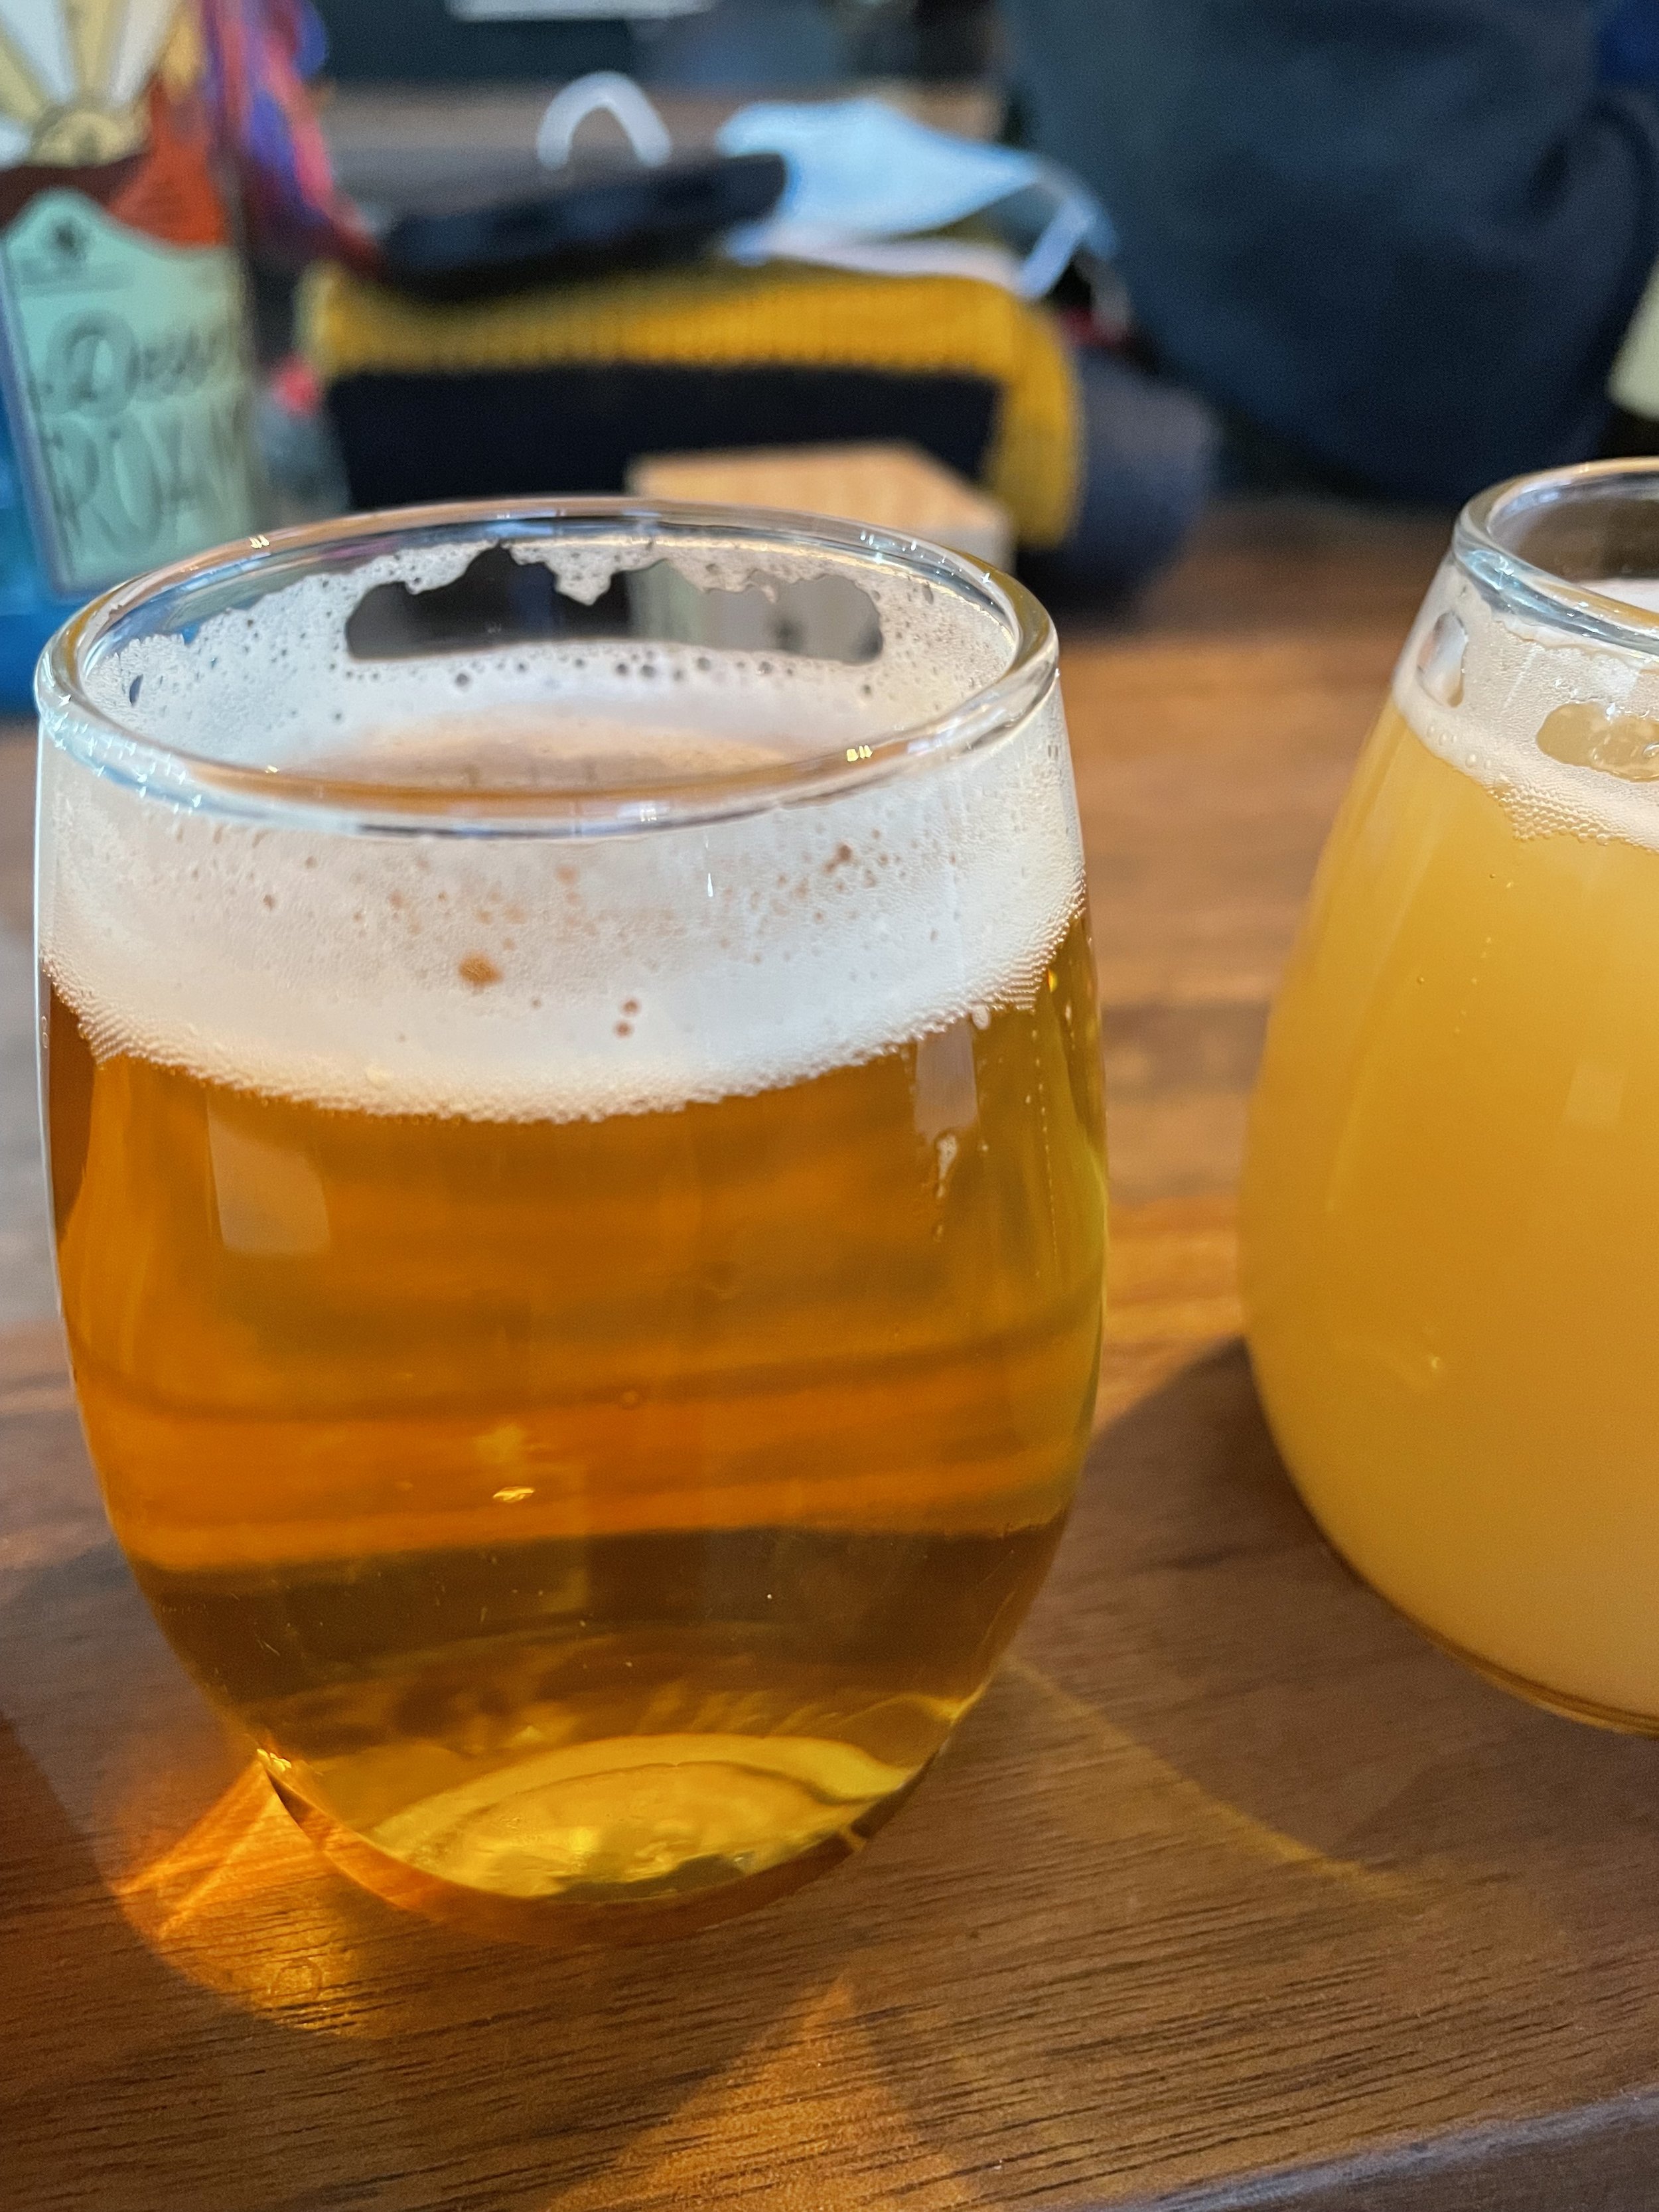
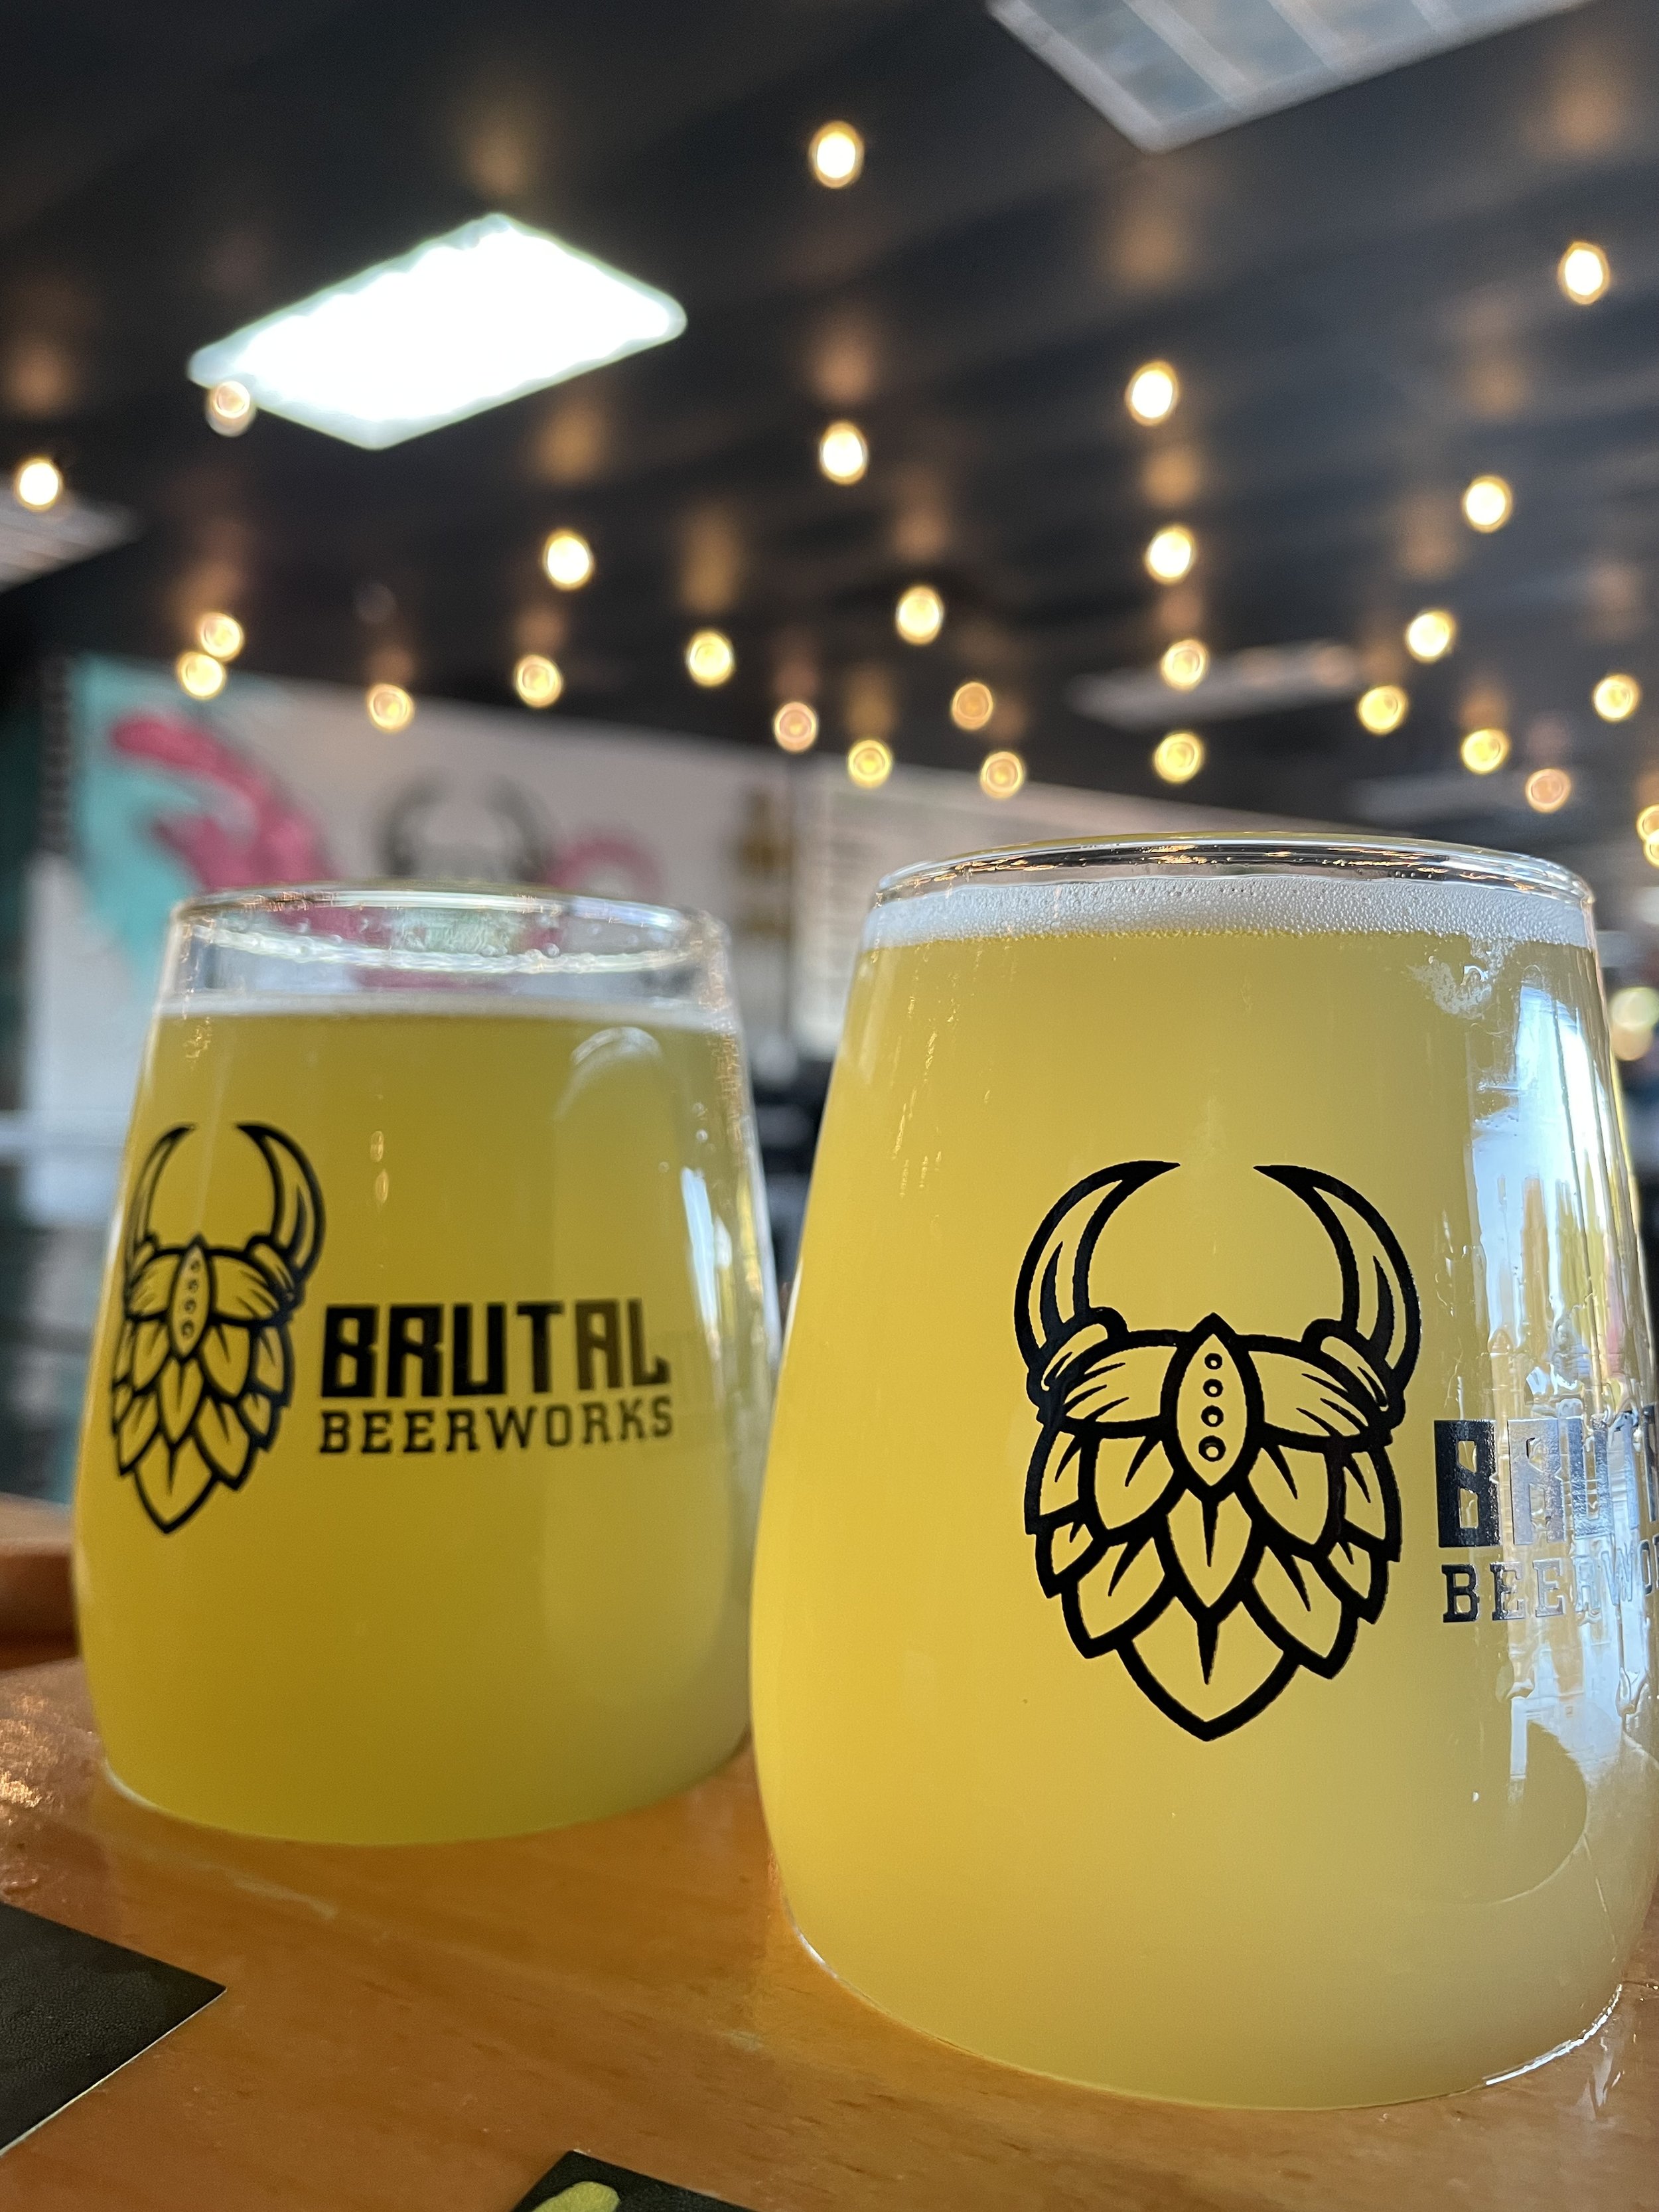
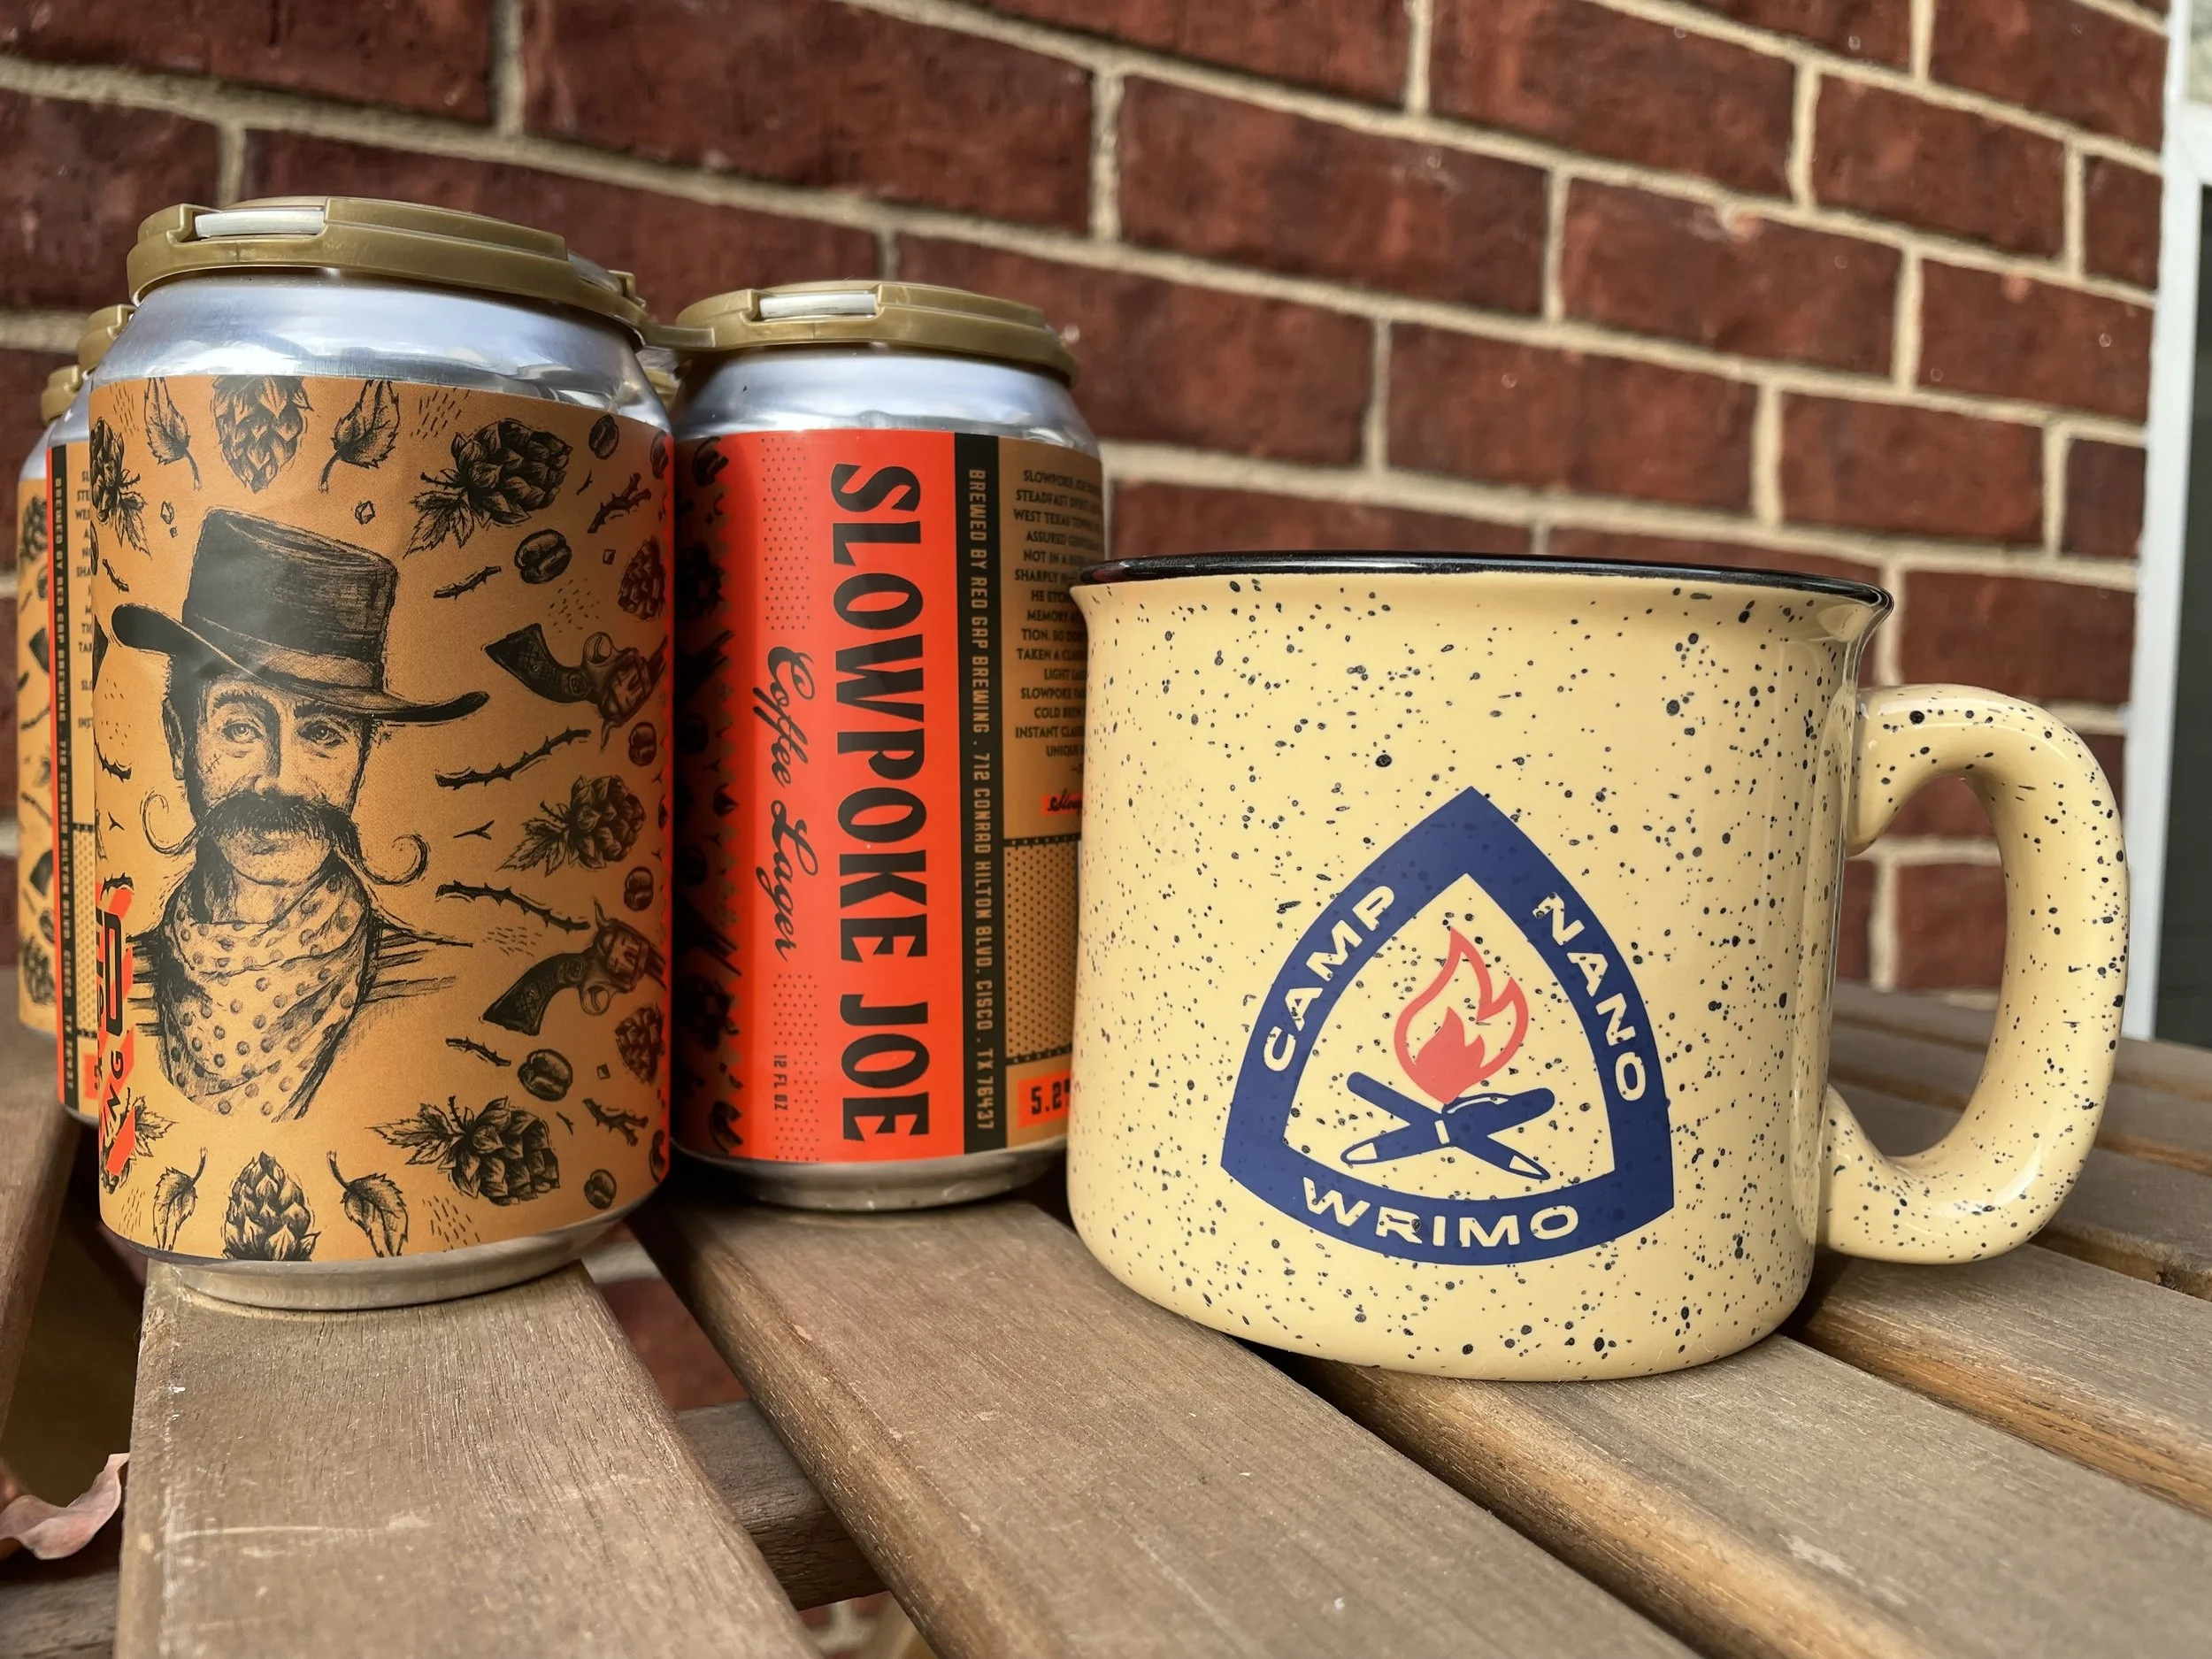
Use Backgrounds The Compliment Your Subject
You want your subject to be the focus of the photo, not the background.
Find colors or textures that coordinate with your subject
You don’t want to distract from the subject of the photo with a background that contrasts too much.
Imagine reading a line of black text over a white background. Your brain easily decodes that information. Now, imagine reading that same black text over a striped background. Harder to decode, right?
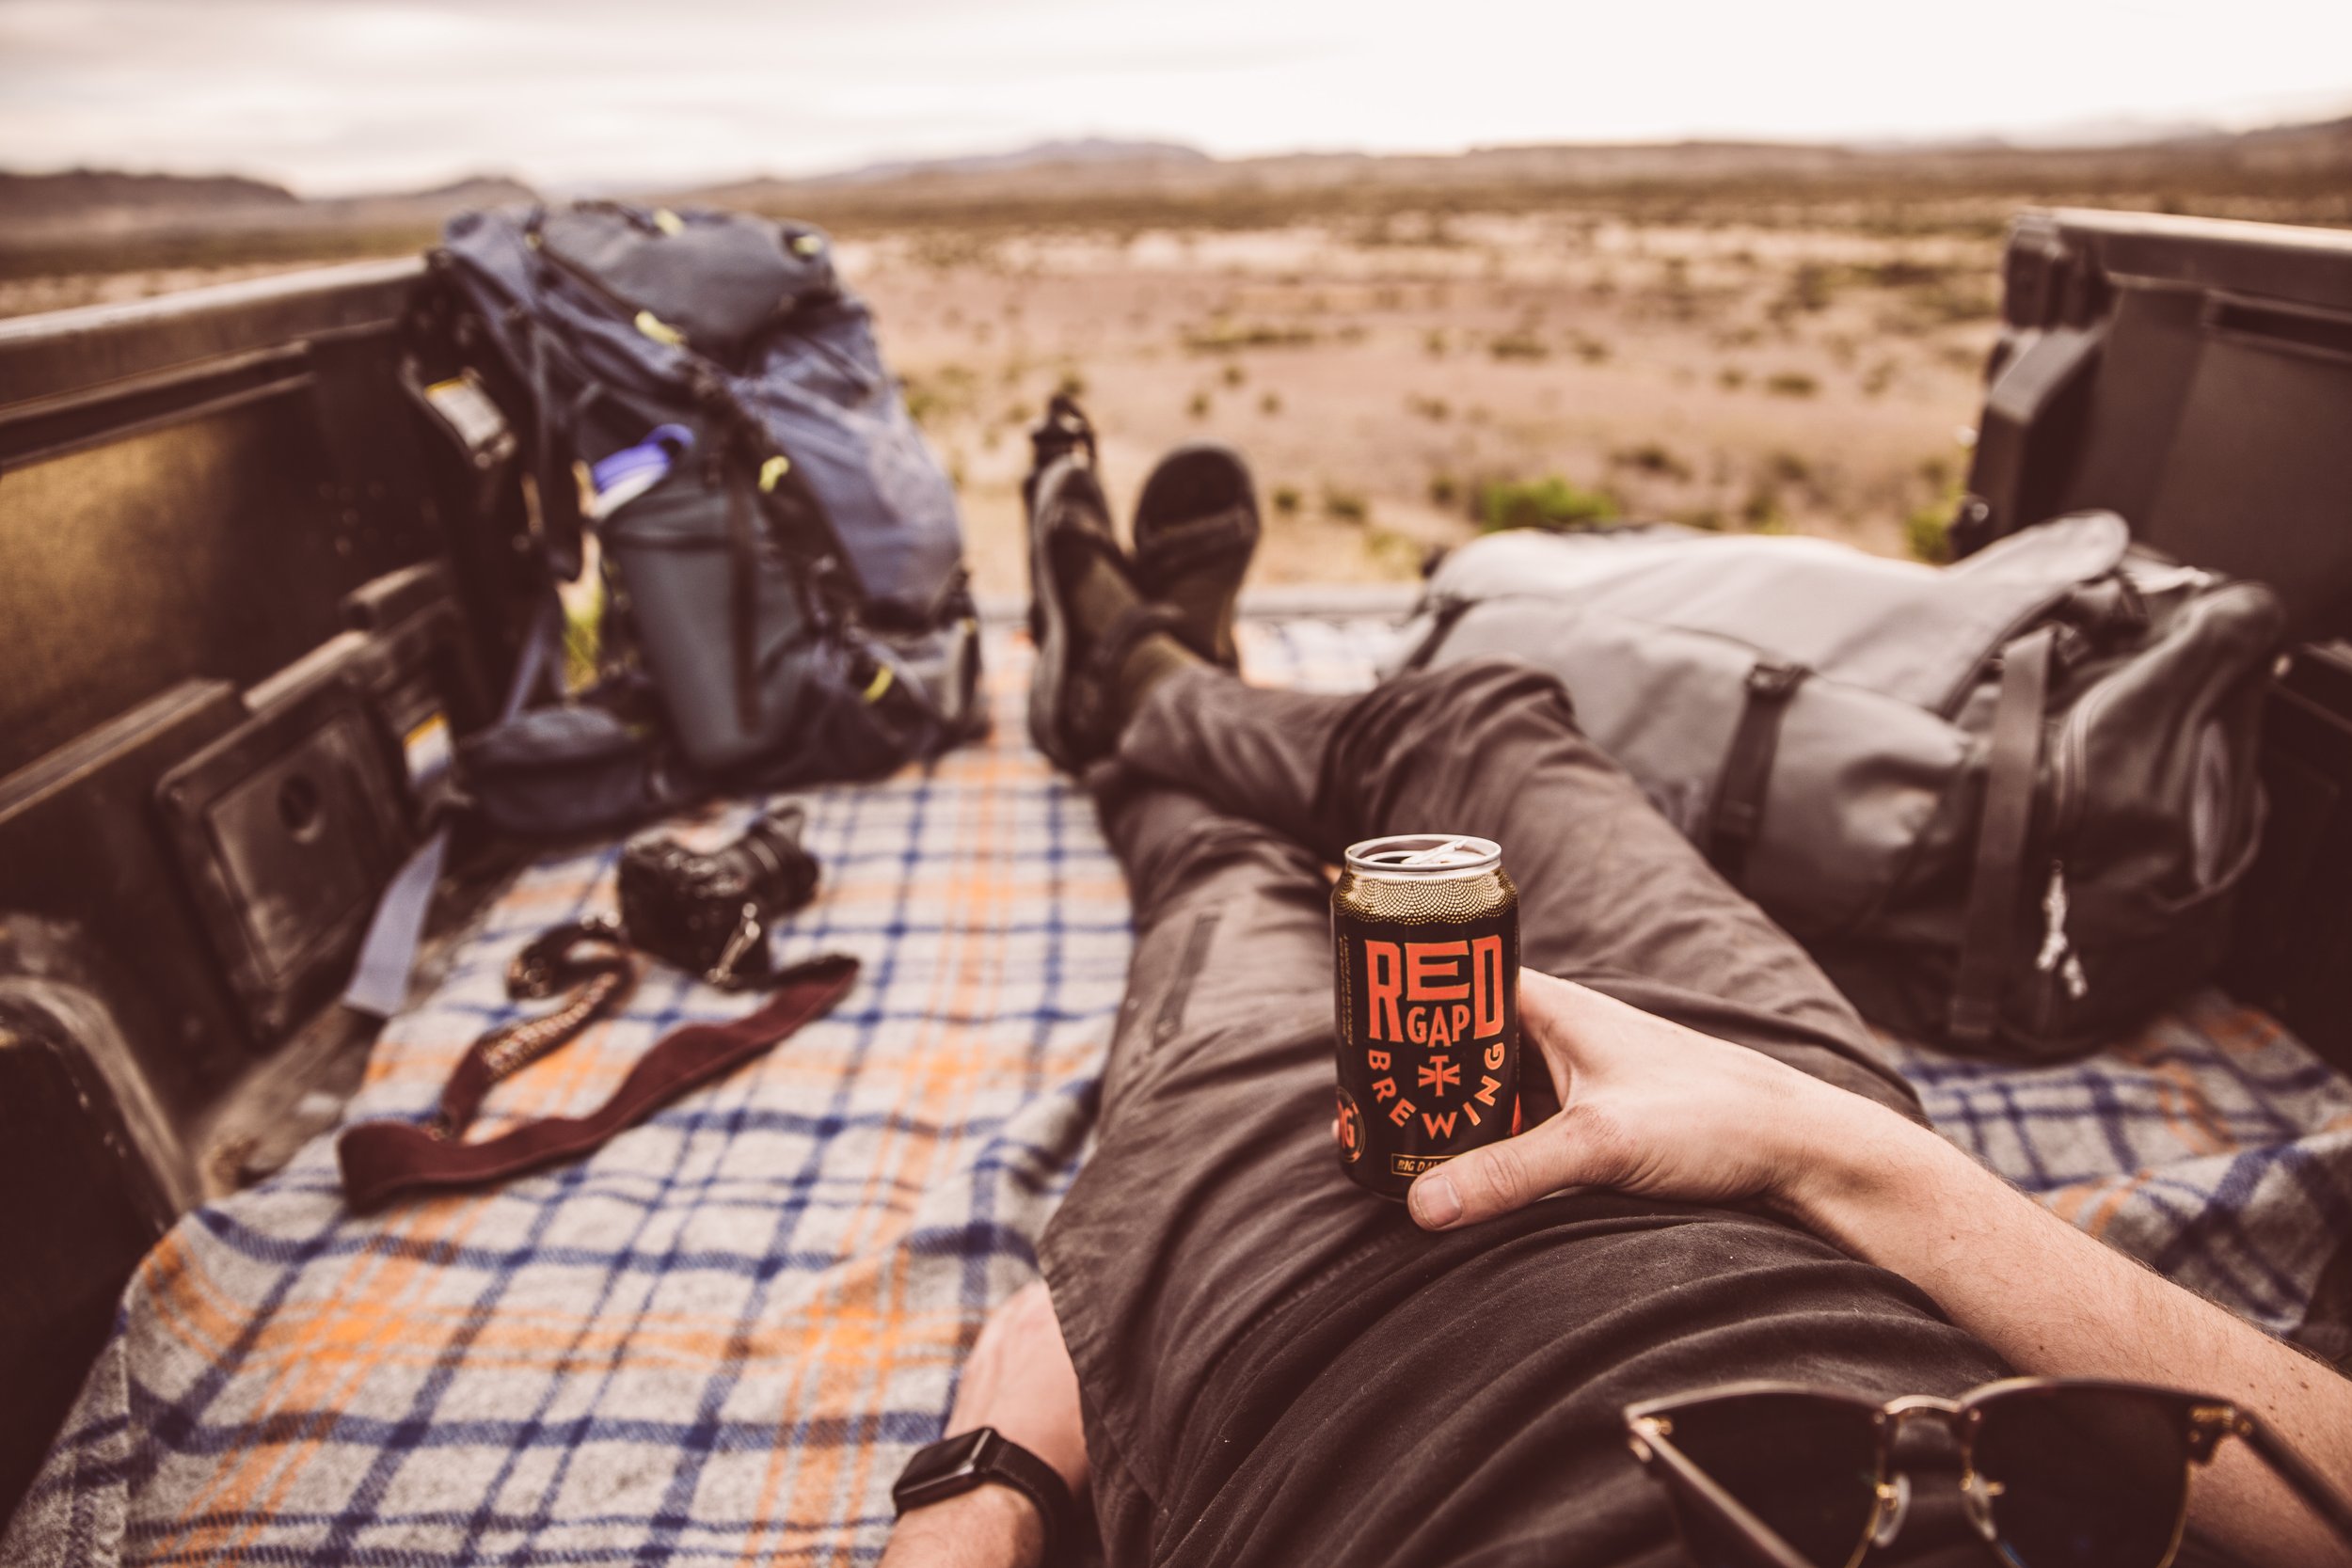
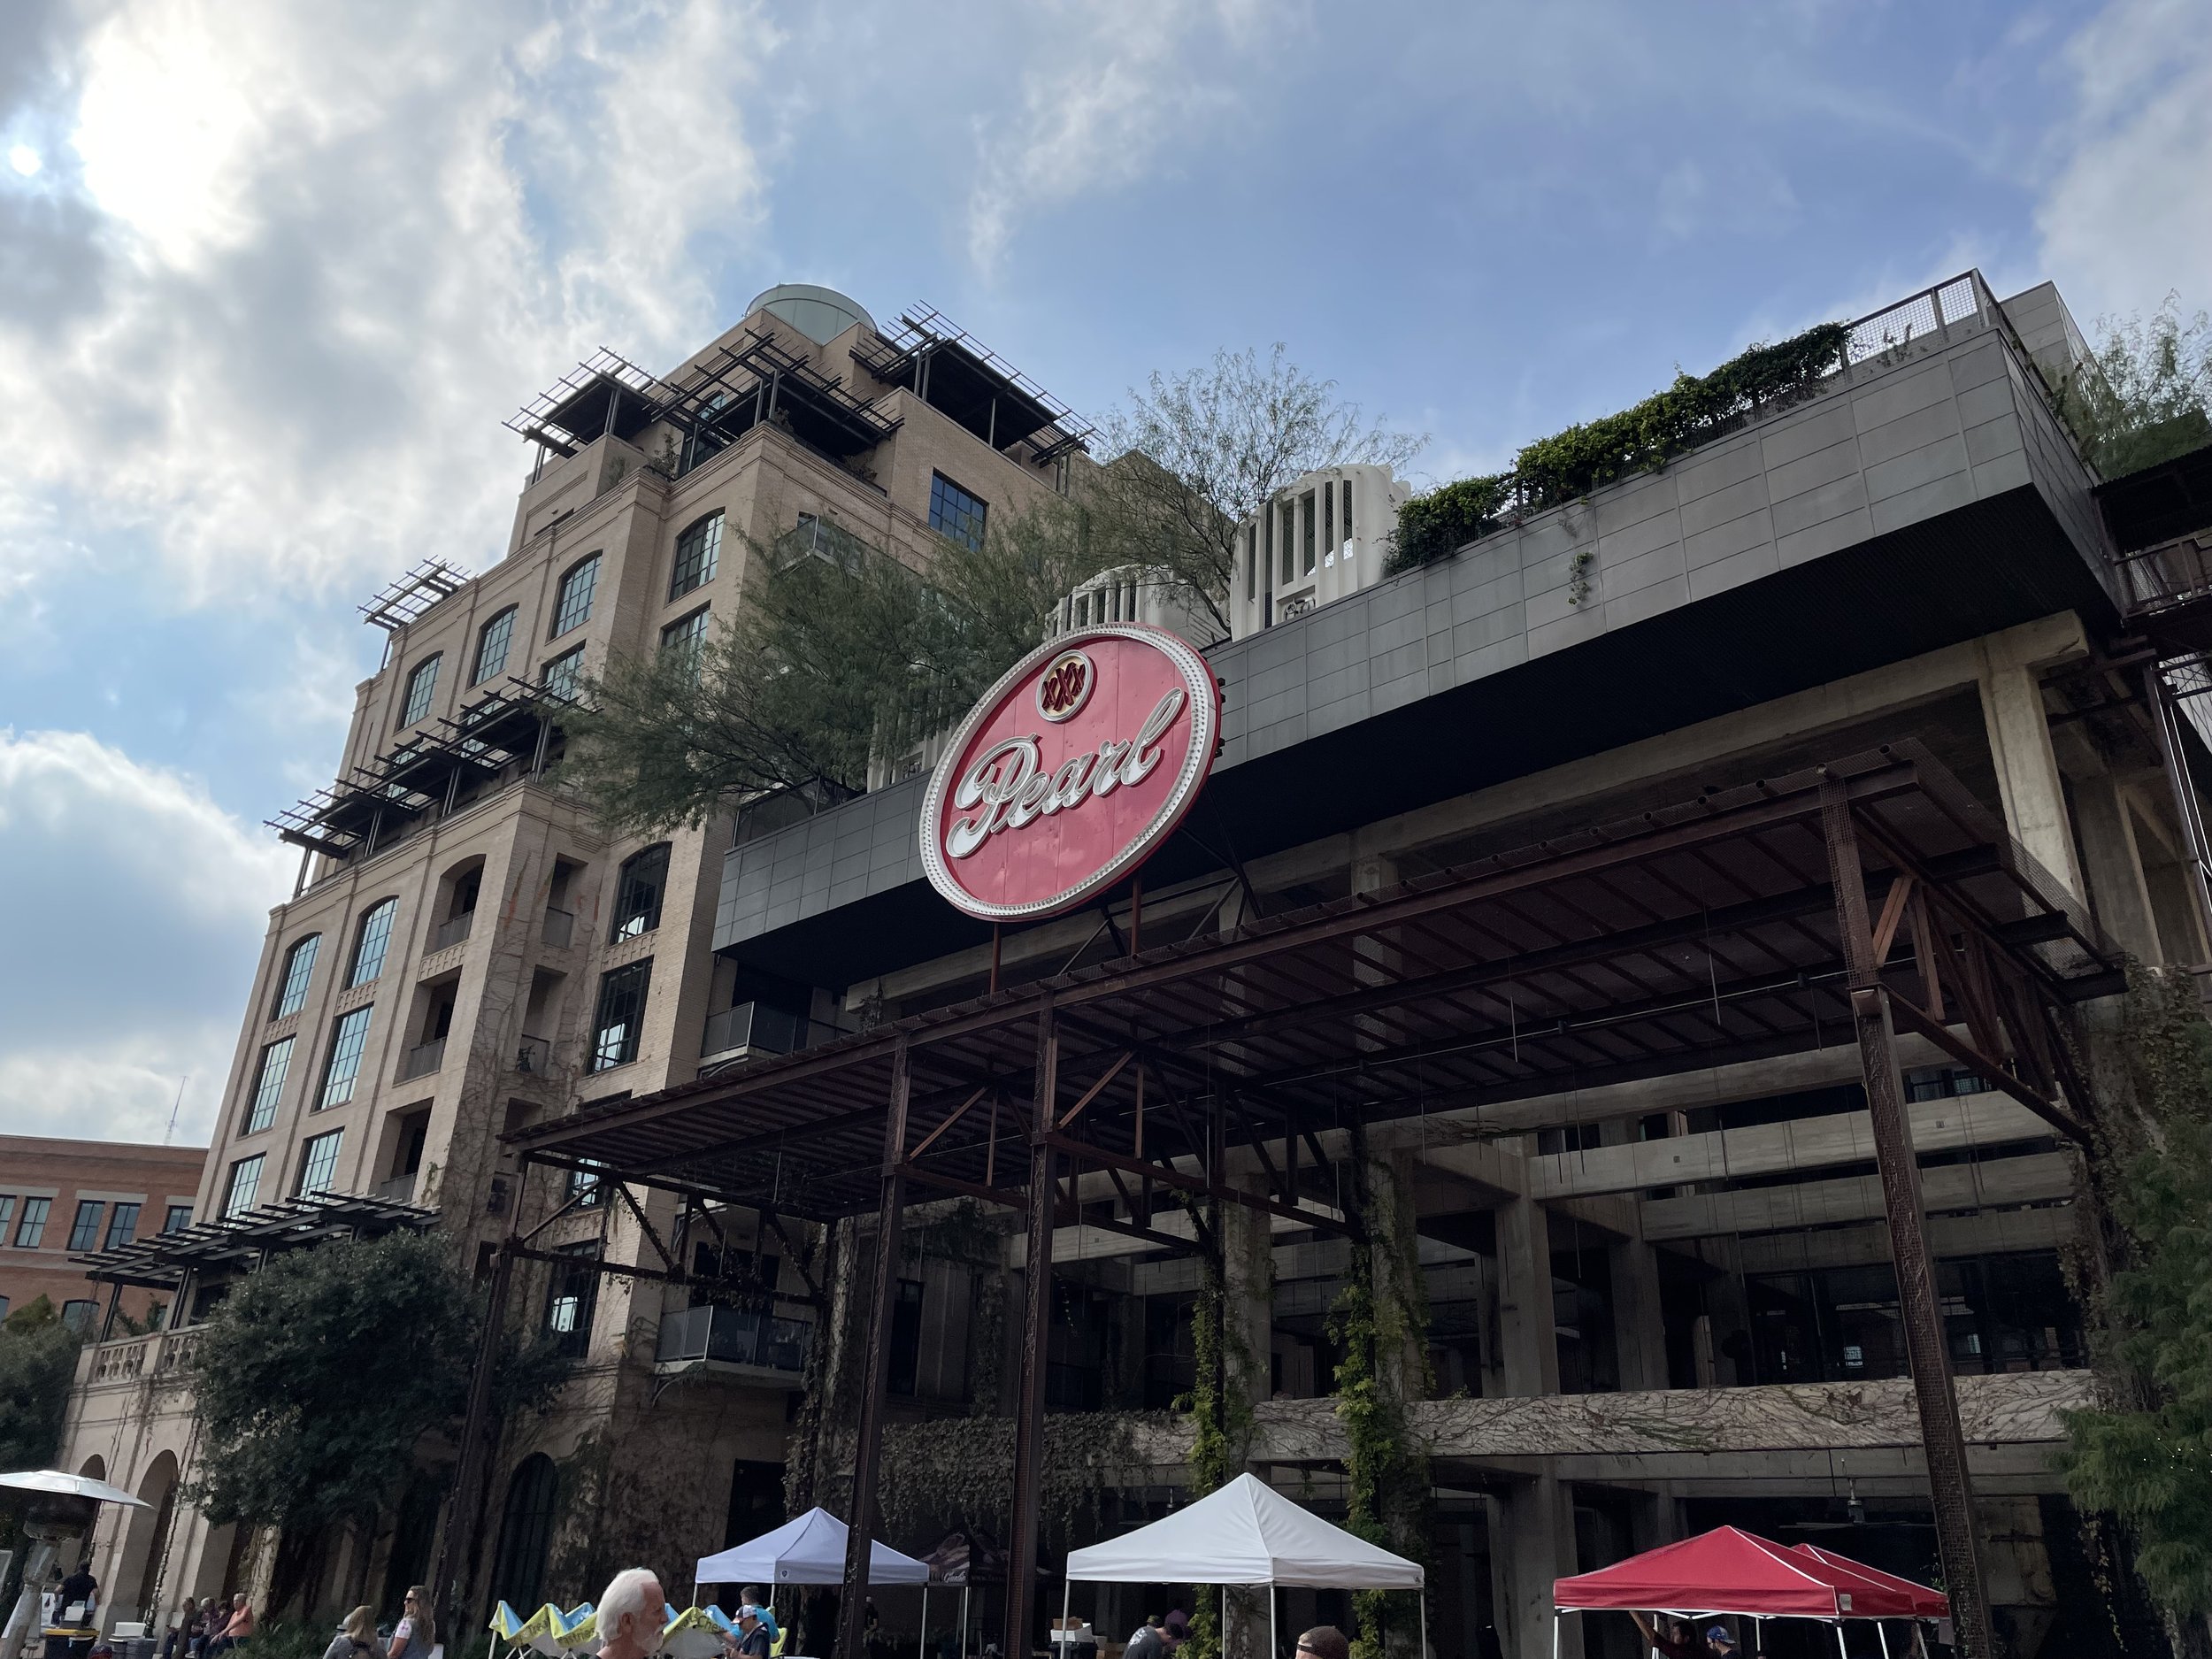
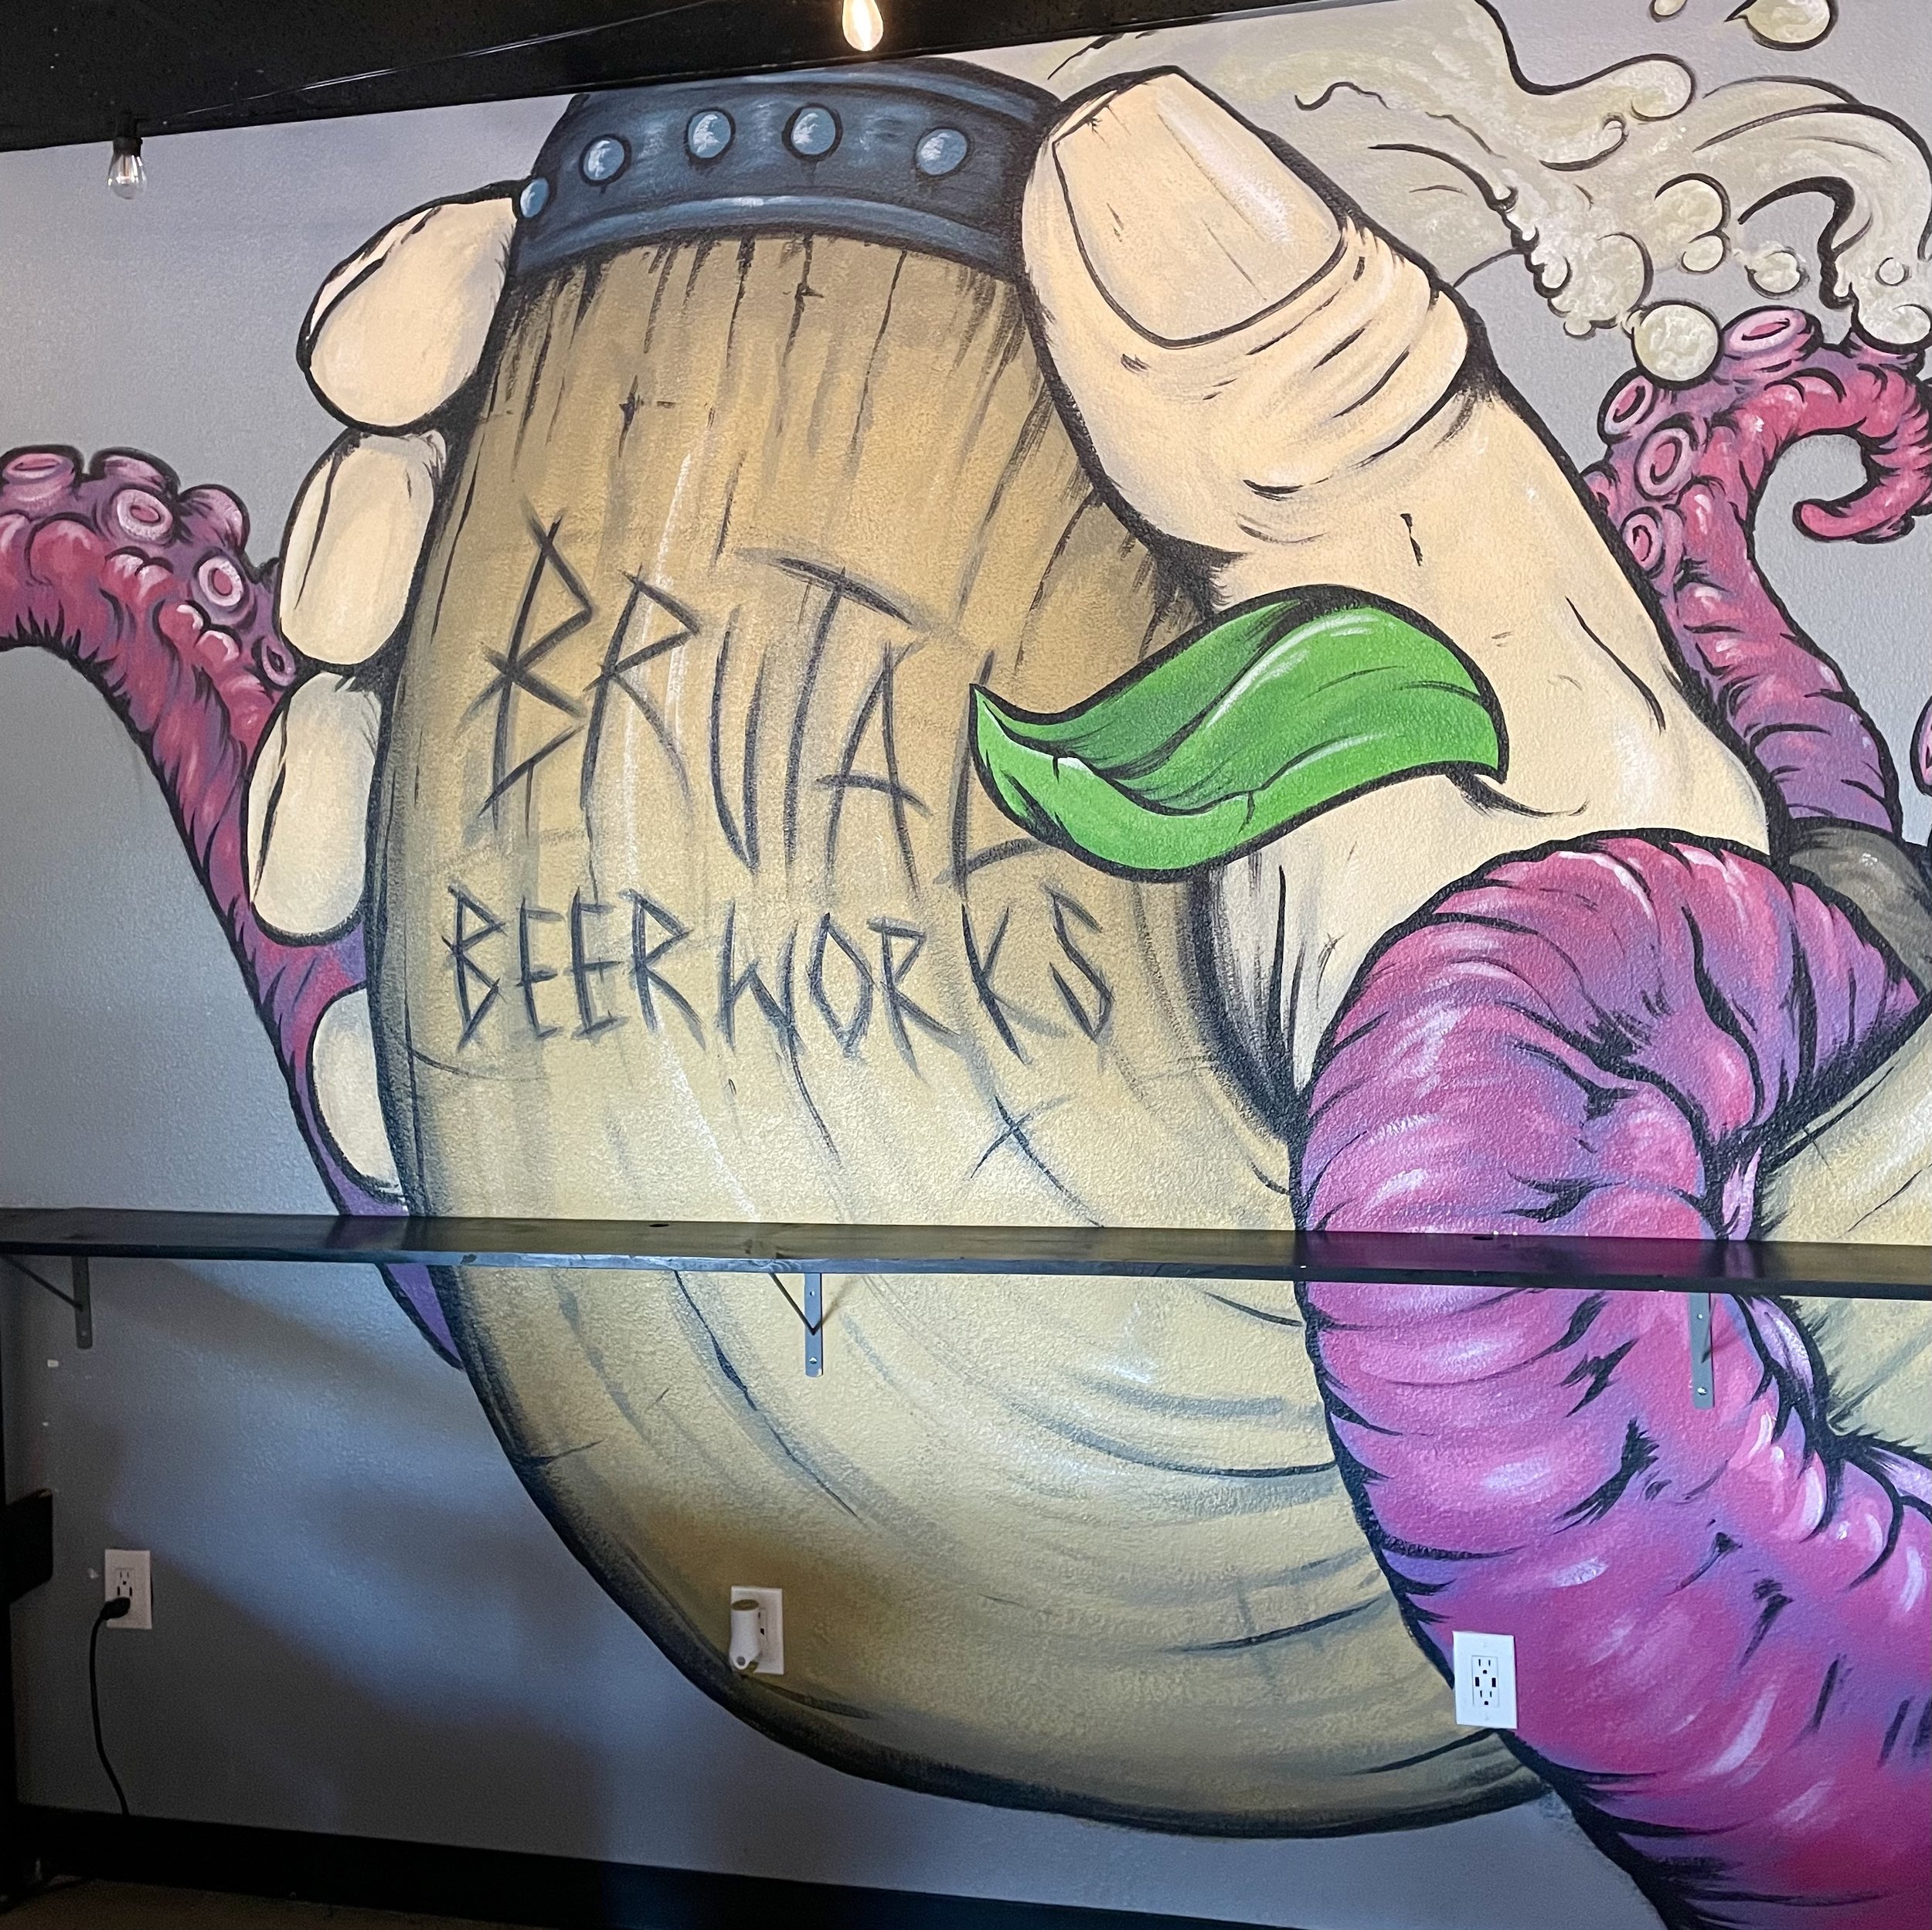
Don’t Forget About Your Brewery
Chances are, your brewery has some interesting elements to it
e.g. Cool architecture, neat equipment, and badass artwork
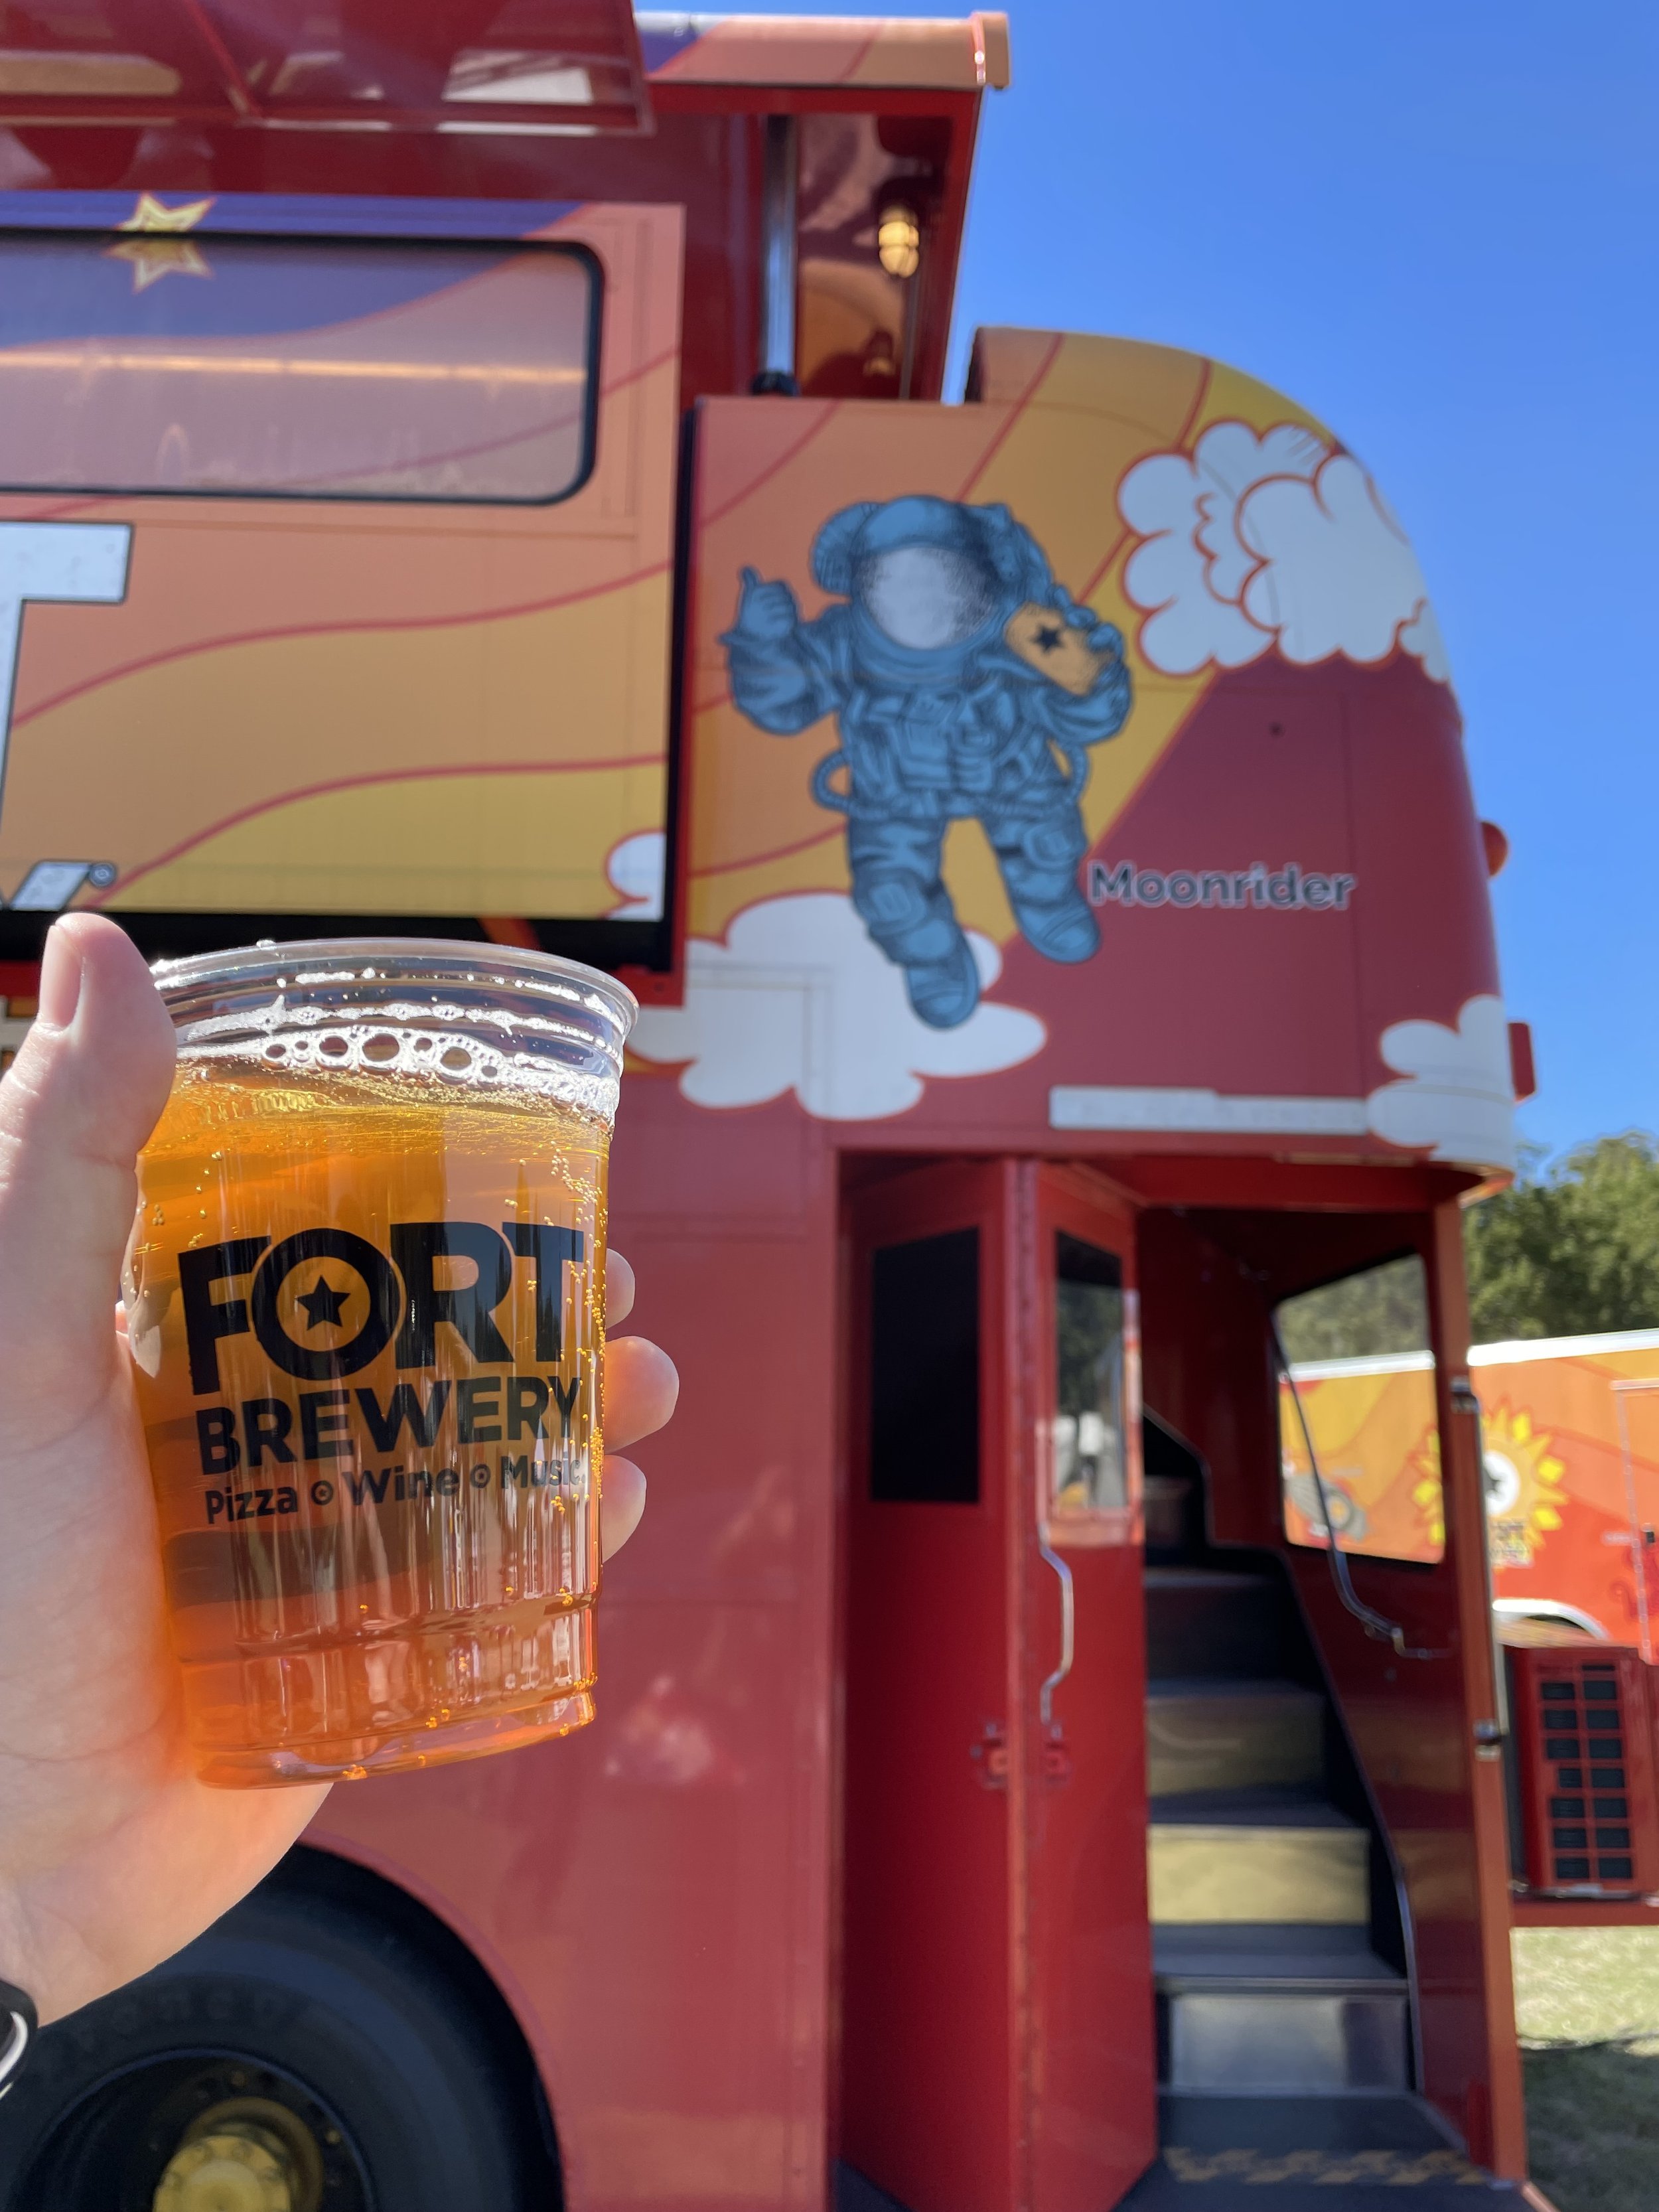
If you have a mobile van or truck, think about great places to take outdoor photos
Food trucks in front of your brewery are a great idea too
Part 2: Adjust Your Camera Settings
Use “Portrait Mode” and/or f stop Settings
This is how to get those cool-looking photos with the blurry background
F stop is a setting that controls the depth of field and where your camera focuses
Portrait mode is essentially a way to quickly adjust the depth of field
Turn On Gridlines
Makes setting up the rule of thirds way easier
Turn on gridlines within your camera settings
Avoid Digital Zoom
Zooming will usually result in a lower-resolution, lower-quality image
Plan to crop your photos instead
Get the camera closer to the object instead of zooming
Set The Focus Before Taking The Shot
Tap the screen on your subject
Only focus on one subject at a time
Clean Your Lens
Your lens gets smudged all the time
Wipe it down with a glasses cloth or softer fabric before shooting
Consider Buying Some Equipment
A mobile tripod can help avoid blurry photos
A mobile stabilizer/gimbal does wonders video
Part 3: Plan To Edit
The iPhone has a bunch of great built-in photo editing capabilities
Simply using the auto-edit tool will help a ton
Google Pixel is designed for editing photos
There are 3rd party apps too
E.g. Picsart, Adobe Lightroom
Tip: Lightroom allows you to set edit templates that can be automatically applied to future photos. Using templates like that can help you maintain a consistent look more easily.
When taking shots, plan to crop later when editing
It’s better to have a wider shot and crop it down than to have too narrow a shot from the beginning
Filters can help too, just don’t go overboard
Contrast and Saturation help bring out colors, but too much of either make images look too fake
Warmth adds more orange/red tones to an image, decreasing warmth makes the images more blue/gray
If you take a photo that is too yellow/orange or too blue/gray, try adjusting warmth when editing